2-26
Chapter 2: Installation and Setup
Aug 2012
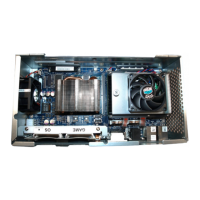
Upgrading
CPU-NXT3 to
CPU-NXT 3.2
The following section describes the steps necessary to upgrade a CPU-NXT 3 to CPU-NXT 3.2
including, removing SATA Board and installing PATA board, Installing New UDMA Compact Flash
cards, and installing the
CPU-NXT 3.2 Labels.
1 Reference, Technical Service Bulletin 16-1408444: Conversion CPU-NXT3 to CPU-NXT3.2, for
more details.
RAM Clear There are four ways to perform a RAM Clear - an automated RAM Clear, a RAM Clear from a Fault,
a RAM Clear using the DIAGNOSTICS Button, and a CompactFlash CPU-NXT 3.2 RAM Clear.
Performing an
Automated RAM
Clear
Starting with OS NSOS-000-2000 (and the future SSSG-000-16C0), an automated RAM Clear
option is available if allowed in the jurisdiction, as dictated by the SPI. Complete the automated
RAM Clear in one of three ways. If necessary, a manual RAM Clear may also be completed.
Performing a RAM Clear from Administration Mode
1 Open the Main Door/Hatch.
2 Open the CPU Logic Door.
3 Press the DIAGNOSTIC button.
The Administration Menu displays. If the CPU Logic Door is not open, a message displays to
indicate that the Logic Door must be open after you select the Perform RAM Clear.
4 Select Setup | Machine Setup | Perform RAM Clear, Figure 2-60.
Figure 2-60 Machine Setup Menu.
5 Select Yes at the confirmation message.
The RAM Clear initiates, and when complete, the game reboots.
6 If applicable, insert new Game and OS CompactFlash cards after initiating the RAM Clear, and
the game will boot with the new OS and/or game version(s).
Performing a RAM
Clear from a Fault
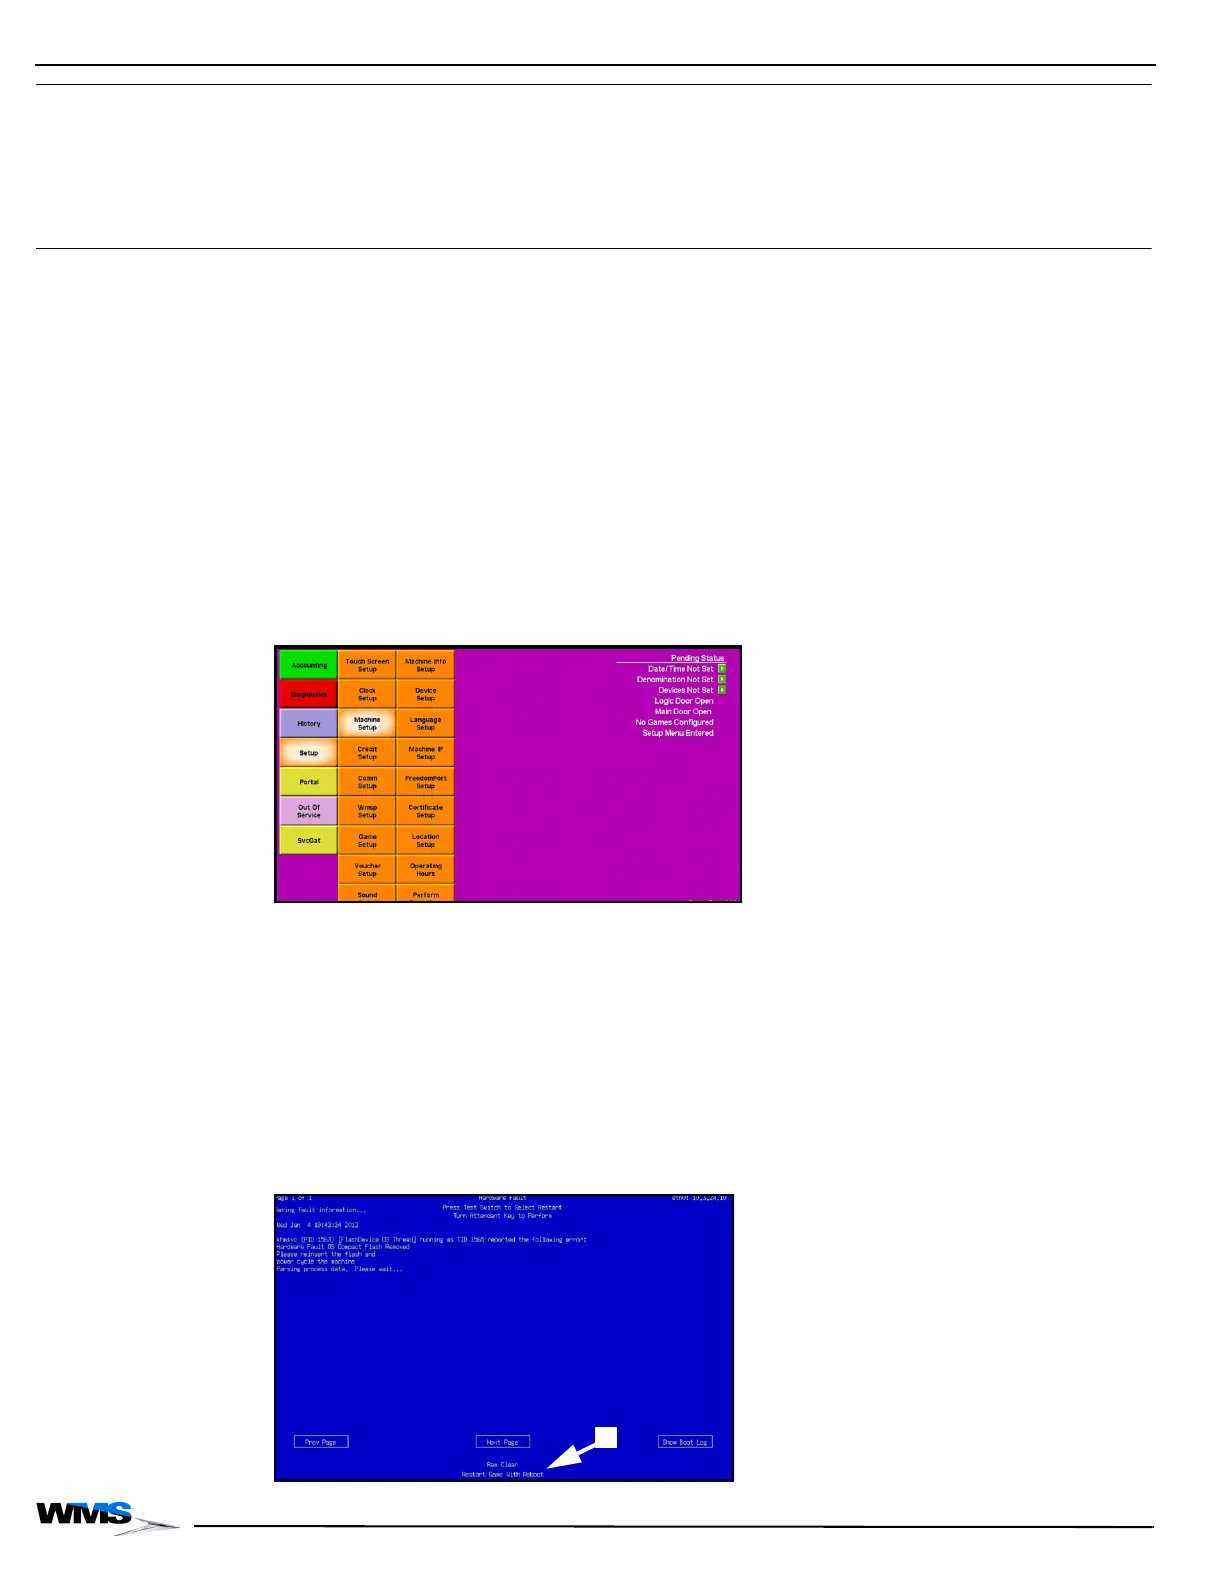
If the CPU Logic Door is open, the game can perform a RAM Clear from a fault condition.
Complete the following steps to perform a RAM Clear from a Fault.
1 If the CPU Logic Door is open, the option to initiate a RAM Clear displays on the Fault screen,
Figure 2-61 (A).
Figure 2-61 RAM Clear option on Fault screen.
 Loading...