2-14
Chapter 2: Installation and Setup
Aug 2012
Installation:
CPU-NXT 3.2
into the BBxD
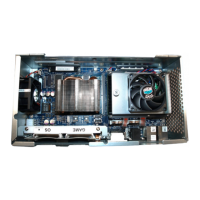
This section contains the steps to install CPU-NXT 3.2 into the BBxD.
ESD: When handling CPU-NXT 3.2 away from the game, observe the following ESD Precautions
listed in Preventing Injury and Damage on page 1-3:
Ensure that the game Line Cord is connected to the Power Entry Assembly to ground the
game.
Wear an ESD wrist strap that is secured to a ground on the game.
NOTE: Before upgrading a game from CPU-NXT2 or CPU-NXT3, ensure the replacement game
theme and OS are compatible with CPU-NXT 3.2.
Removing CPU-
NXT2 Assembly
Complete the following steps to remove CPU-NXT2 Assembly from the BBxD:
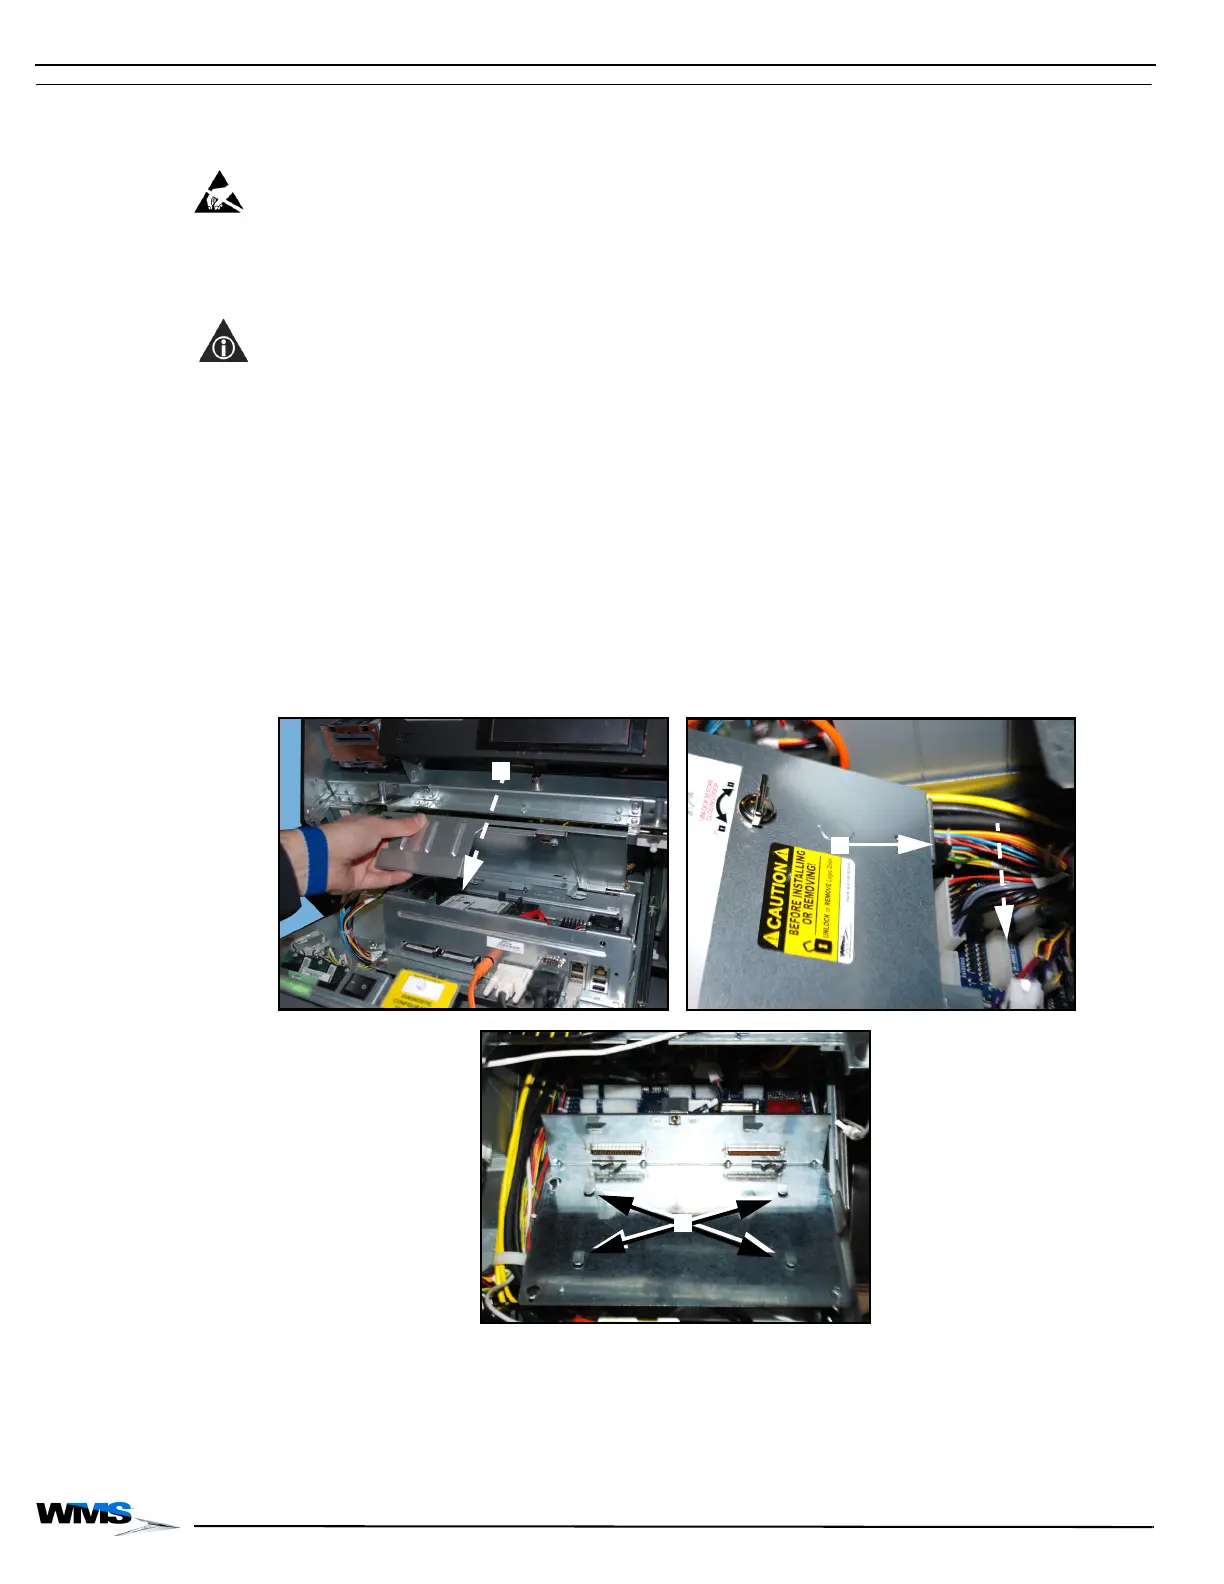
1 Unlock and open the Hatch Door.
2 Observe all appropriate safety and ESD precautions listed in Preventing Injury and Damage on
page 1-3.
3 Unlock the CPU and open or remove the CPU Assembly Logic Door, Figure 2-29 (A).
A locking bar, Figure 2-29 (B), on the CPU Assembly Logic Door engages the locking tabs,
Figure 2-29 (C), on the Bulkhead Board Mounting Bracket to secure the CPU Assembly when
the Logic Door is closed.
Figure 2-29 CPU Assembly removal.
 Loading...