3-13Maintenance
16-1408348
Changing the
PATA Board
Complete the following steps to change the PATA Board:
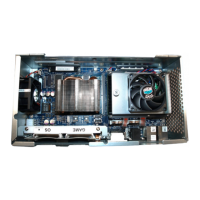
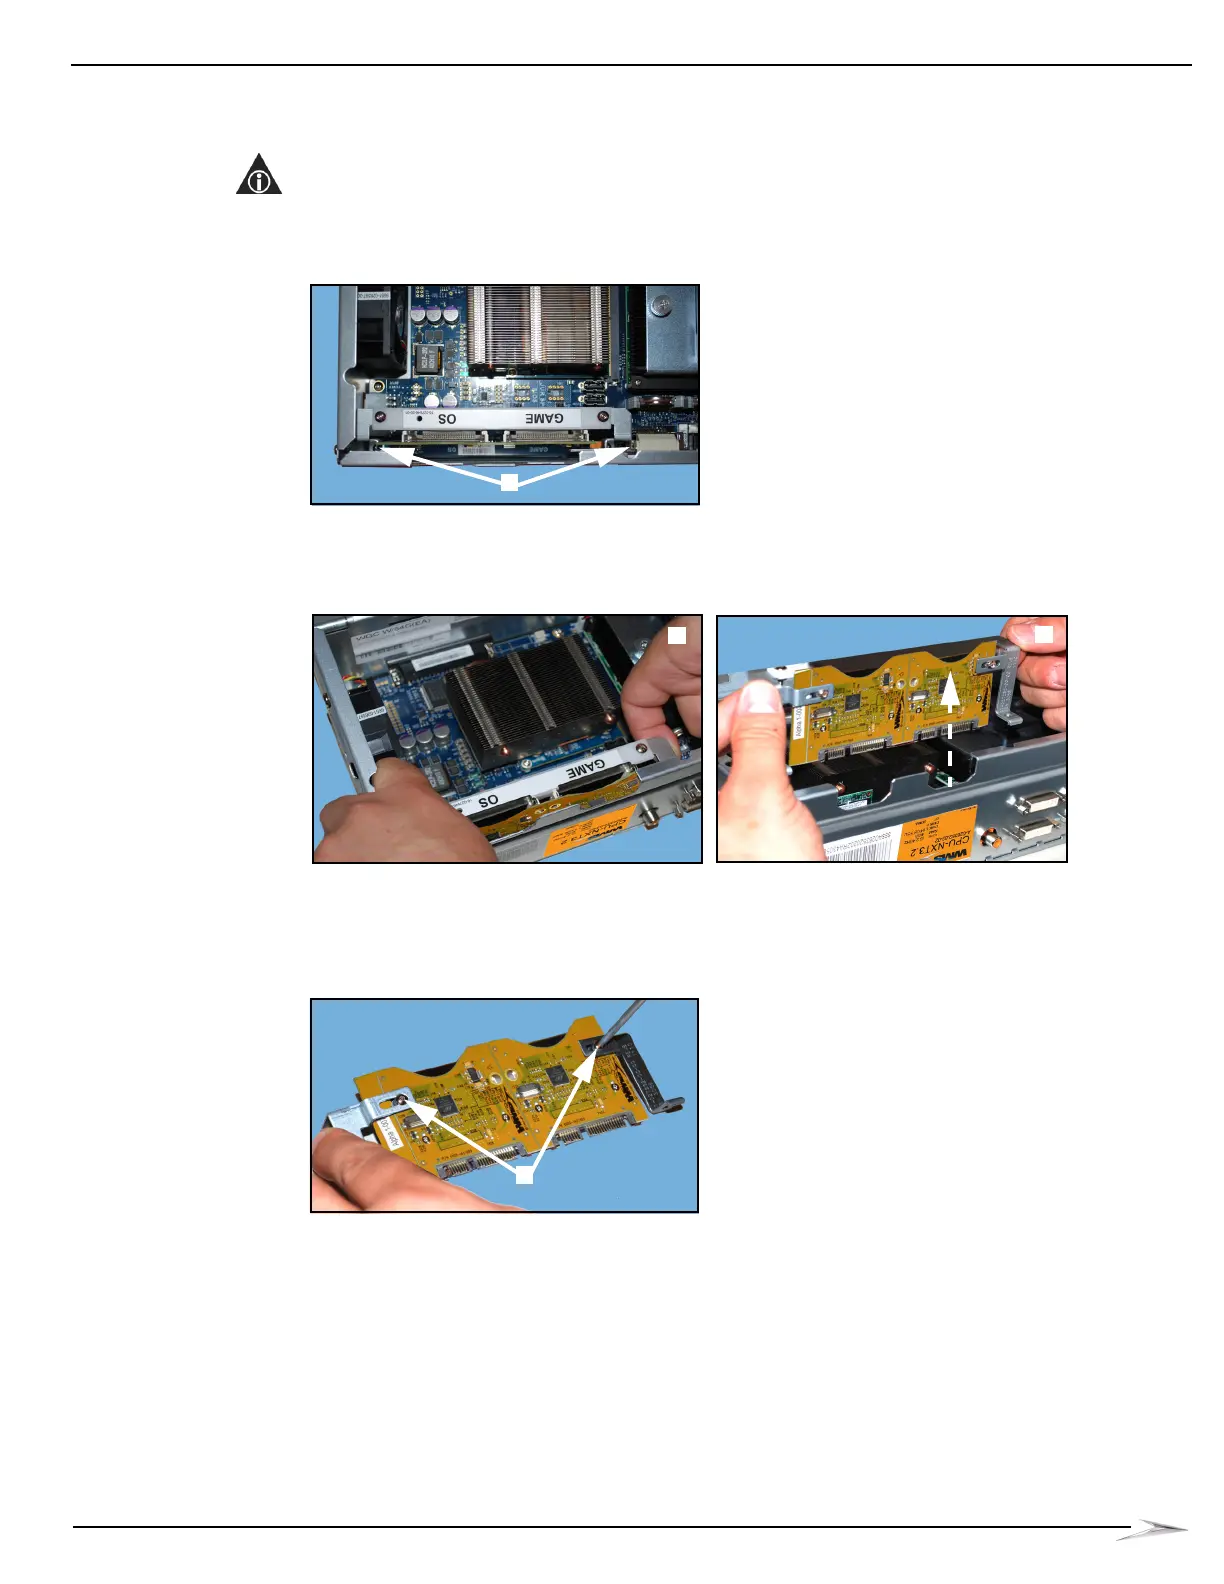
1 Using a T10 Security Torx screwdriver, remove the two security screws (4006-027320-06),
Figure 3-27 (A), that secure the PATA Board and the Board Bracket to the CPU.
NOTE: The right security screw is located between the audio jack and the DVI connector, and
the left security screw is located on the edge of the PATA Board between the faceplate input
connector and the power connector.
Figure 3-27 Remove the two security screws.
2 Holding the edges of the PATA Board Bracket, Figure 3-28 (A), carefully lift the board and
bracket out of the CPU, Figure 3-28 (B).
Figure 3-28 Hold edges of PATA Board Bracket (left) and lift board and bracket out of CPU (right).
3 Placing the SATA Board and bracket on an ESD-safe surface, use a T8 Security Torx
screwdriver to remove the two security screws, Figure 3-29 (A), securing the board to the
bracket.
Figure 3-29 Loosen security screws securing board to bracket.
4 Lift the PATA Board away from the bracket and set aside. It will not be reused.
 Loading...