3-12
Chapter 3: Maintenance
Aug 2012
Replacing CR2450
Batteries
Complete the following steps to replace one or both of the CR2450 batteries (6880-026489-00-00),
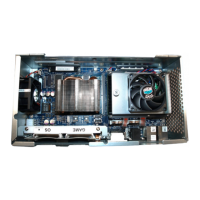
Figure 3-25 (A):
Figure 3-25 CR2450 Batteries in CPU-NXT 3.2.
ESD: Observe the following ESD Precautions listed at Preventing Injury and Damage on page 1-3:
Set the Power Switch to OFF.
Ensure that the game Line Cord is connected to the Power Entry Assembly to ground the
game.
Wear an ESD wrist strap that is secured to a ground on the game.
1 Unlock and open the Logic Door on CPU-NXT 3.2.
2 Remove CPU-NXT 3.2 from the game and place on a stable work surface.
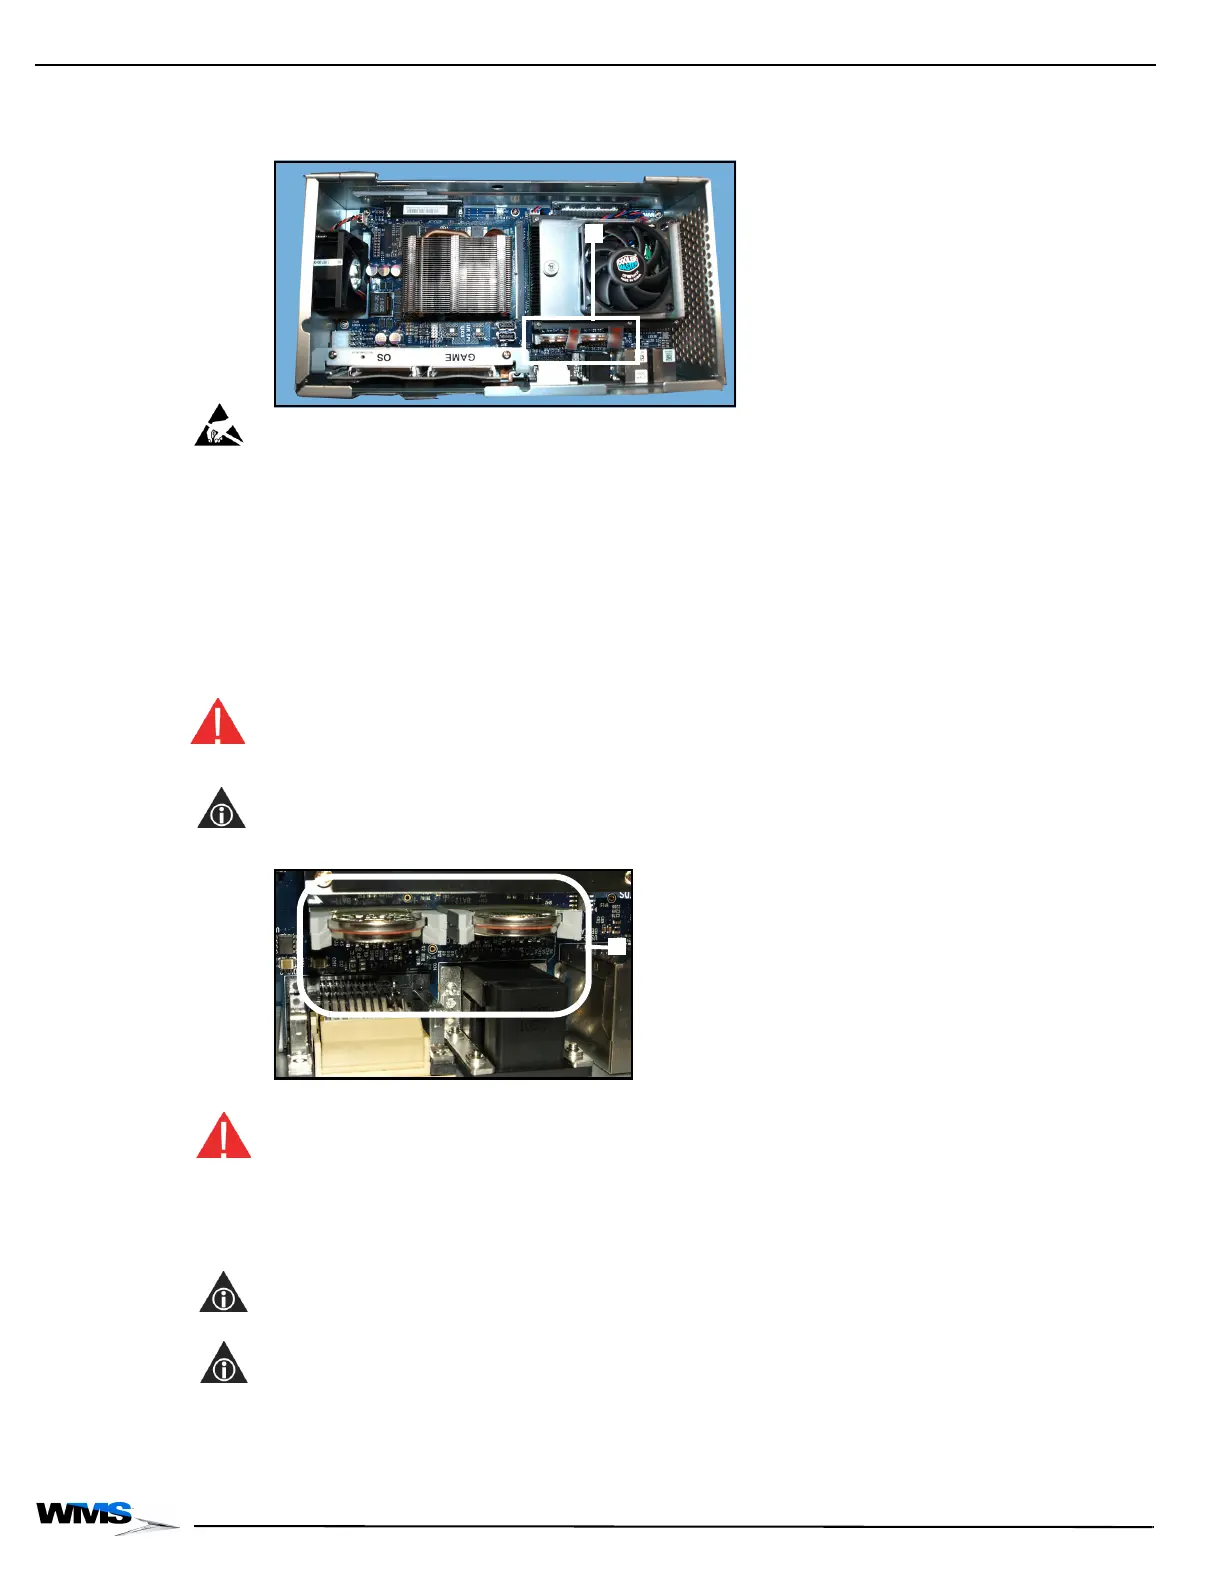
3 Grasp the dead CR2450 battery firmly with thumb and forefinger or insulated needle-nose
pliers and lift out of CPU-NXT 3.2, Figure 3-26 (A). Discard the battery.
WARNING: An explosion may result from improperly discarded CR2450 batteries. Dispose of
batteries according to local regulations. Do not dispose of battery in fire. Do not disassemble or
attempt to recharge.
NOTE: This may be done with CPU-NXT 3.2 installed in game.
Figure 3-26 CR2032 batteries.
4 Install the new CR2450 battery into the socket, Figure 3-26 (A).
WARNING: Do not install the battery backwards. An explosion may result from improperly installed
CR2450 batteries. Batteries should be installed with the positive side (larger edge) facing the COMe
module.
5 If applicable, repeat step and step 4 with the other battery.
6 Perform a RAM Clear.
NOTE: See RAM Clear on page 2-31.
7 Set the time on the system clock.
NOTE: See Service Manual and User Guide 16-020832-xx: CPU-NXT1 and CPU-NXT2
Operating System (OS) for details on setting the system clock.
 Loading...