03/2016 – UM-MT-EN-01 43
6.3.1 Adjust Leveling Feet
After positioning the device at the installation site, it may be necessary to adjust the hor-
izontal height to compensate for a slightly uneven floor. The height of the 4 leveling feet
can be adjusted.
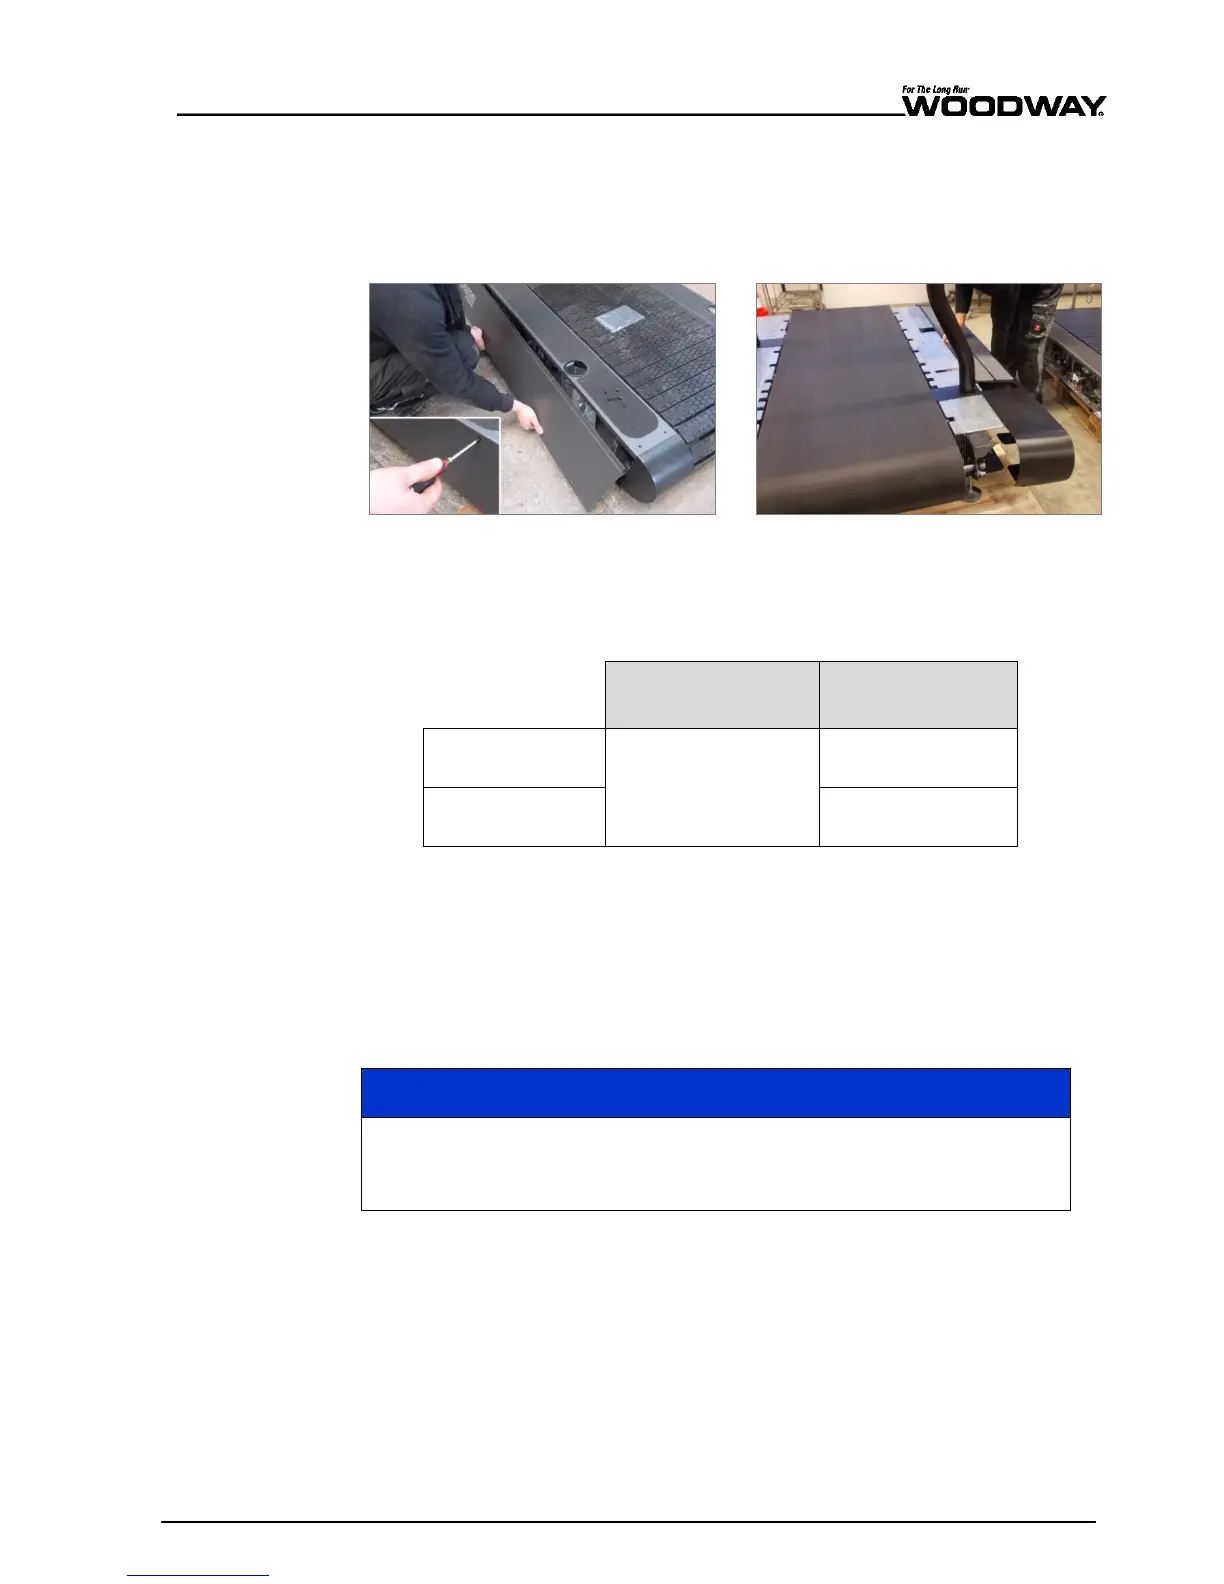
First remove the side covers using a Philips head screwdriver.
Fig. 14 Removing Side Covers
Loosen the top counter nut with the specific wrench (see table below)
Turn the bottom nut on which the frame rest until the desired height is reached.
Retighten the top counter nut
4Front, Desmo,
Mercury, Path, Pro
3/4” box wrench or
socket wrench
15/16” box wrench
or socket wrench
1 1/8” box wrench
or socket wrench
When making leveling adjustments, it is important to ensure that the frame of the
treadmill does not twist. Lift the frame of the treadmill to check for approximately equal
weight load.
6.3.2 Completion of Installation
Prior to starting operation, installation is to be completed with a trial run. During the trial
run, all device functions are to be carried out and checked.
Check Device
After the trial run has been carried out, all bolted connections, couplings, and
other connections are to be checked for tightness.
Checklist for Before Starting Operation
Check sturdiness of the device
Check electrical connections
Protect all live components against touch
Ensure that safety equipment is intact and functional
Check emergency stop switch and all control functions
Perform a malfunction-free trial run
Ensure all operators have received complete and proper instruction