June 2014
4-14
Xerox® WorkCentre® 3215/3225 Multifunction Printer Service Manual
REP 1.8, REP 1.9
Repairs
NOTE: Select the [Check USB] button to ensure that there is a good USB connec-
tion BEFORE entering the serial number. If the connection is good, “USB Success,”
will display in the area above the button. If there is an problem with the USB connec-
tion, “USB Fail“ will display.
Figure 2 PWB Serial Number Tool Screen
4. After successfuly entering the serial number, exit the PWB Serial Number writing applica-
tion.
5. Print a Configuration Report (GP 6) and check that the original machine serial number is
displayed under the Device Profile heading.
NOTE: There is a function in Diagnostics that allows for entry of the serial number using
the keypad. From Diagnostic Mode, (GP 1) select: [Data Set Up>Set Serial Number]
then, using the keypad, enter the serial number. Press the <OK> button to confirm selec-
tions. This function allows numeric entries only. For serial numbers containing alpha
characters (letters), use the serial number writing tool; USB_Serial.V1.02.exe (GP 10).
REP 1.9 Drive Motor
Parts List on PL 4.6
Removal
1. Switch Off the Printer and unplug the Power Cord.
2. Remove the following covers:
a. The Left and Right Side Covers (REP 1.2).
b. The Front Cover (REP 1.1).
c. The Rear Cover (REP 1.4).
3. Remove the Middle Cover (REP 1.3).
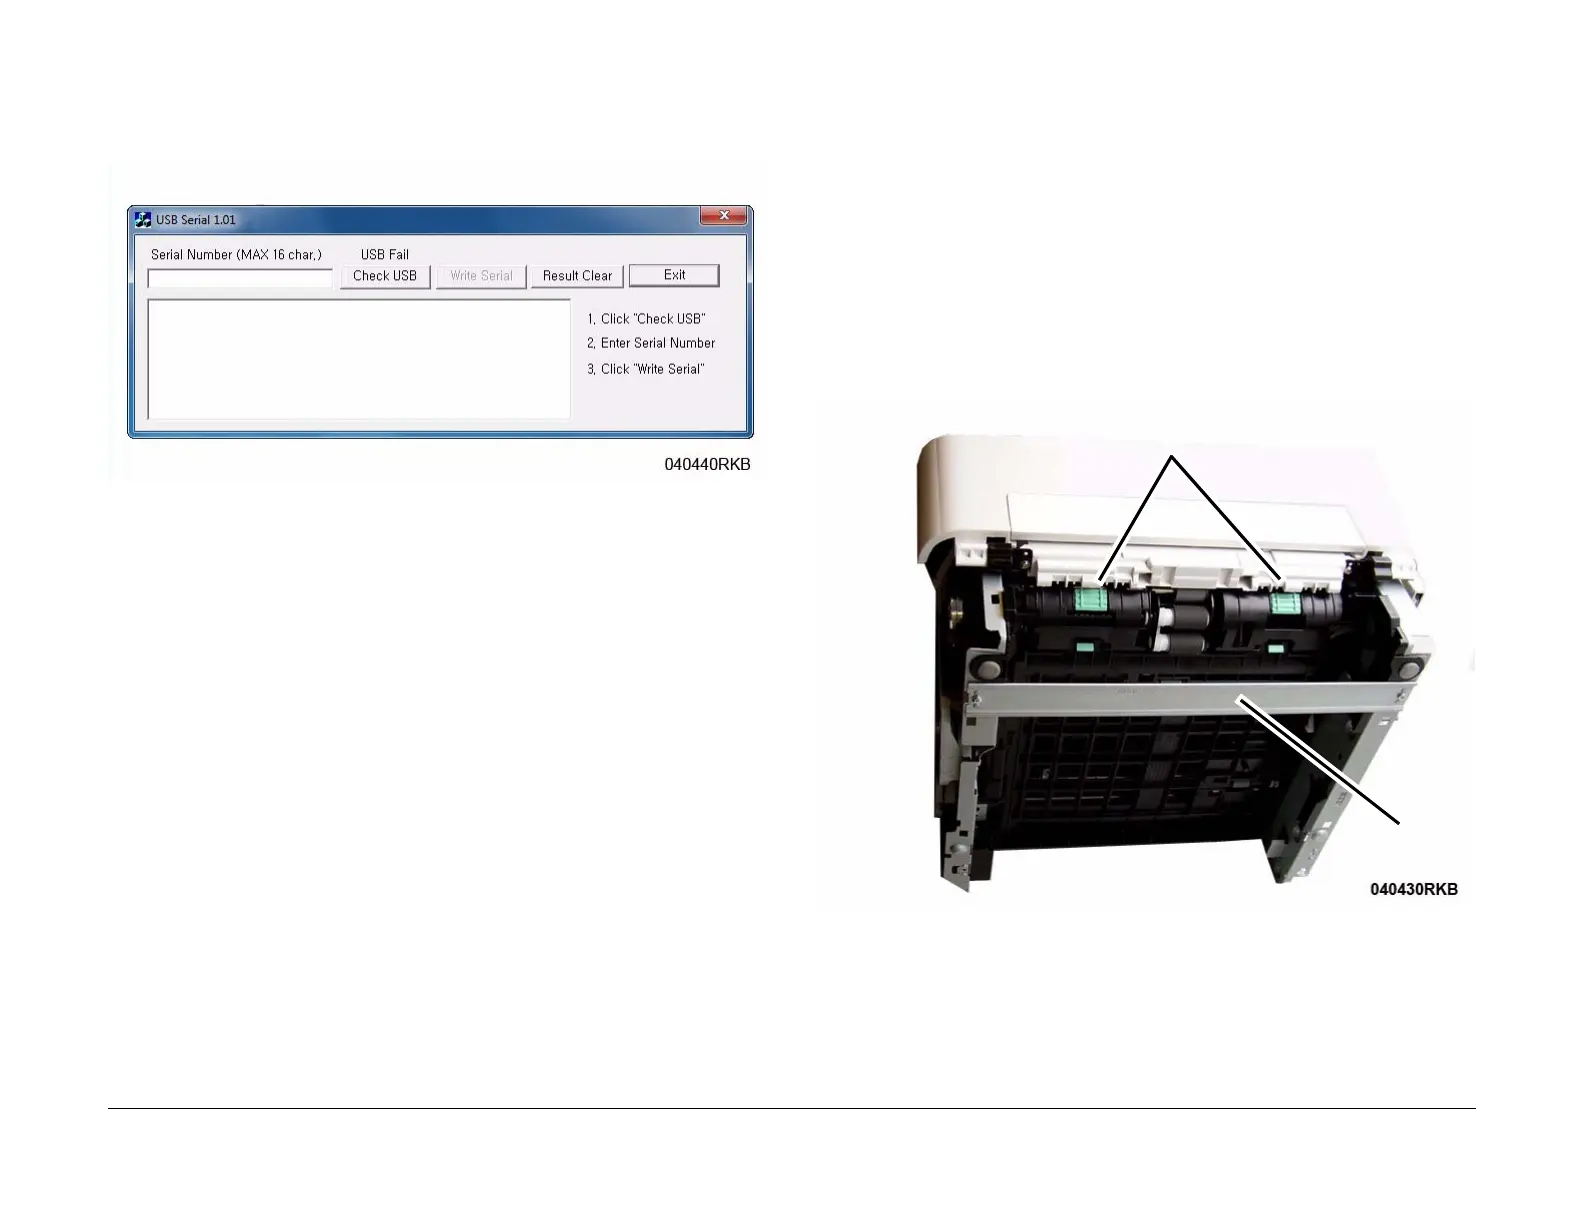
4. Remove the Bottom Bar and Duplex Module (Figure 1).
a. Remove the screws (2) and Bottom Bar.
b. Press the Green Tabs (2) to unlatch the Duplex Paper Guide.
Remove the Duplex Paper Guide through the rear of the printer.
Figure 1 Bottom Bar and Duplex Paper Guide (Bottom View)
Duplex Tabs
Bottom Bar