03/02 8.15 Line/Ext Switching Kit
WorkCentre Pro 423/428 8-37 CHAPTER 8 ACCESSORIES
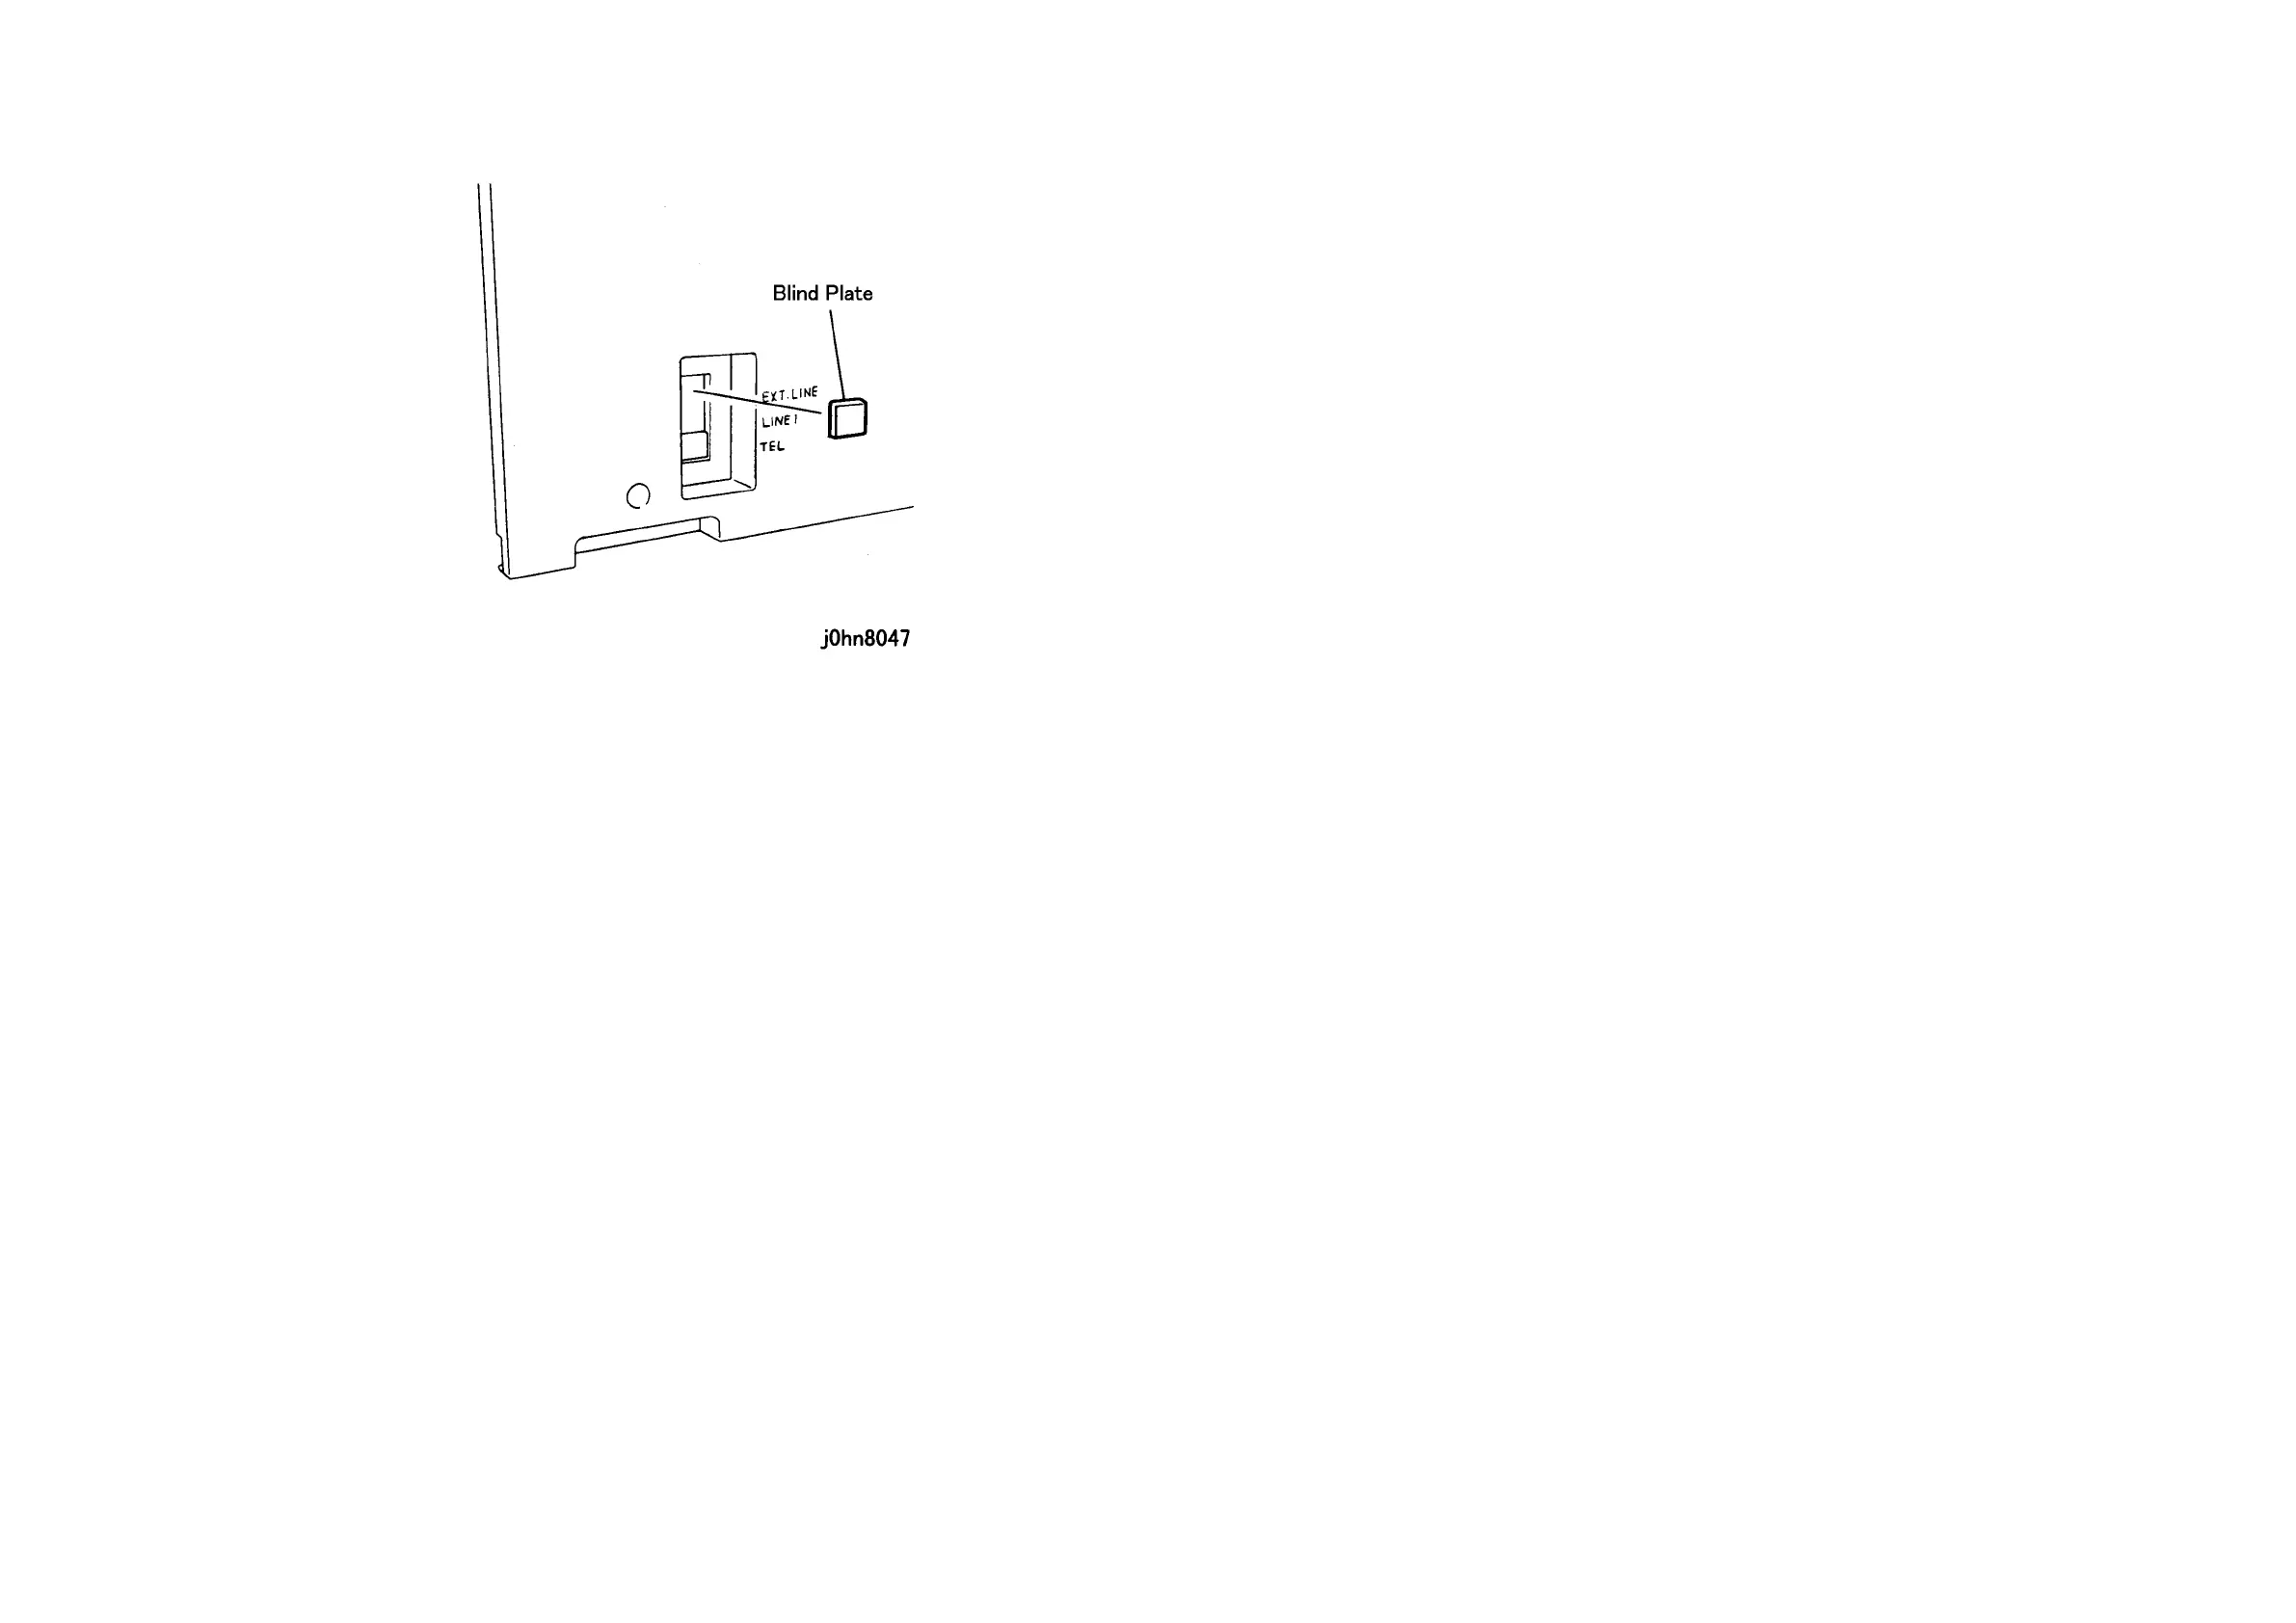
7. Provide an access hole in the Rear Cover of the Cabinet for a modular jack. (Figure-3)
1) Remove the blind plate of EXT.LINE.
(Figure-3) j0hn8047
8. Return the machine to its original state.
9. Connect the phone line to the "EXT.LINE" on the Rear Cover.
10. Connect the power cord and turn on the power.
11. Perform the setting that the MCU built-in option is installed.
1) Enter C/E Mode.
2) Set the Chain/Function code "50/106" and press the Start button.
3) Change the set value to 1.
4) Exit C/E Mode.
12. Set the [Local Fax Information] items 12 to 14.
13. Store the removed NCU-A PWB.

 Loading...


