LOWR
Lower unit
6-17
6D81G11
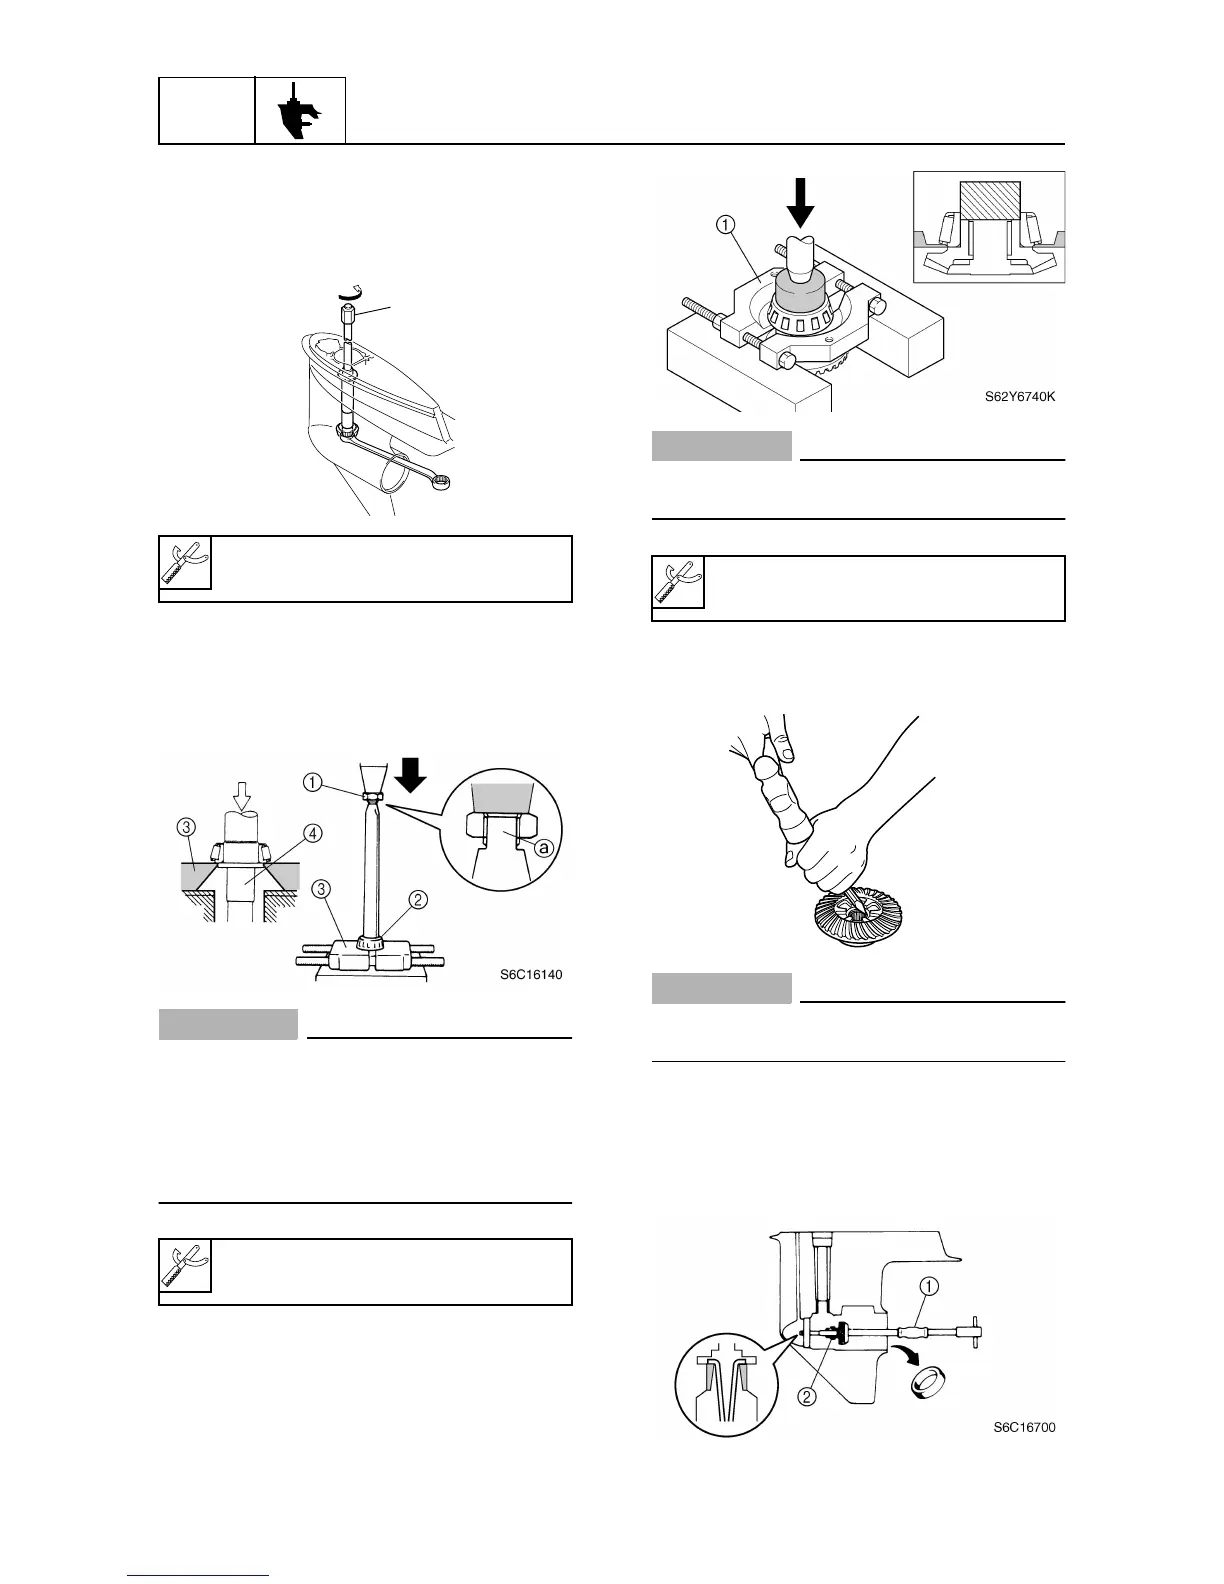
Removing the drive shaft
1. Remove the drive shaft assembly and
pinion, and then pull out the forward
gear.
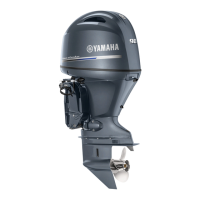
Disassembling the drive shaft
1. Install the pinion nut
1
, tighten it finger
tight, and then remove the drive shaft
bearing
2
using a press.
CAUTION:
• Do not press the drive shaft threads
a
directly.
• When removing the drive shaft bearing,
do not damage the drive shaft collar
4
.
• Do not reuse the bearing, always
replace it with a new one.
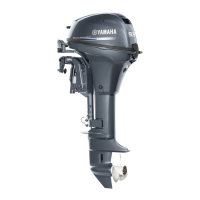
Disassembling the forward gear
1. Remove the taper roller bearing from the
forward gear using a press.
CAUTION:
Do not reuse the bearing, always replace
it with a new one.
2. Remove the needle bearing from the for-
ward gear.
CAUTION:
Do not reuse the bearing, always replace
it with a new one.
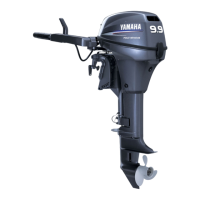
Disassembling the lower case
1. Remove the taper roller bearing outer
race and shim(s).
Drive shaft holder
1
: YB-06151
Bearing splitter plate
3
:
(commercially available)
S68S6150
1
Bearing splitter plate
1
:
(commercially available)
S68S6160