6D81G11
4-16
1
2
3
4
5
6
7
8
9
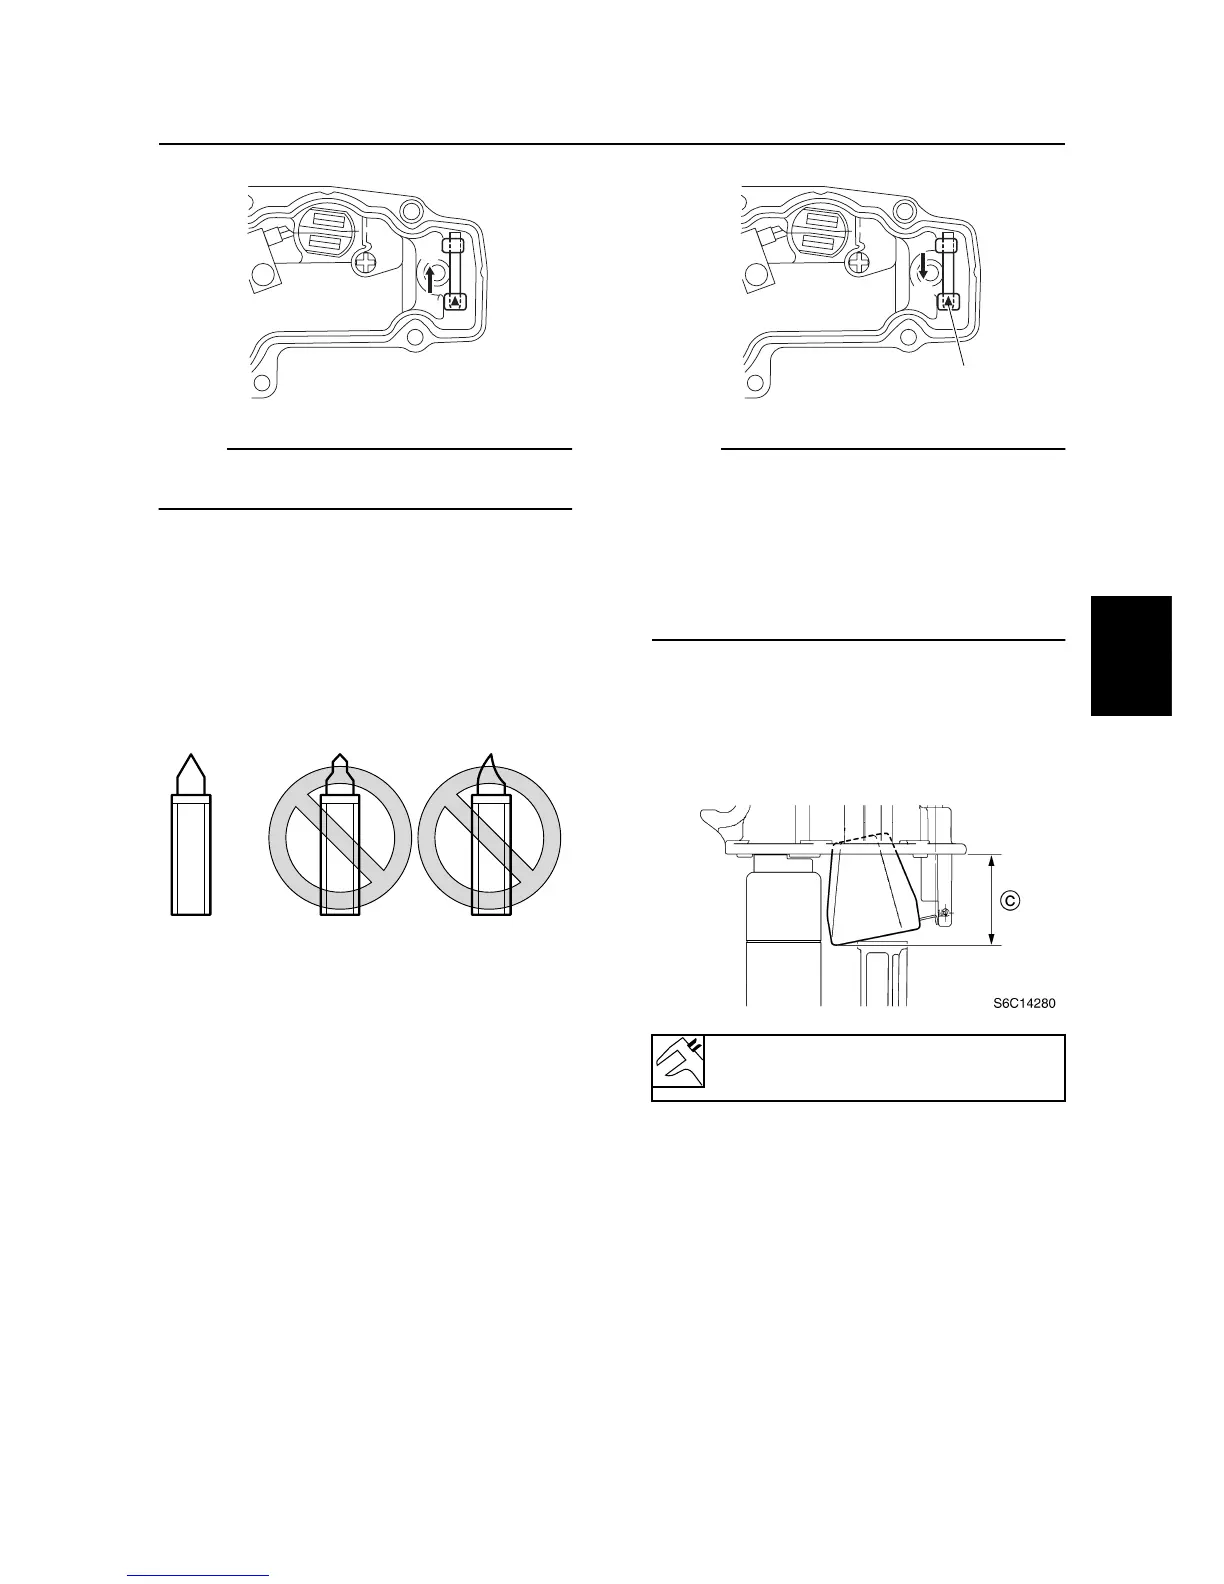
NOTE:
Remove the float pin in the direction of the
arrow
a
shown.
2. Remove the needle valve and other com-
ponents.
Checking the vapor separator
1. Check the needle valve for bends or
wear. Replace if necessary.
2. Check the float for deterioration. Replace
if necessary.
3. Check the filter for dirt or residue. Clean
if necessary.
Assembling the vapor separator
1. Install the needle valve, float, and float
pin, and then check the float for smooth
operation.
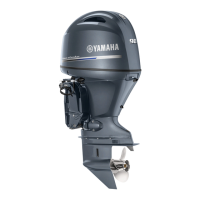
NOTE:
• Do not reuse the float pin, always replace it
with a new one.
• Install the float pin in the direction of the
arrow
a
shown.
• Install the float pin with its tapered end
towards the punch mark
b
on the vapor
separator cover.
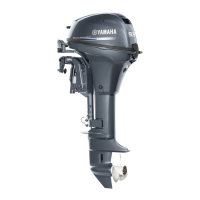
2. Check the float height
c
as shown.
Adjust the float height if out of specifica-
tion.
S6C14220
a
S6D54200
Float height
c
:
46.6
±
1.0 mm (1.83
±
0.04 in)
S6C14210
a
b
Vapor separator