6C13G11
7-46
1
2
3
4
5
6
7
8
9
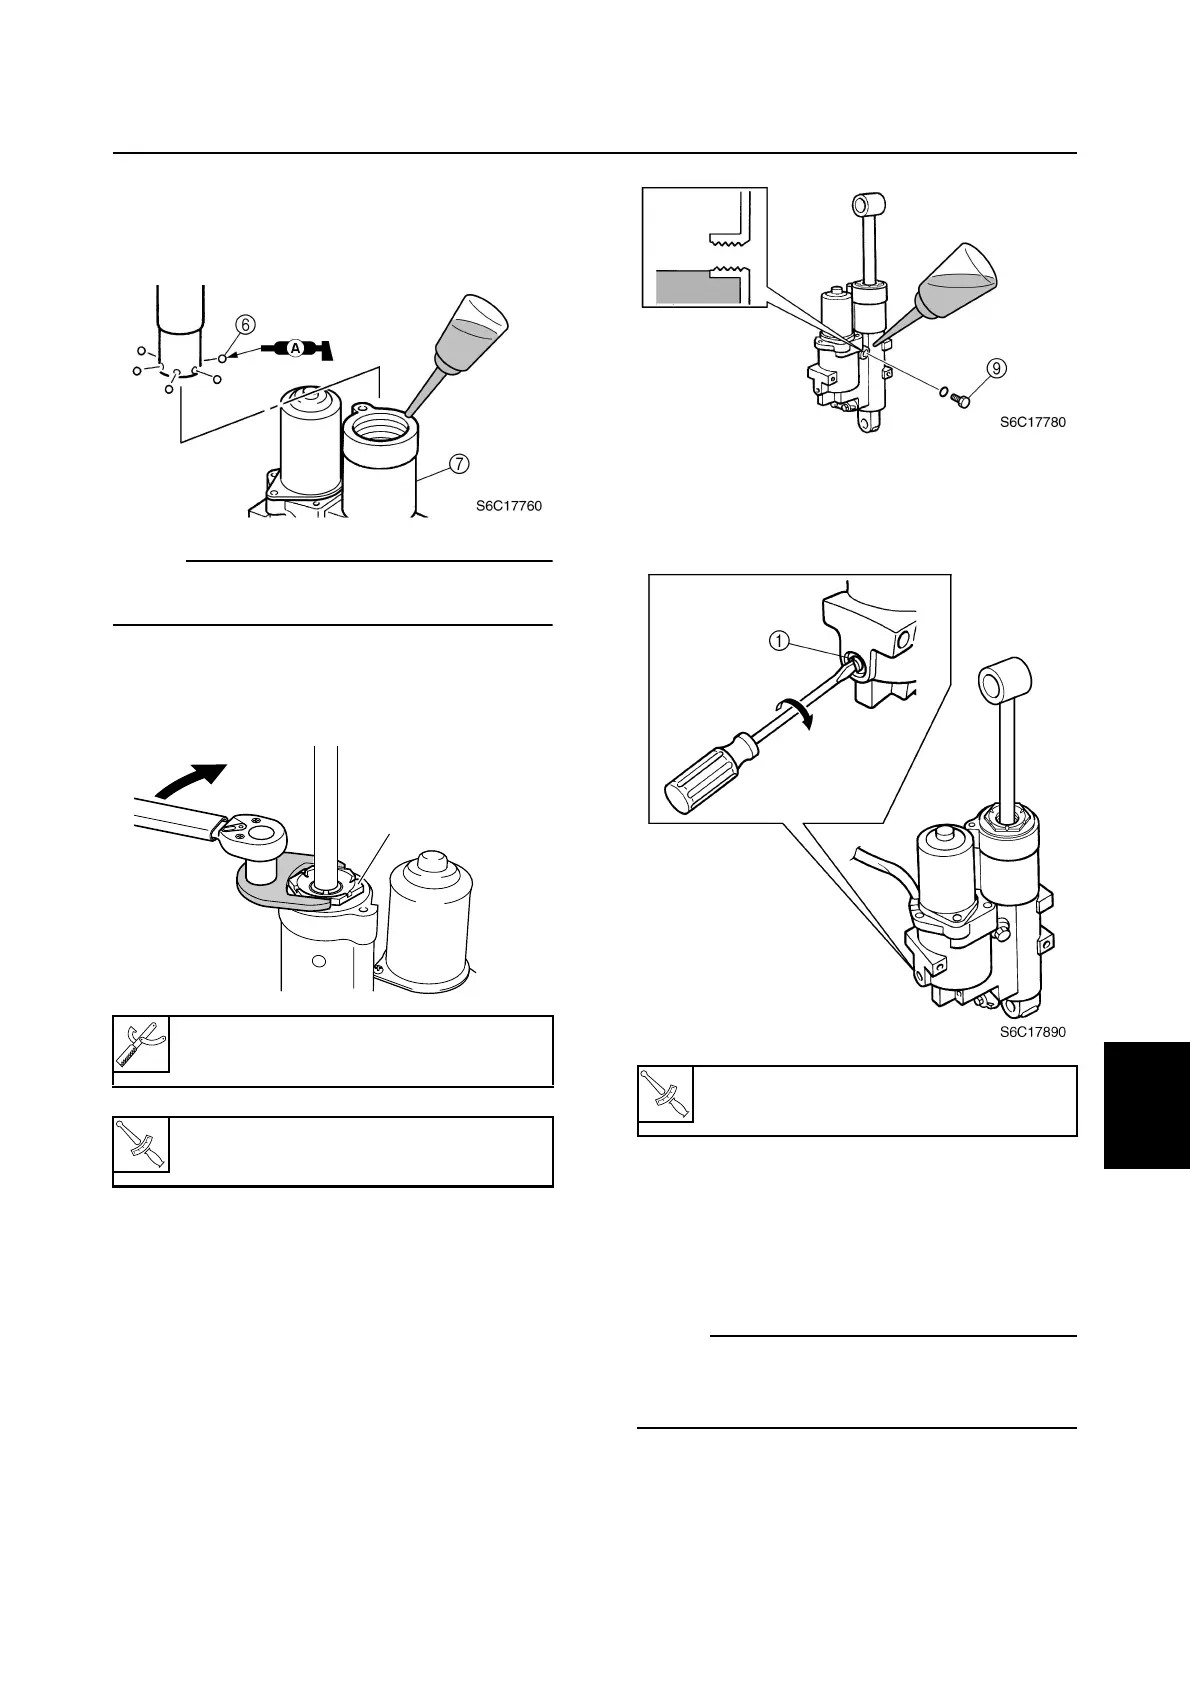
7. Install the balls
6
into the tilt cylinder,
and then insert the tilt cylinder into the
trim cylinder
7
.
NOTE:
Apply grease to the balls to prevent them
from falling off.
8. Install the trim cylinder end screw
8
, and
then tighten it to the specified torque.
9. Fully extend the tilt rod, and then add suf-
ficient fluid of the recommended type to
the correct level.
10. Install the reservoir cap
9
.
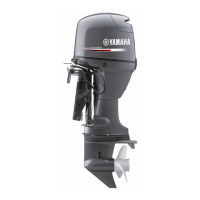
Bleeding the power trim and tilt unit
1. Tighten the manual valve
1
by turning it
clockwise.
2. Place the power trim and tilt unit in an
upright position.
3. Remove the reservoir cap, and then
check the fluid level in the reservoir.
NOTE:
If the fluid is at the correct level, the fluid
should overflow out of the filler hole when the
reservoir cap is removed.
4. If necessary, add sufficient fluid of the
recommended type until it overflows out
of the filler hole.
Cylinder-end screw wrench:
90890-06588
T
R
.
.
Trim cylinder end screw
8
:
110 N·m (11.0 kgf·m, 81.1 ft·lb)
S6C17770
8
Manual valve
1
:
2 N·m (0.2 kgf·m, 1.5 ft·lb)
Tilt cylinder and trim cylinder