Input and output patching
Reference Manual
20
2 INSERT ON/OFF button
Switches the insert on or off. The currently-specified insert point setting appears above
the button.
3 INSERT OUT button
Displays the currently-selected port for insert 1 and insert 2. Press this button to open
the PORT SELECT window, in which you can select an output port.
4 INSERT IN button
Displays the currently-selected port for insert 1 and insert 2. Press this button to open
the PORT SELECT window, in which you can select an input port. You can also view the
insert-in level by checking the indicator located to the right of this button.
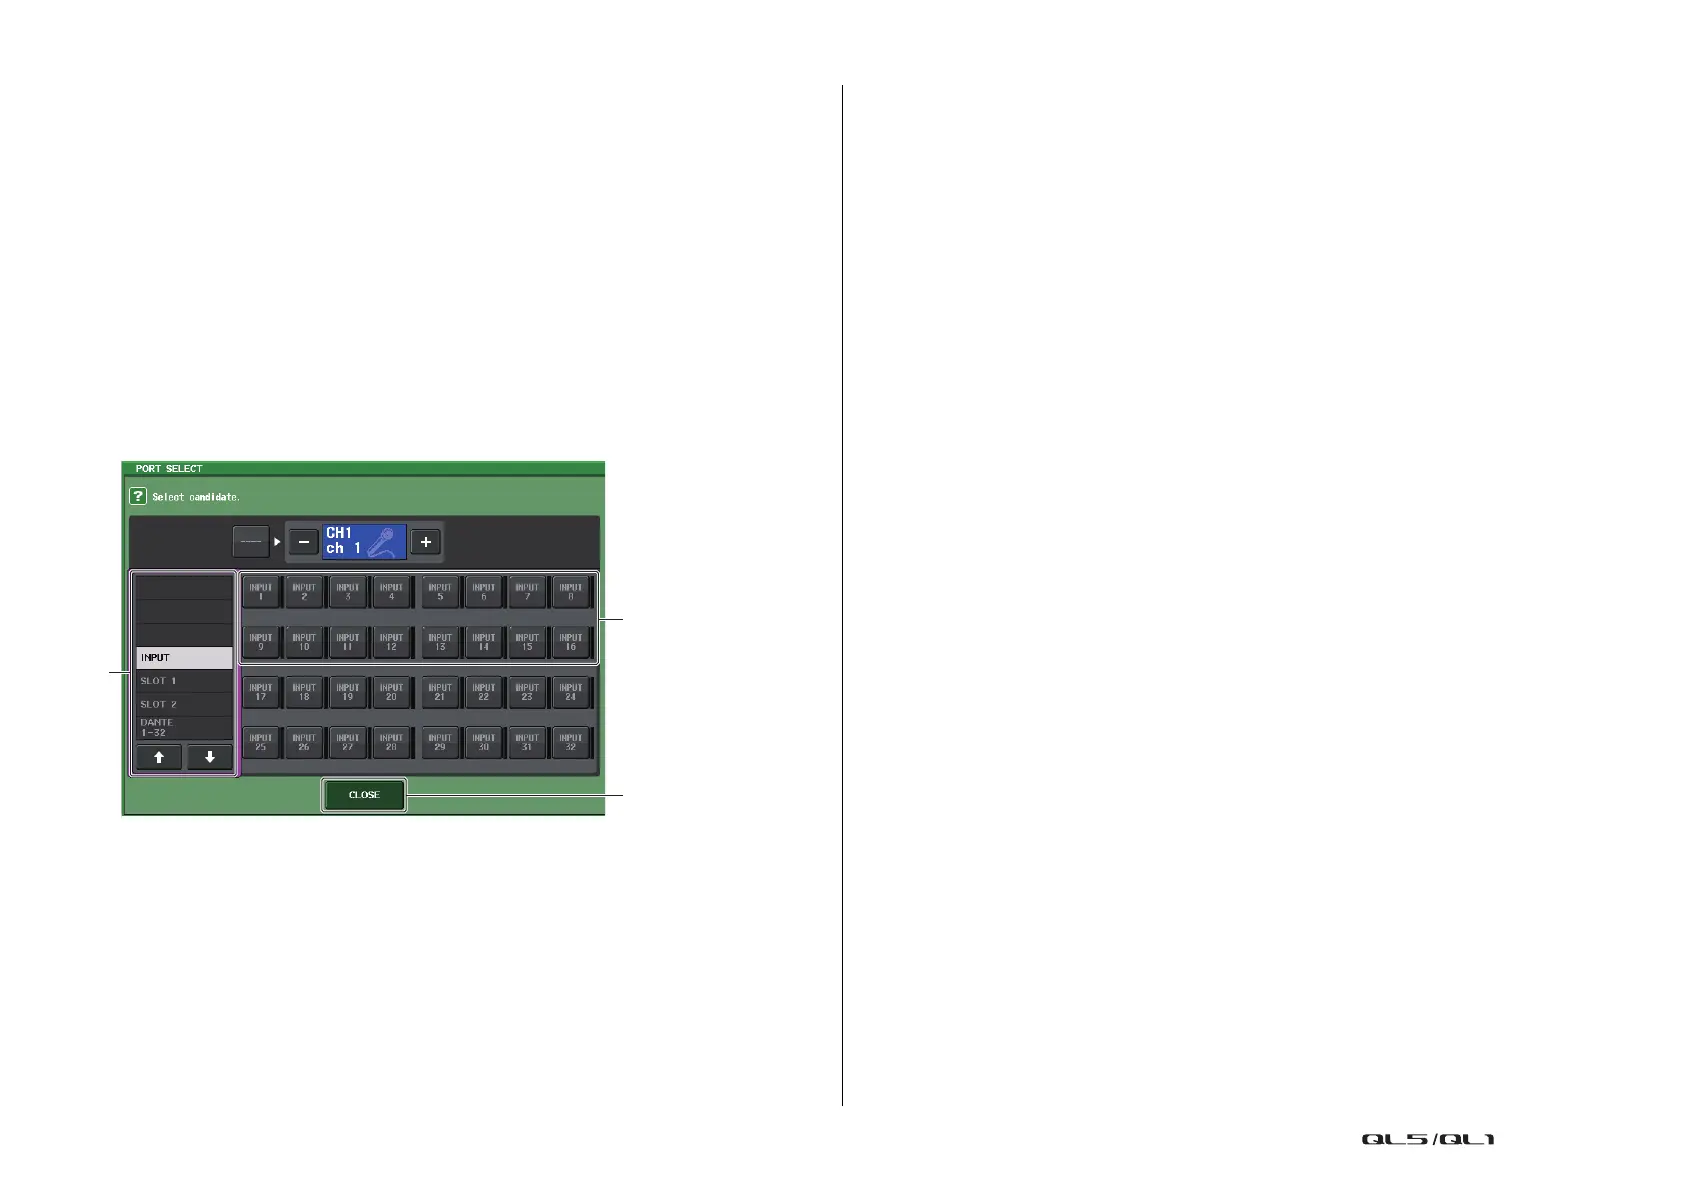
PORT SELECT window
Displayed when you press either the INSERT OUT or INSERT IN button in the one-channel
or the eight-channel INSERT/DIRECT OUT window. Set the input/output port used for
insertion.
1 Category select list
Selects the category of port. The categories correspond to the following ports. The
displayed categories vary depending on the channel type.
• DANTE1–32........................... DANTE1–DANTE32
• DANTE33–64......................... DANTE33–DANTE64 (QL5 only)
• INPUT .................................... INPUT1–32 (QL5), INPUT1–16 (QL1) (input channels
only)
• OUTPUT/DIGITAL ................. OMNI OUT1–16, DIGITAL OUT L/R (output channels
only)
• SLOT1.................................... SLOT1(1)–SLOT1(16)
• SLOT2.................................... SLOT2(1)–SLOT2(16)
• GEQ RACK............................ GEQ1L(A)–GEQ8R(B)
• EFFECT RACK...................... FX1L(A)–FX8R(B)
• PREMIUM RACK................... PR1L(A)–PR8R(B)
2 Port select buttons
Assign the port that will be used as insert-out/insert-in for the currently-selected
channel.
NOTE
If a rack in which a GEQ, PEQ or Premium Rack is mounted is specified as the insert-out or
insert-in, the other patch point will automatically be assigned to the same rack. Also, insert mode
will automatically be switched on. Additionally, if you defeat the insert-out or insert-in of a rack in
which a GEQ, PEQ or Premium Rack is mounted, the other patch point will automatically be
defeated and at the same time insert mode will automatically be switched off.
3 CLOSE button
Closes the screen.

 Loading...


