I/O devices and external head amps
Reference Manual
151
2 Port select buttons
Select the input port.
3 CLOSE button
Completes the settings and closes the window.
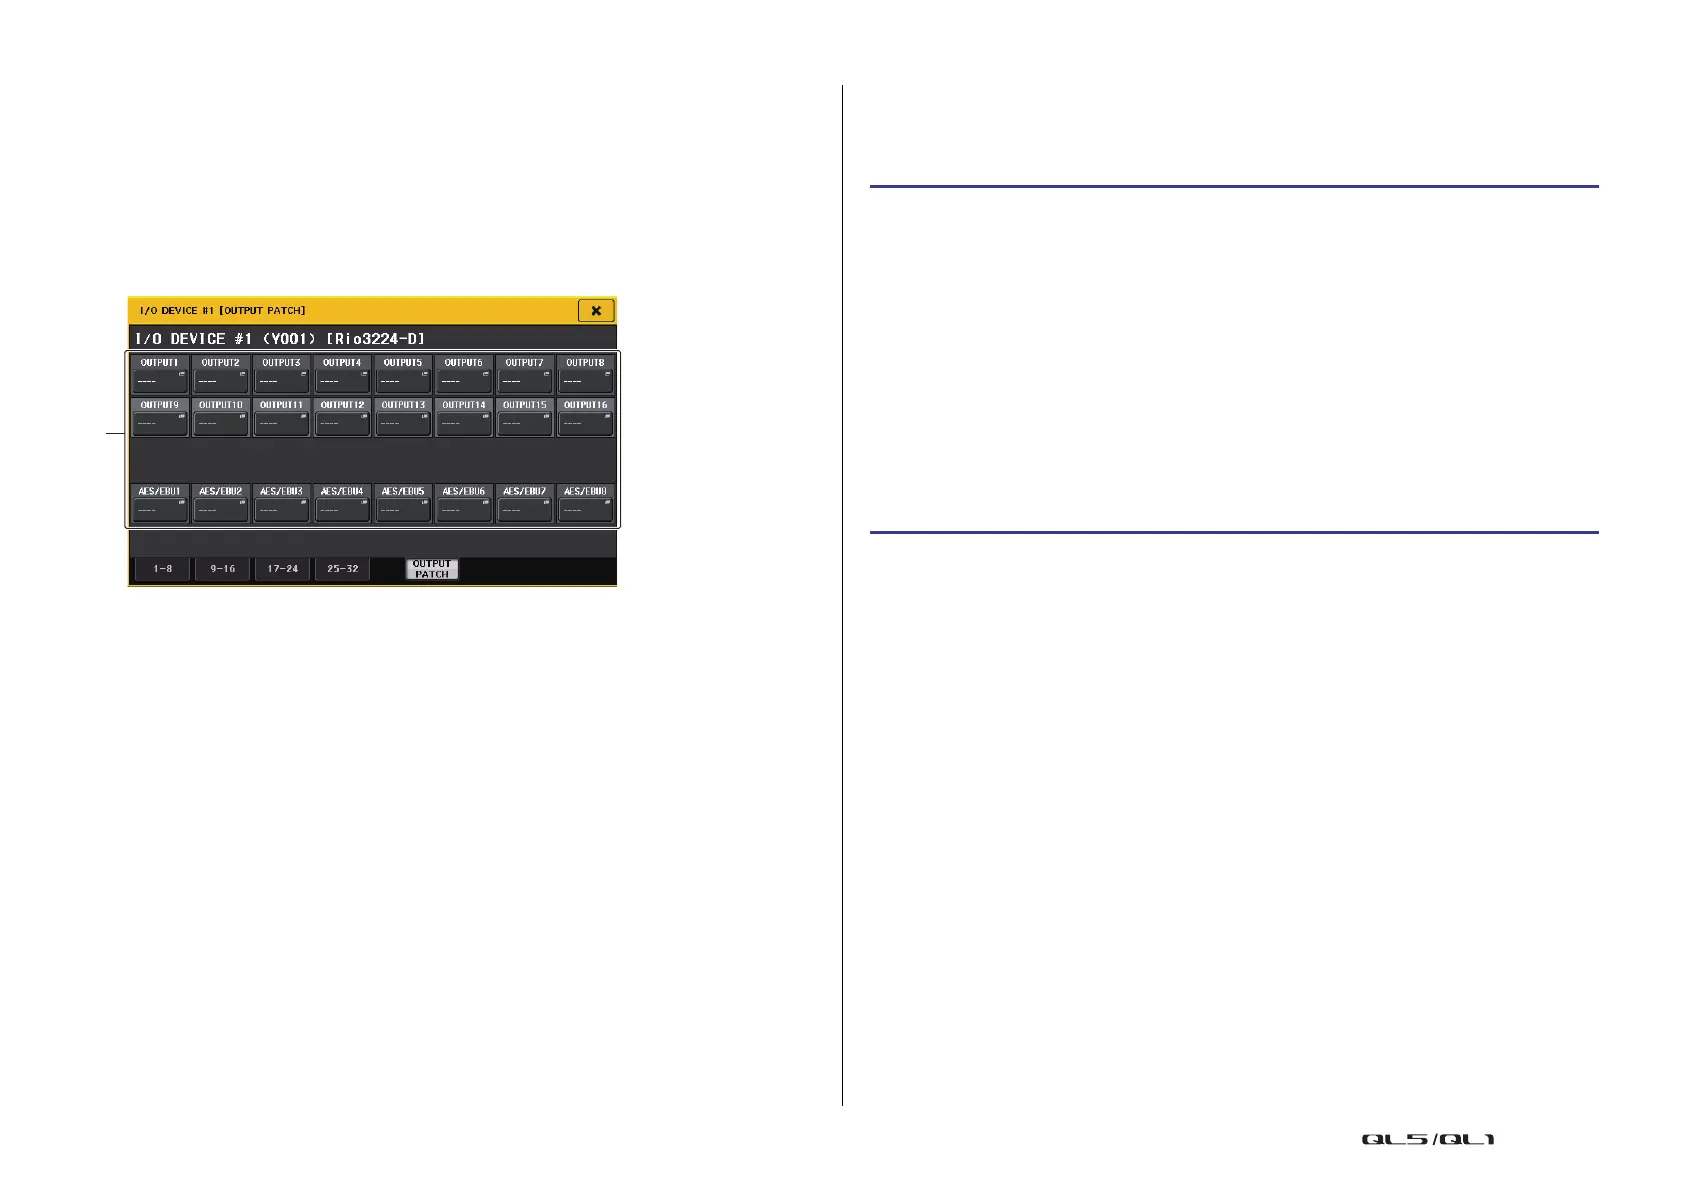
OUTPUT PATCH window
Displayed when you press the device in the I/O DEVICE screen (DANTE PATCH page). Set
the output patch.
1 Port select buttons
Press one of the buttons to open the PORT SELECT popup window.
Remotely controlling an R series unit
This section explains how to remotely control an R series unit that’s connected to the Dante
connector.
STEP
1. In the upper part of the I/O DEVICE screen, press the I/O tab to display the I/O
DEVICE screen (I/O page).
2. Press the rack in which the I/O device that has head amp functionality is mounted.
3. Open the I/O DEVICE HA screen to remotely control the head amp of the I/O device.
4. To remotely control a head amp from an input channel, press a knob in the
SELECTED CHANNEL section to display the SELECTED CHANNEL VIEW screen.
5. Press the GAIN/PATCH field of the channel you want to adjust. The GAIN/PATCH
window will appear.
6. Control the head amp of the I/O device in the GAIN/PATCH window.
7. When you have finished making settings, press the “x” symbol to close the window.
8. Press the rack in which the I/O device on the OUTPUT side is mounted.
9. Set the output port on the OUTPUT PATCH window, as necessary.
Refer to step 7 in “I/O device patching”on page 149.

 Loading...


