CONNECTIONS
Connecting speakers
En 22
3
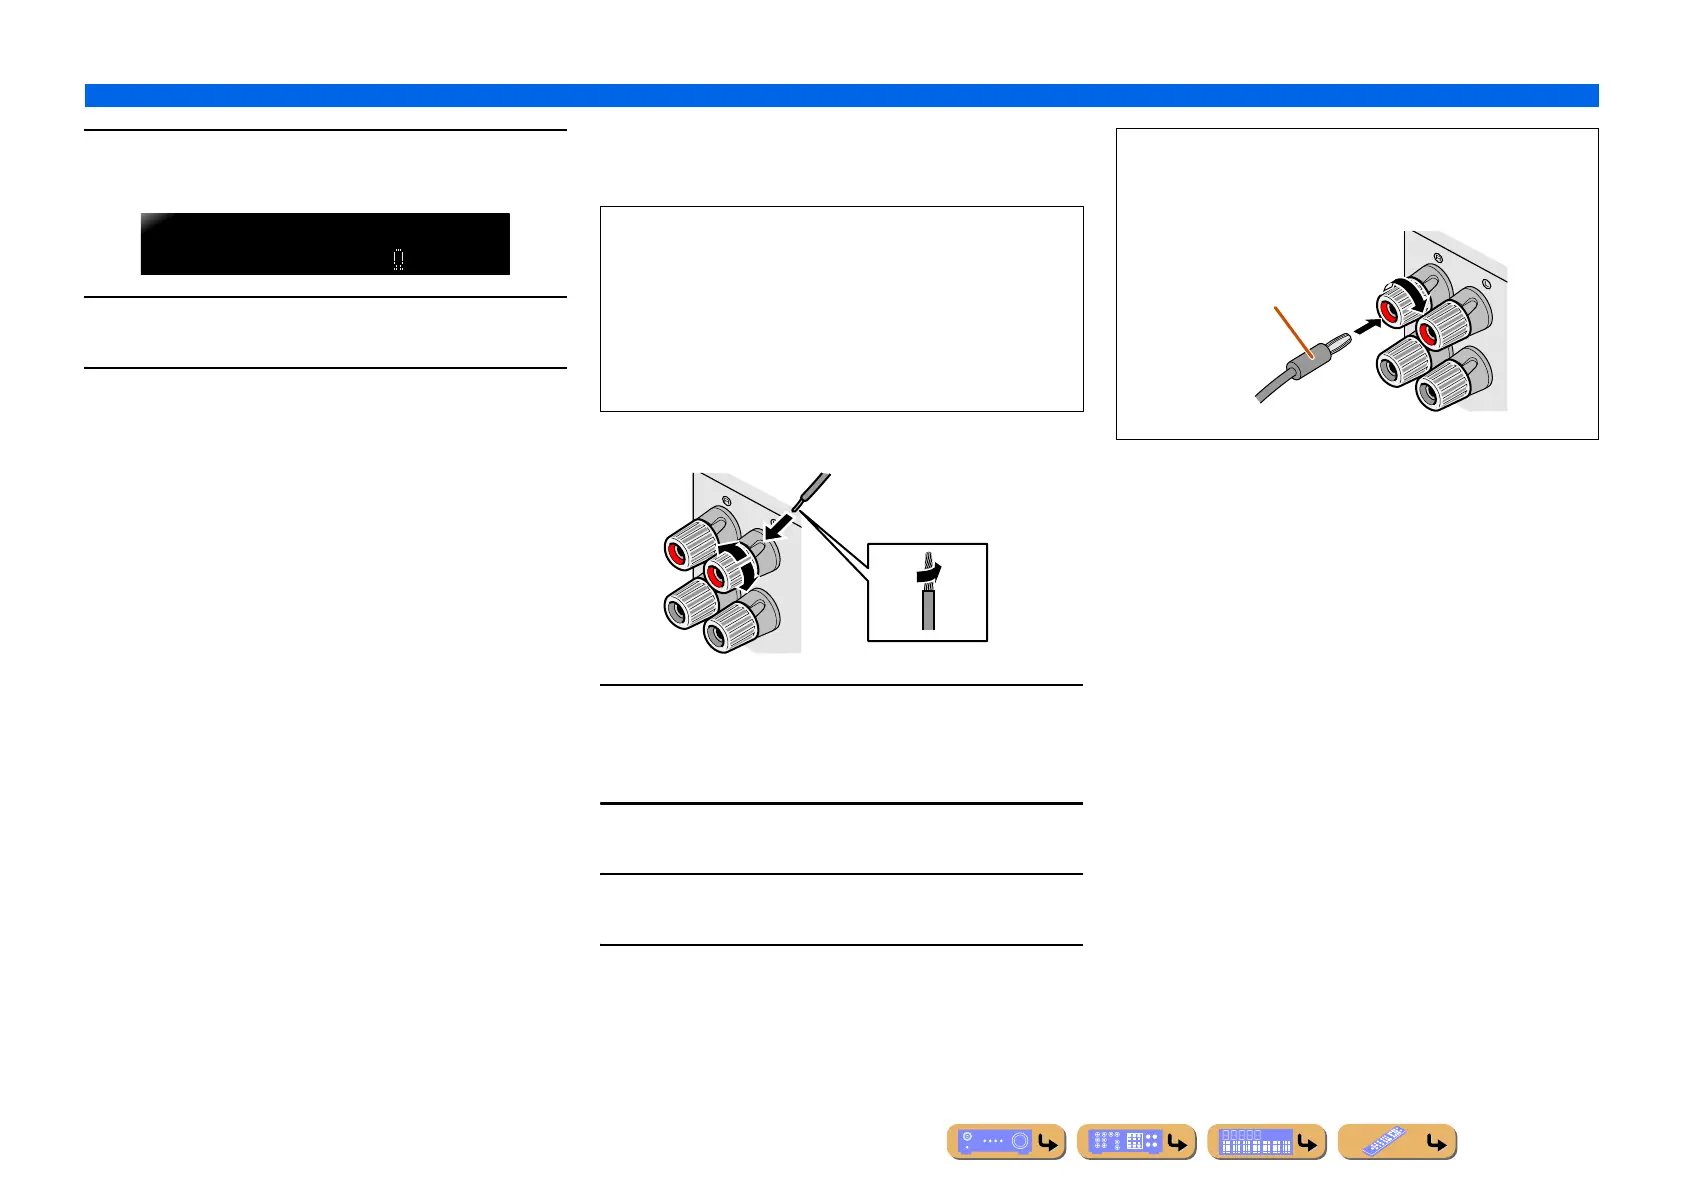
Check that “SPEAKER IMP.” is displayed on the
front panel.
4
Press STRAIGHT repeatedly to select a “6ΩMIN.”
5
Switch this unit to the standby mode, and then
switch it on again.
The power turns on, when the settings you made has been
configured.
■
Connecting speakers
This type of jack can connect to the following speakers or
connection.
1
Remove approximately 0.4 in. (10 mm) of insulation
from the ends of the speaker cables, and twist the
bare wires of the cables together firmly so that they
will not cause short circuits.
2
Loosen the speaker terminals.
3
Insert the bare wire of the speaker cable into the gap
on the side of the terminal.
4
Tighten the terminal.
SPEAKERIMP.
8MIN
• Front L/R speakers
• Center speaker
• Surround L/R speakers
• Surround back L/R speakers
• Front presence L/R speakers
• Rear presence L/R speakers
• Zone2/Zone3 speakers
• Bi-amp connection (Front L/R speakers)
-
2
3
1
4
+
Connecting the banana plug
Tighten the knob, and then insert the banana plug into the end of
the terminal.
+
Banana plug

 Loading...