CLUTCH
5-54
6. Install:
• Friction plate 1 “1”
• Clutch plate “2”
• Friction plate 2 “3”
• Install the clutch plates and friction plates alter-
nately on the clutch boss, starting with a friction
plate and ending with a friction plate.
• From the clutch boss side, install the friction
plates in order: friction plate 1 (identification
color: black) 1, friction plate 2 (identification
color: orange) 6, and friction plate 1 (identifi-
cation color: black) 1.
• Apply the engine oil on the friction plates and
clutch plates.
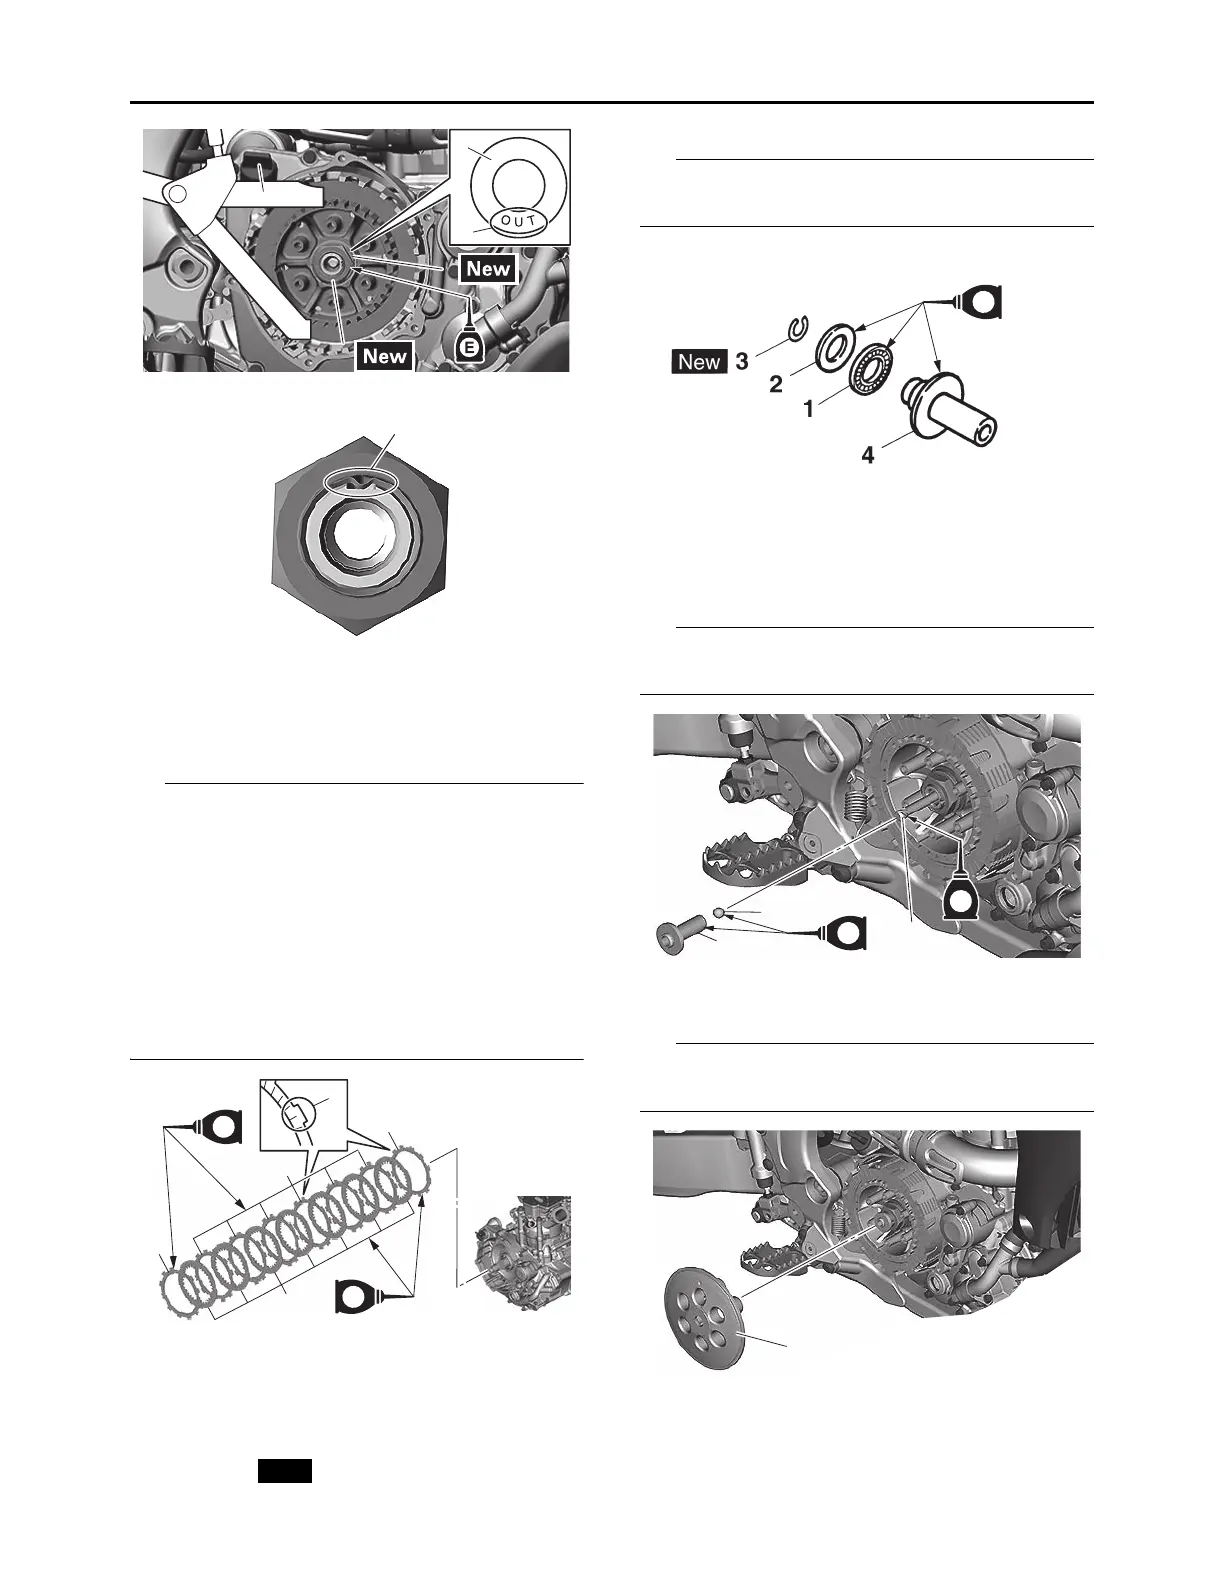
7. Install:
• Bearing “1”
• Washer “2”
• Circlip “3”
(to the push rod 1 “4”)
Apply the engine oil on the bearing, washer and
push rod 1.
8. Install:
• Push rod 2 “1”
• Ball “2”
• Push rod 1 “3”
Apply the engine oil on the push rod 1, 2 and
ball.
9. Install:
• Pressure plate “1”
Making sure to align a “a” on the pressure plate
with the punch mark “b” on the clutch housing.
a. Identification color
1
3
1
2
a
b
E
E
1
1
2
3
a
E
E
E
1
2
3
1
 Loading...