Initial Setup 1 - 3
Status Indications
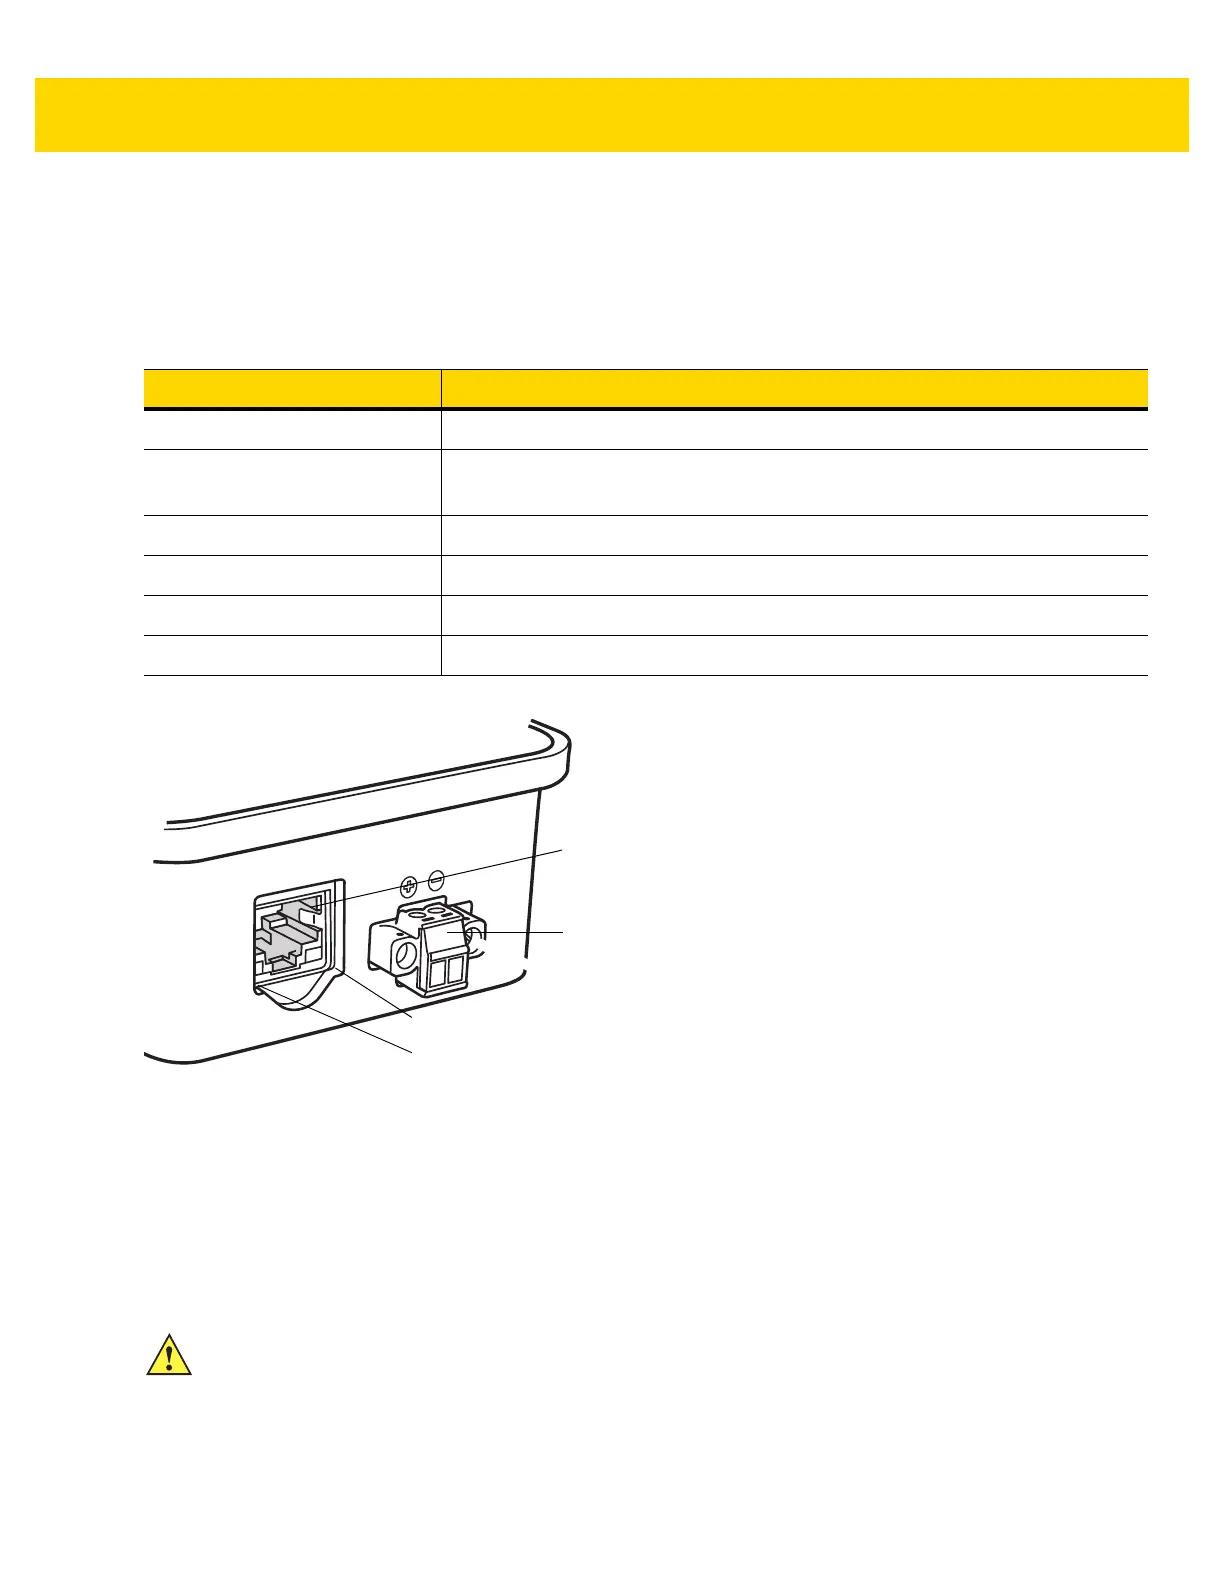
The EA3600 Ethernet LEDs provide information on the current status of the device (see Figure 1-2). The Ethernet
Link Activity LED blinks on Ethernet activity and is always yellow. The Device Status LED changes its state/color to
indicate the current state of the EA3600. Table 1-1 lists the different LED states and their descriptions.
Figure 1-2 EA3600 RJ45 Ethernet Jack LEDs
Connection Setup
The following steps illustrate how to setup the EA3600 for the first time.
1. Connect the EA3600 to your Ethernet infrastructure network via the RJ45 port (labeled E-Net) using a standard
CAT5/6 Ethernet cable.
2. Connect a Zebra DS36xx scanner RS-232 cable to the serial port on the device (port labeled Scanner).
3. Insert the mod-jack end (opposite end of the DB-9 RS-232 cable) into a corded DS36xx scanner or
STB36xx/FLB36xx cradle.
4. Connect the 12V barrel jack into the power port on the device (port labeled 12v power).
Table 1-1 EA3600 Device Status LED Indications
LED State Description
Off No power.
Solid Yellow Currently in Boot Loader mode.
Note: In this mode, only firmware updates function.
Solid Green Powered and connected to a valid scanner.
Flashing Green/Yellow (Slow) Powered but not connected to a valid scanner.
Flashing Green/Yellow (Fast) In the firmware update process uploading new product code.
Flashing Green Requested by PROFINET software to flash its LEDs
Device Status LED
Ethernet Link Activity LED
RJ45 Ethernet Port
Auxiliary 24V Port
CAUTION When connecting the scanner to the EA3600, wait five seconds before scanning barcodes. During this
time the EA3600 interrogates the scanner and configures it for operation.