Applications
75
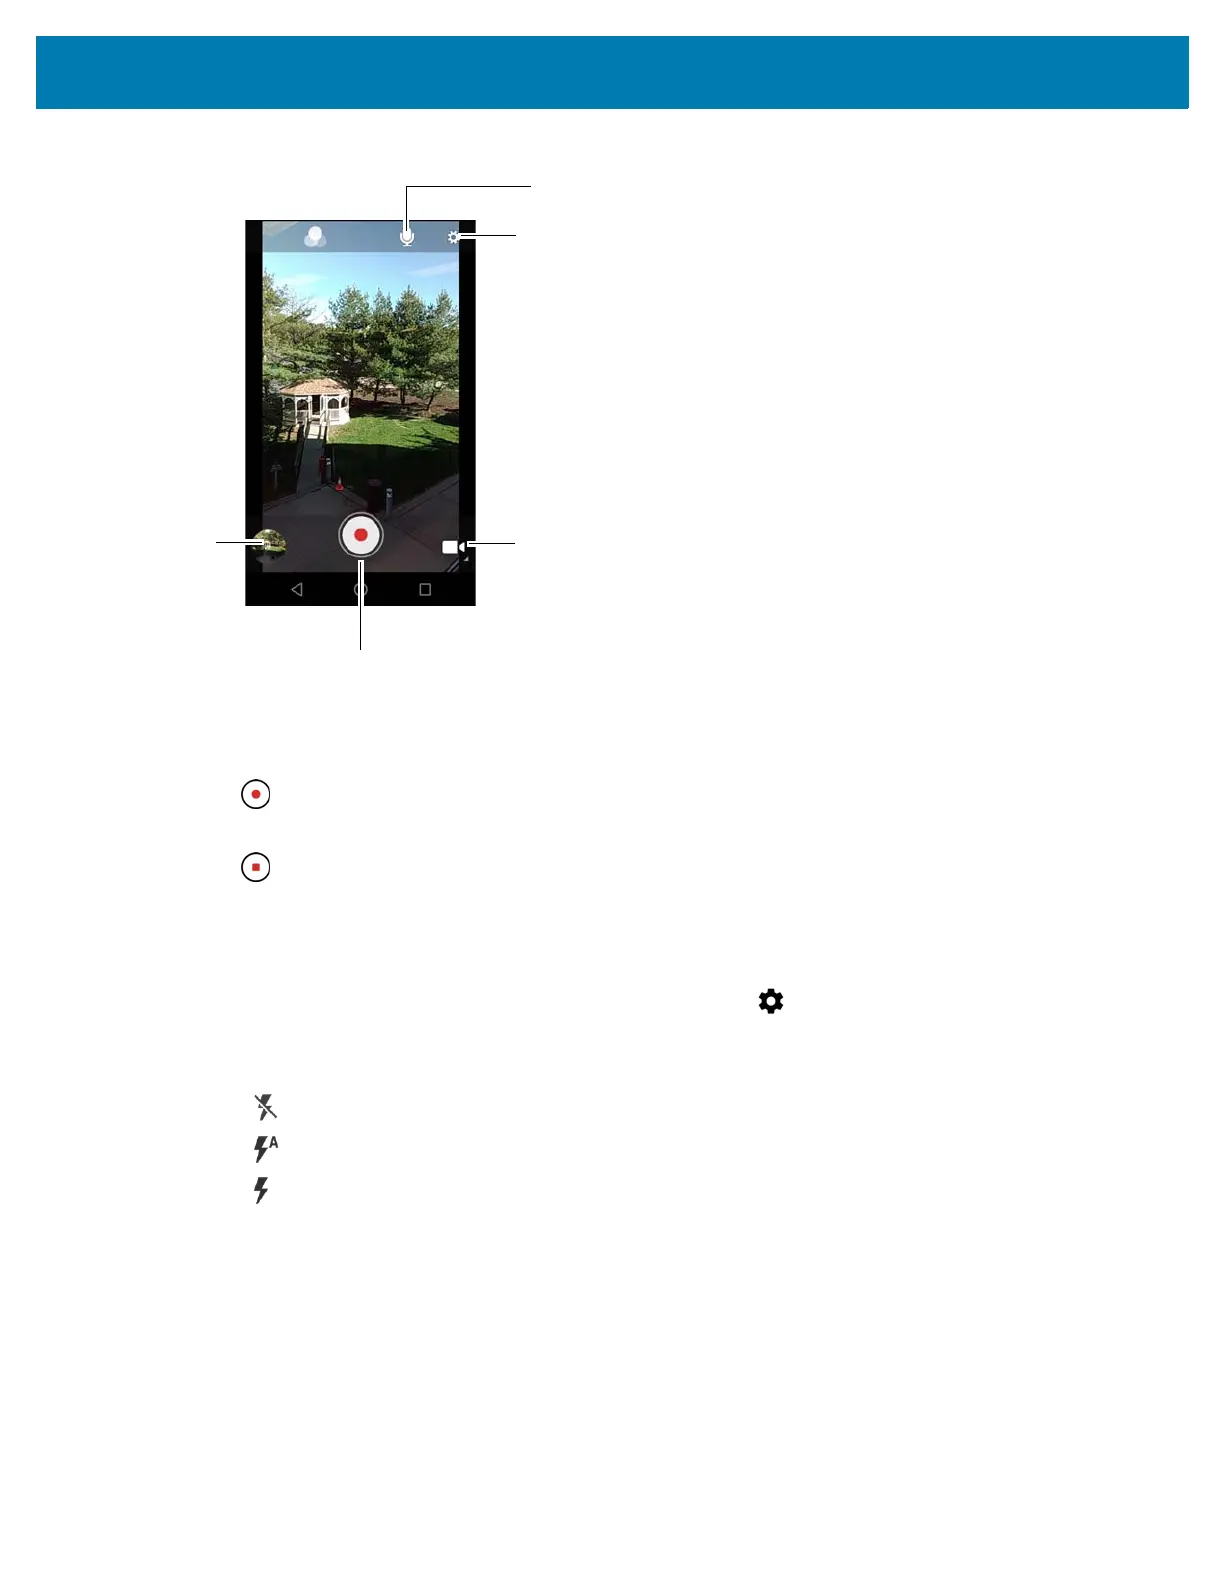
Figure 65 Video Mode
3. Point the camera and frame the scene.
4. To zoom in or out, press two fingers on the display and pinch or expand fingers. The zoom controls appear on
the screen.
5. Touch to start recording.
The device starts recording the video. The video time remaining appears in the top left of the screen.
6. Touch to end recording.
The video momentarily displays as a thumbnail in the lower left corner.
Photo Settings
When in Photo mode, photo settings are displayed on screen. Touch to display the photo settings options.
• Flash - Touch to set whether the camera relies on its light meter to decide whether a flash is necessary, or
to turn it on or off for all shots.
• Off - Disable flash.
• Auto - Camera adjusts flash automatically depending upon light meter (default).
• On - Enable flash upon taking a photo.
• Picture size - Touch to set the size (in pixels) of the photo. Options: 8M pixels (default), 5M pixels, 4M
pixels (16:9), 3M pixels, HD 1080, 2M pixels, 1.5M pixels, 1.3M pixels, WXGA, HD 720, 1M pixels,
SVGA, WVGA, 720 x 480, VGA, CIF or QVGA.
• Picture quality - Touch to select picture quality setting. Options: Low, Standard (default) or High.
• Countdown timer - Select amount of time after pressing the camera button that the photo is taken.
Options: Off (default), 2 seconds, 5 seconds or 10 seconds.
• Storage – Touch to select location to store the photo. Options: Phone (default) or SD Card.
• Continuous Shot - Select to take a series of photos quickly while holding the capture button. Options: Off
(default) or On.
Camera Mode
Settings
Audio
Shutter Button
Gallery