663D SYSTEMS, INC.
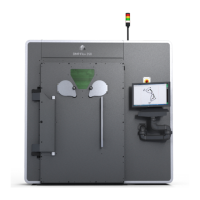
9. Using the brush, remove powder between the 2 pistons, and clean the
sintering plate by sweeping any unsintered powder from the left to the
right (1) towards the collecting cans.
Always scoop slowly as close as possible to the surface to avoid
producing dust from material.
10. Let the right glove door open (maximum aperture, to not be located above the sintering piston).
11. Remove hands from the printer.
12. Close the front doors.
13. Move up the sintering piston by about 30 mm.
14. Open the front doors of the machine.
15. Repeat steps from 8 to 13 until the sintering plate reaches its top position.
16. Continue removing the excess of powder of the sintering plate.
17. Remove the build platform (the build platform is already unclamped) and place it in the airlock.
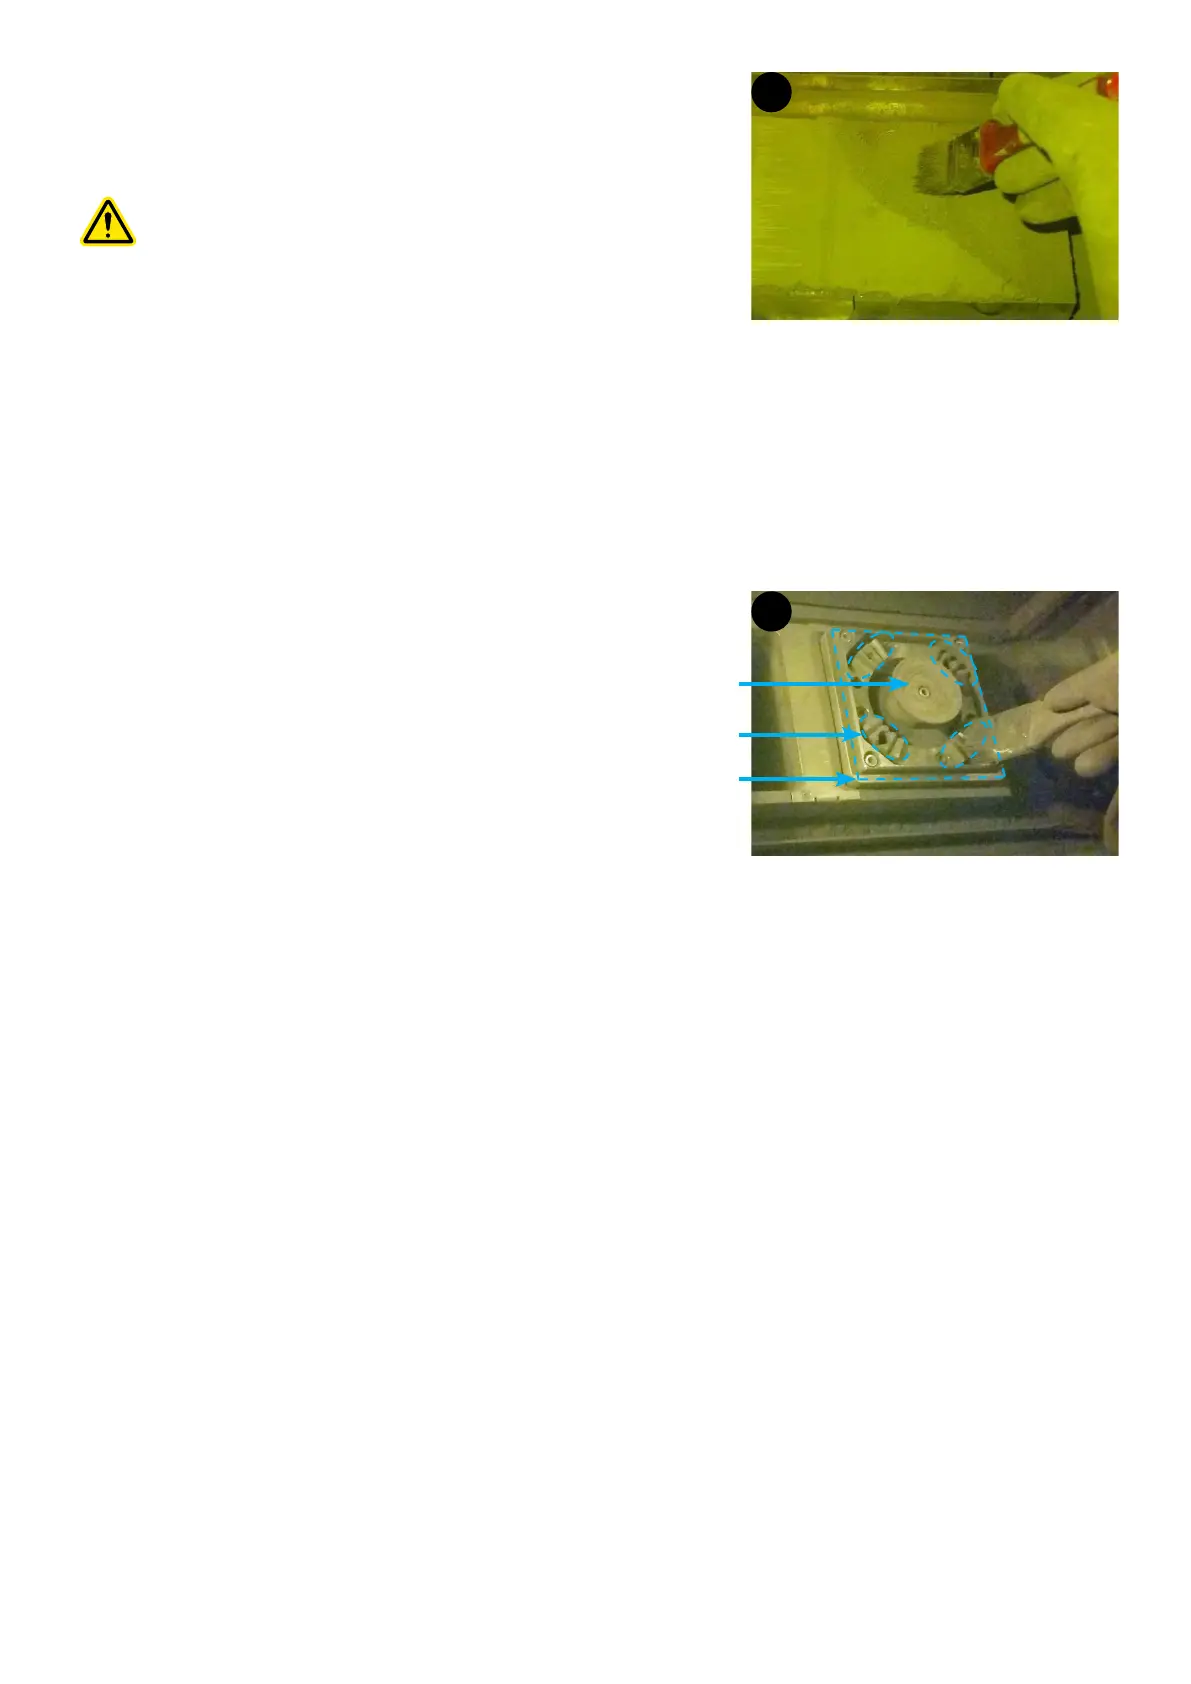
18. Clean the top of the sintering piston, by making sure to (2):
• clean the Hirth clamping system on the corners.
• clean the suction cup.
• remove powder all around the piston.
19. Place the brush on the airlock.
20. Close the glove doors.
21. Rotate the airlock in OPEN position.
22. Open the airlock door.
23. Remove build platform and brush from the airlock.
24. Close the airlock door.
25. Close the front doors.
1
2
Hirth system
Suction cup system
Piston contour