Preparations before removing the axis 3 gearbox
Use this procedure to do the necessary preparations before removing the axis 3
gearbox.
Note
Do not replace both gearboxes at the same time, unless the complete arm system
is already removed!
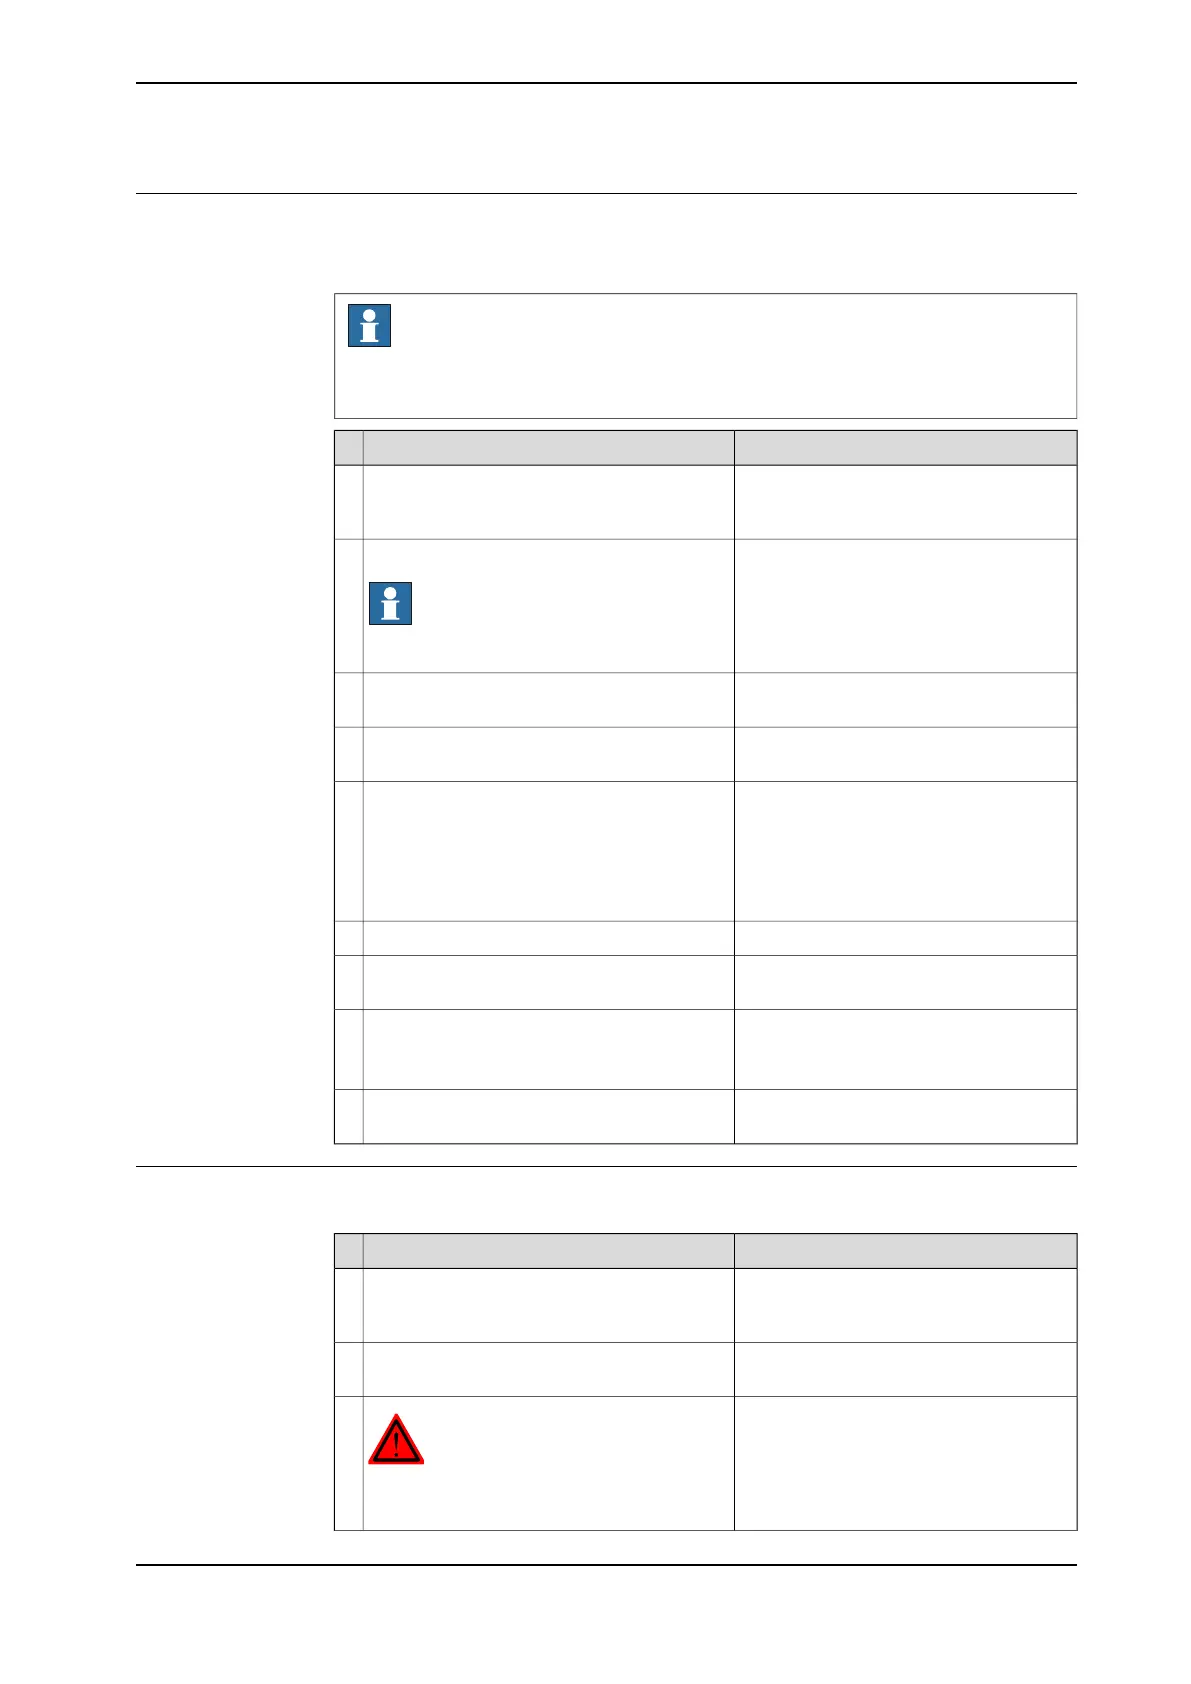
NoteAction
Decide which calibration routine to use, and
take actions accordingly prior to beginning
the repair procedure.
1
Draining, axes 2 and 3 on page 128Drain the gearbox from oil.
Note
Time-consuming activity!
2
Jog axis 2 to 0 degrees and axis 3 to max +
degrees.
3
Release the brakes on axis 3 in order to let
the parallel arm rest on the damper.
4
See Replacing parallel rod on page 257.Disassemble the lower end of the parallel rod
(alternately remove the complete parallel
rod).
5
This is done in order to be able to move the
parallel arm in the continued removal pro-
cess.
Jog axis 3 (the parallel arm) to max - degrees.6
Release the brakes on axis 3 in order to let
the parallel arm rest on the damper.
7
Jog axis 2 carefully to about +50 degrees.8
NOTE! Check that the upper arm is moved
forwards during jogging.
Let the tilthouse rest against something rigid
that can take the weight of the upper arm.
9
Removing the axis 3 gearbox
Use this procedure to remove the axis 3 gearbox.
NoteAction
Unscrew as many attachment screws that is
possible to remove in the parallel arm at this
point.
1
Jog axis 3 (the parallel arm) to max + de-
grees.
2
DANGER
Turn off all electric power, hydraulic and
pneumatic pressure supplies to the robot!
3
Continues on next page
Product manual - IRB 460 333
3HAC039842-001 Revision: P
© Copyright 2012-2018 ABB. All rights reserved.
4 Repair
4.6.3 Replacing the axis 3 gearbox
Continued

 Loading...


