Agilent 1260 Infinity DAD and MWD User Manual 303
Appendix
14
Installation of Stainless Steel Cladded PEEK Capillaries
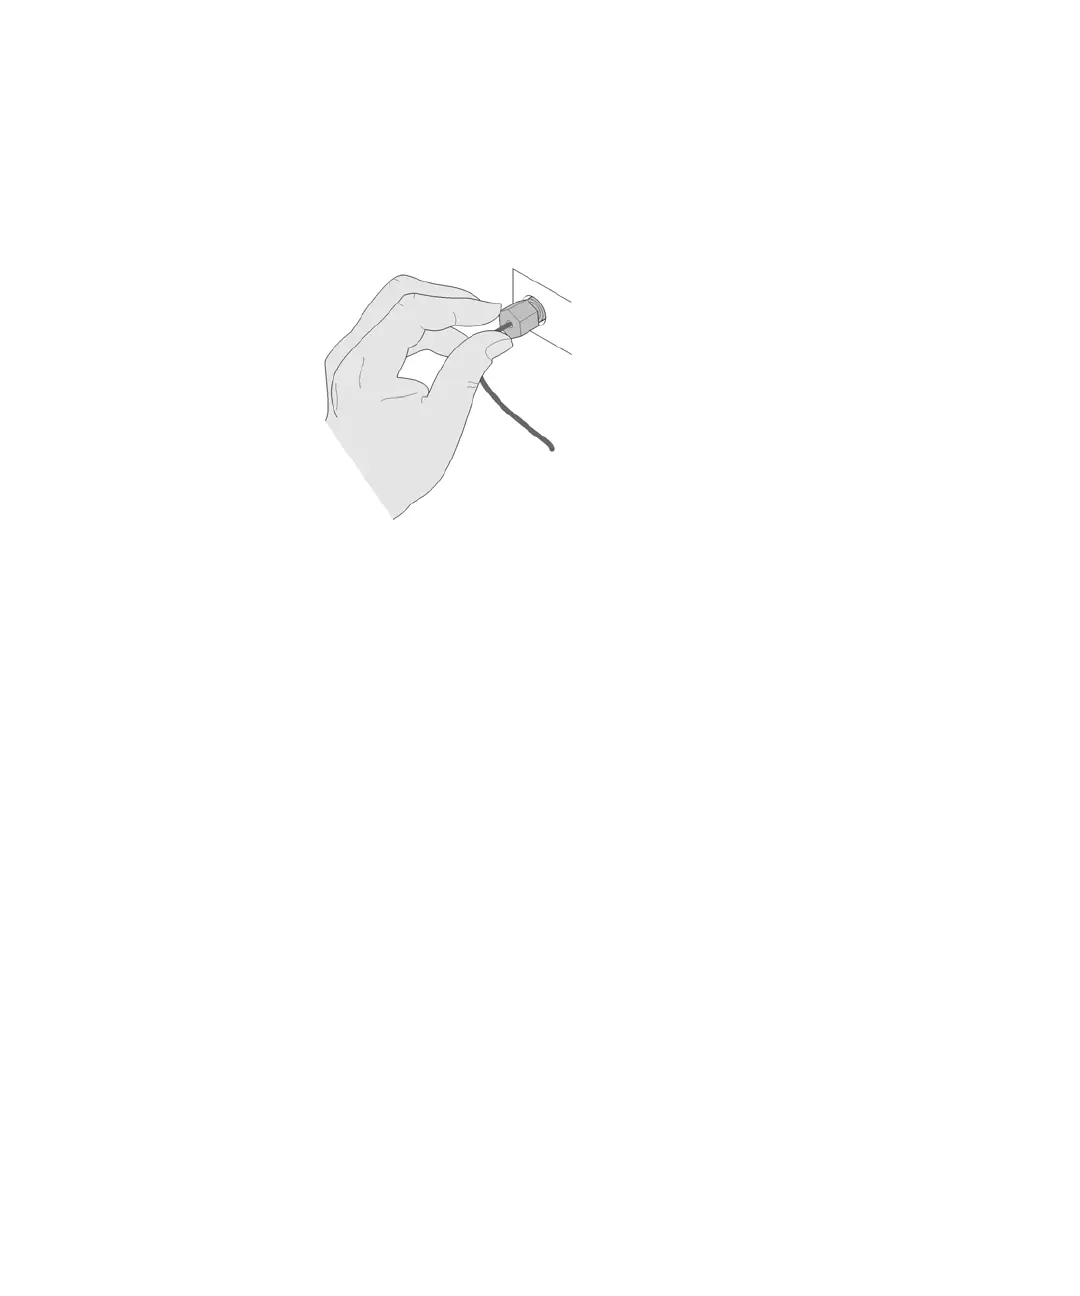
First Step: Finger-tight Fitting
1 Tighten the fitting using your fingers.
Second Step: Installation to Connector
In the second step (“Second Step: Installation to Hard Connectors” on
page 303 or “Second Step: Installation to Soft Connectors” on page 304), a
wrench is used to rotate the fitting relative to the finger-tight position by a
defined angle. For each of the cases mentioned above, there is a recommended
range in which the fitting is tight.
Staying below this range could create a leak, either a visible one or a
micro-leak, potentially biasing measurement results. Exceeding the
recommended range could damage the capillary.
Alternatively, a torque wrench may be used. The target torque for all
connections is about 0.7 Nm. When using a torque wrench, read instructions
for that tool carefully, as wrong handling may easily miss the correct torque.
Second Step: Installation to Hard Connectors
Use this procedure for hard connectors made from metal (titanium) or
ceramics. In the system, these are connections to and from the analytical head
of the autosampler (connections to injection valve and needle), and to a metal
column.
 Loading...