Contact: AIRSYS North America Phone: (855) 874-5380 Page 93 of 112
Email: ASNSupport@air-sys.com Web: http://airsysnorthamerica.com Rev 1.15
6. (Optional) Write down any other settings, such as temperature setpoint, that need to be carried
over.
Step 3: Upgrade Controller (ASMUC)
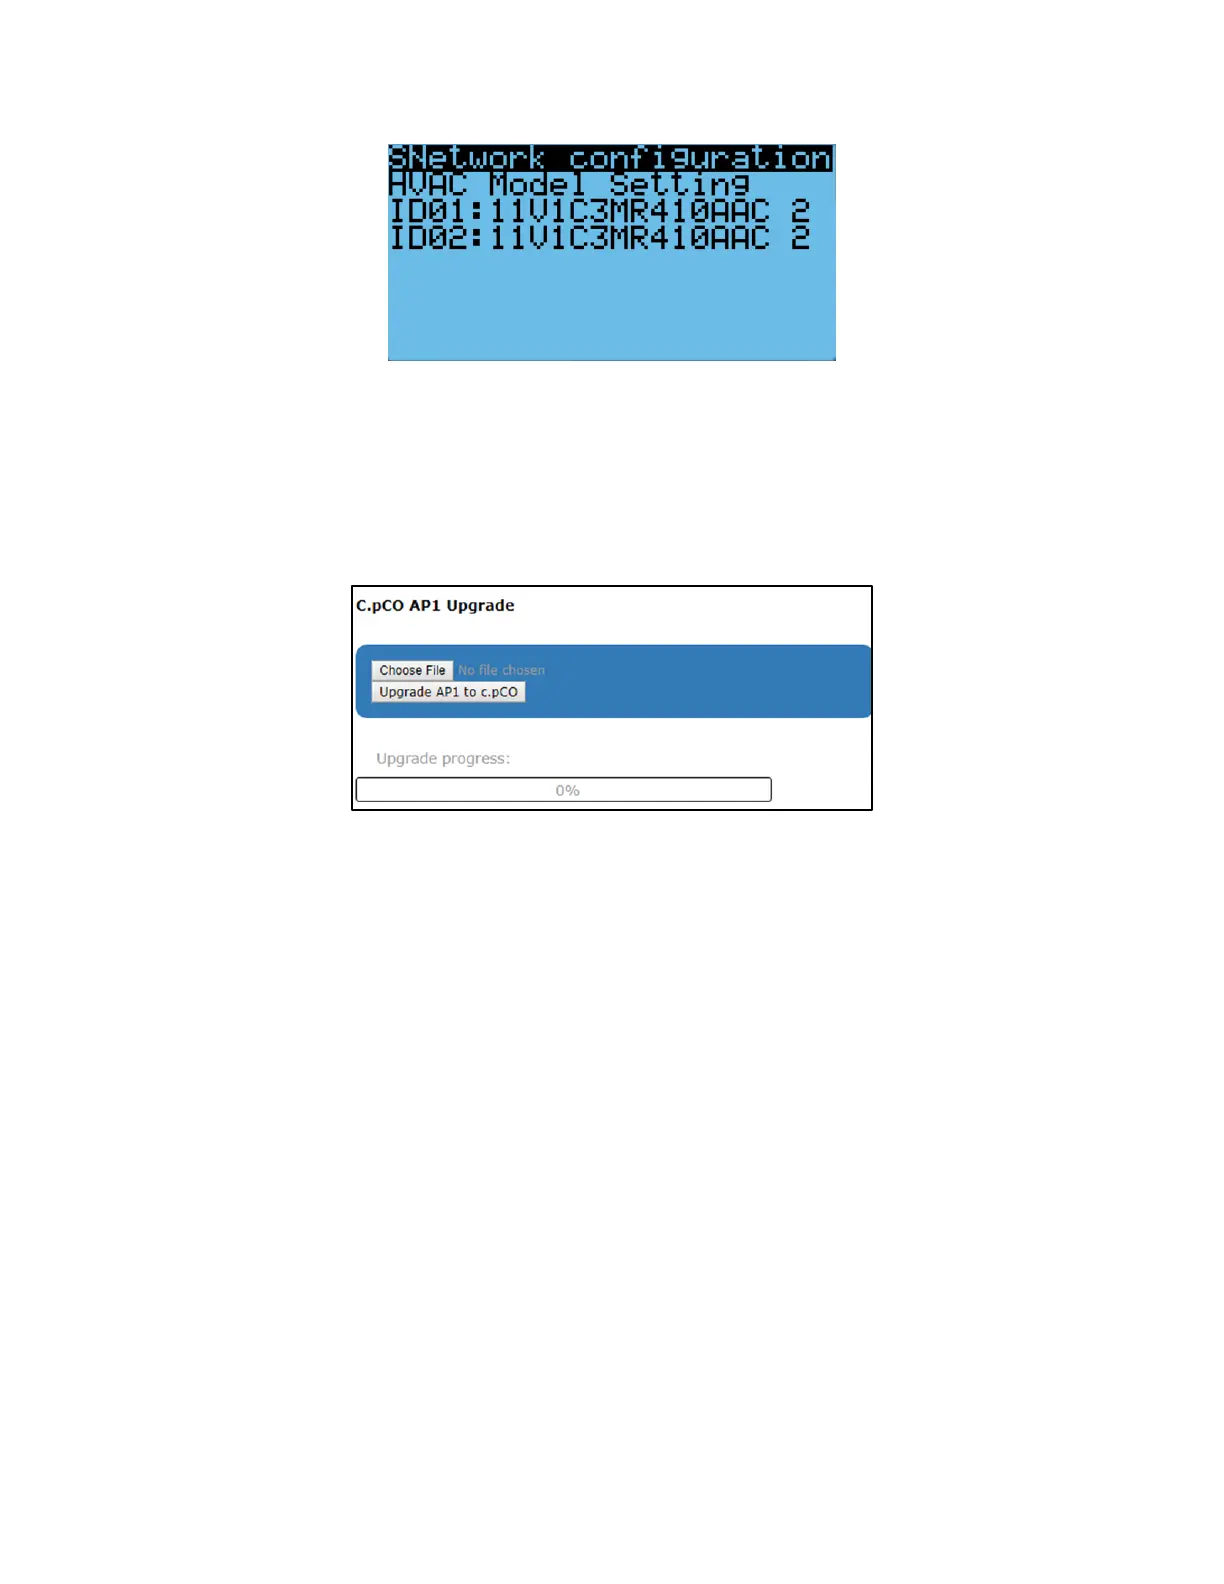
1. Select “Upgrade” tab on the left.
2. Click “Choose File” under “C.pCO AP1 Upgrade” and select the previously downloaded AP1 file.
Figure 45: File Selection Screen
3. Click “Upgrade AP1 to c.pCO”, the upgrade process will start.
4. Once the upgrade is complete, the status will display “Upload successful”. This may take up to 5
minutes.
Step 4: Reload Saved Parameters on Controller
1. Navigate to the “Controller Interface” tab.
2. Press Up and Down together.
3. In the “Master/HVAC select” screen, select “Master Controller” and press Enter.
4. Press Prg and enter the default password (0004). Press Enter.
5. Press Up or Down to reach “Control Config” and press Enter.
6. Press Enter at “Network”.
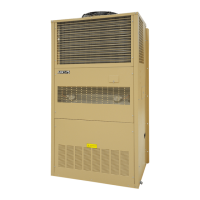
7. Re-enter the saved information:
a. Total HVAC and Total Zones.
b. IP address of all connected HVAC units.
c. Zone assignment, which units are assigned to which zones.
d. Model number of connected units.
8. Re-enter any other settings that have been manually saved.
 Loading...