Installing Your Switch
Page 42 7210 SAS-T Installation Guide
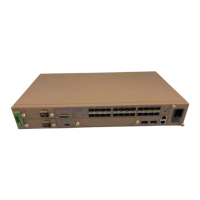
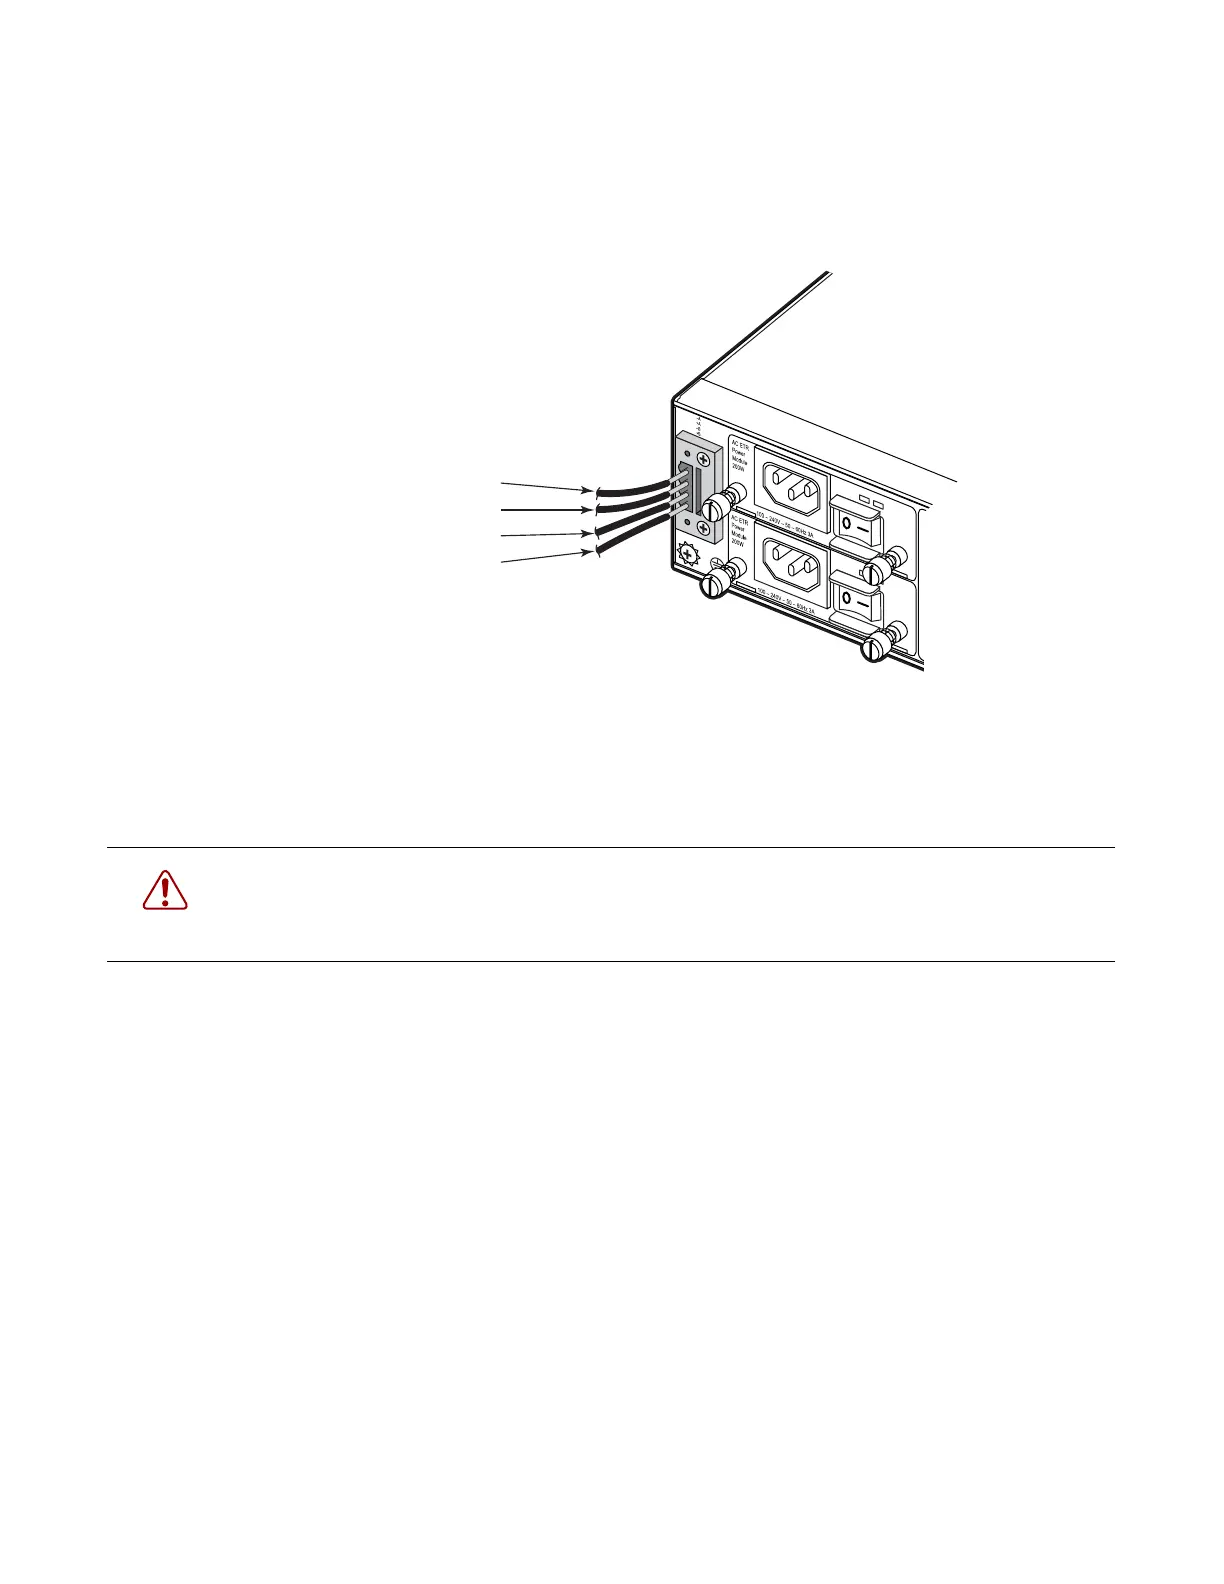
Figure 17 illustrates how to connect a +24 VDC power source to the chassis:
Figure 17: Connecting to a +24 VDC Power Source
Step 5 After the power source is tuned on, set the power button on the front of the power supply
module to the ON position (marked “— ').
Step 6 Check the LEDs on the power supply module as the switch is powered on to verify that
the -48V/+24V LED indicating external power status is on, and that the +12V LED
indicating internal power conversion is on. If not, recheck the power supply and power
cable connections at the supply source and at power supply module.
Step 7 If you have installed both a primary and redundant power supply module, verify that the
LEDs on both modules are lit as indicated in the preceding step.
Ground (A) (Pin 1)
+24V (A) (Pin 2)
Ground (B) (Pin 1)
+24V (B) (Pin 2)
WARNING:
If the power leads are plugged into the wrong holes, the power supply will not work properly and
may damage the switch.