ADAV4601 System Design Document Confidential Information
Rev.1 August 2009 Analog Devices Page 8
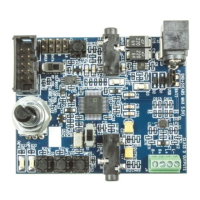
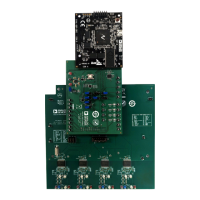
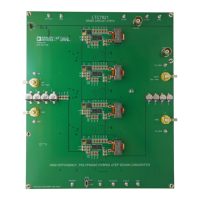
ADAV4601 EVALUATION BOARD QUICK START
1. Apply power to the board using the included 7.5V Power Supply via connector J2.
2. By default the board is set to use crystal Y3 as clock source. This means jumper J12 should be in position 3-
4. If you wish to use a different clock source, please see the section on Providing a Clock Source for the
ADAV4601.
3. Connect the Evaluation board to the PC using the provided SigmaStudio USB Adaptor board; refer to
Section 3 – Programming the ADAV4601 for more details on programming the ADAV4601.
4. Connect any audio sources and listening/measurement equipment that may be required. Details on the
I/O for the board are provided in the Evaluation Board I/O section.
5. For details on powering up the board, and interfacing with the processor, please refer to the Section 2 –
Powering up the ADAV4601, this details the register writes required to power up and power down the
ADAV4601 evaluation board.
PROVIDING A CLOCK SOURCE FOR THE ADAV4601
The ADAV4601 contains a phase-locked loop (PLL) that generates all of the internal clocks required by the
ADAV4601. It is possible to set the master clock (MCLK) frequency to be 64*Fs, 128*Fs, 256*Fs or 512*Fs, where Fs is
the sampling frequency and is set at 48 kHz. The ADAV4601 Evaluation Board therefore requires a clock source and
there are a number of ways in which to provide this.
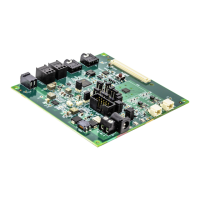
a) The clock for the ADAV4601 device can be provided using the crystal Y3. The evaluation board is set to use
this clock source by default. Jumper J12 is set in the 4-3 position.
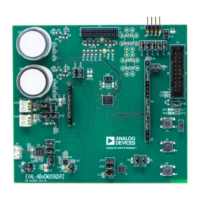
b) The clock for the ADAV4601 can be provided using the 96-way connector. This can be set in one of two
ways. The clock will come from the MCLK pin on the 96-way connector (J3-C2), by default the MCLK_OUT
function is output on this line so the master slave select must be set here. Jumper J12 is set in the 1-4
position.
c) The third way of clocking the ADAV4601 using the 96-way connector is to use the BCLK1 input. Jumper
J12 is set in the 2-4 position.
Table 2: Evaluation Board Clock Modes
Clock Source Jumper J12 Position
Crystal Y3 4-3
96-Way Connector (MCLK) 1-4
96-Way Connector (BCLK1) 2-4
 Loading...