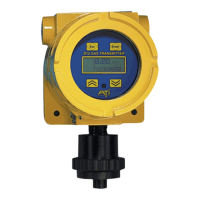
ATI Series D12 Toxic Gas Transmitter with H10 Smart Sensor
Revision N (7/15) 39
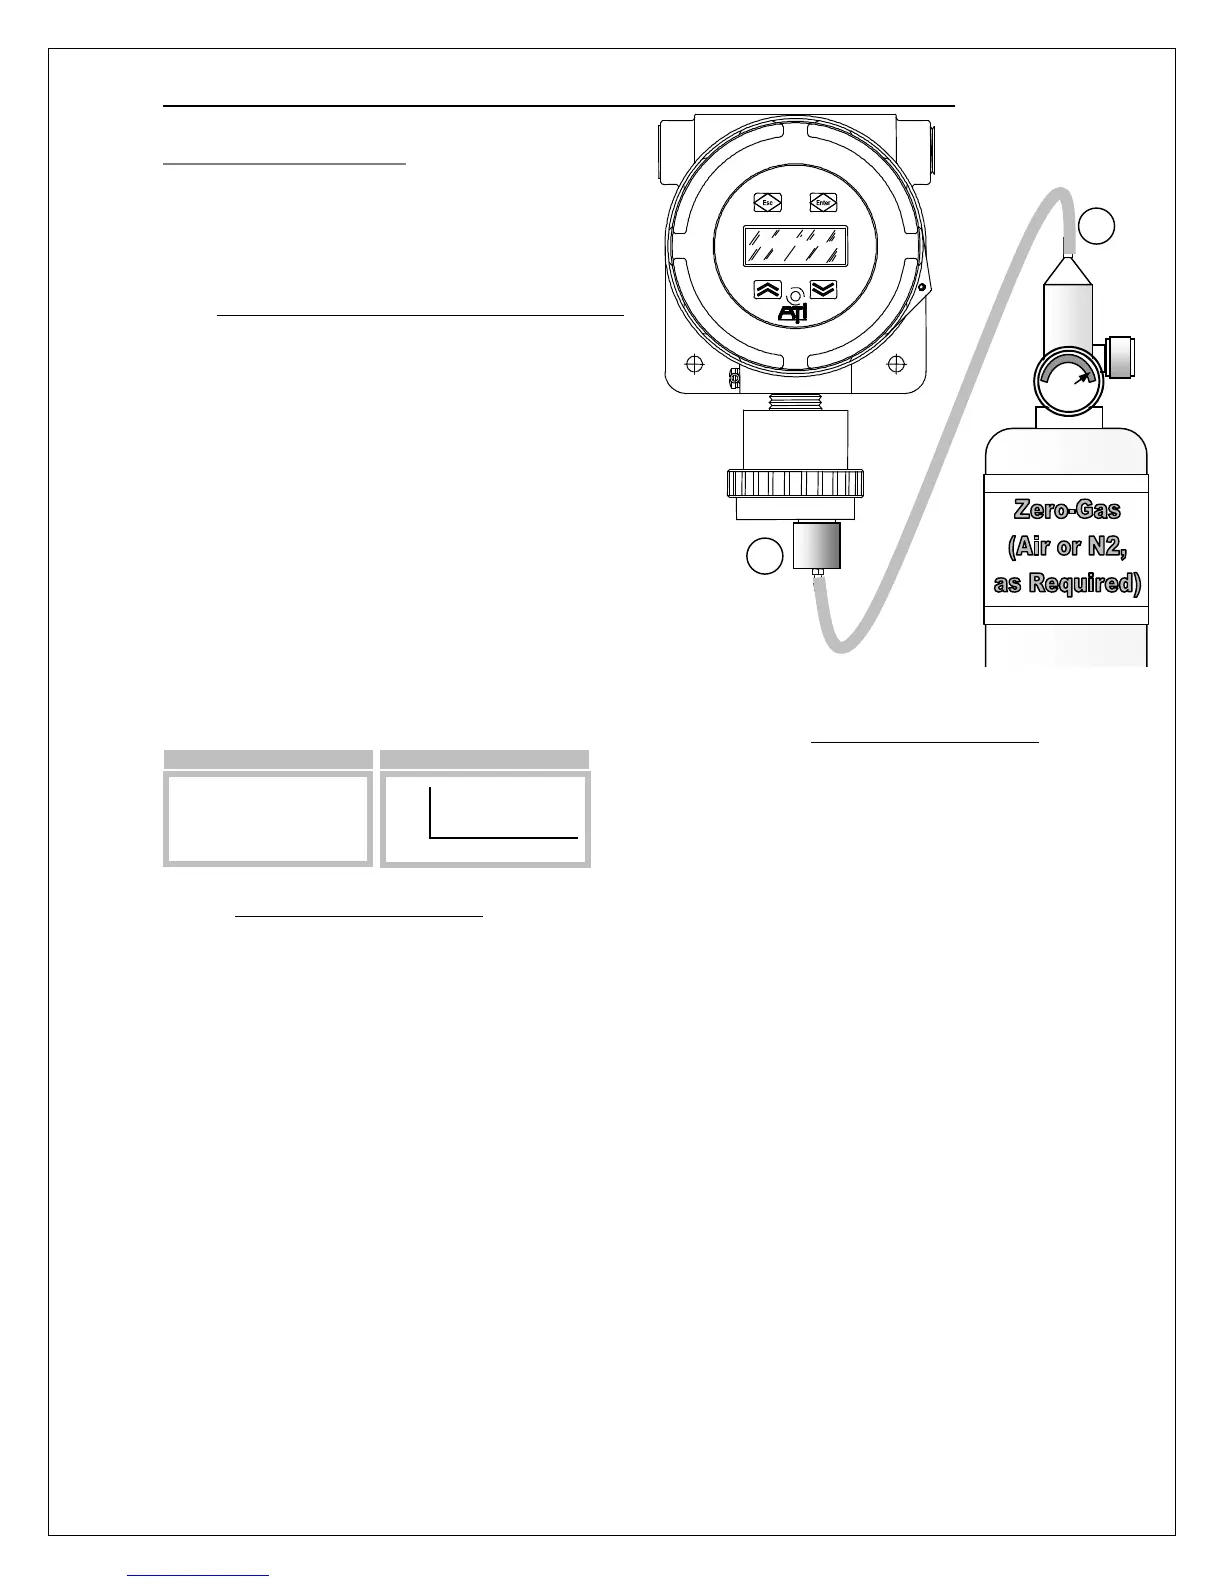
Zero Calibration Procedure
Performing a zero calibration requires a bottled
“Zero-gas” with a 500 cc/min regulator, calibration
adapter, and a convenient length of ¼” tubing. The
gas used depends on the type of sensor installed. For
example, an H
2
S sensor may be zeroed with Zero-air,
while Oxygen sensors must be zeroed with Nitrogen.
In some cases, a sensor may be zeroed directly to the
atmosphere, but only when it is known to be free of
reactive gasses. Check with the factory if you are
uncertain about which gas to use.
Referring to Figure 34, push the calibration adapter
onto the exposed end of the sensor and connect one
end of the tubing (1), connect the other end of tubing
to the cylinder’s regulator (2). Do not open the gas
valve until instructed below.
From the Main Display, select Menu, then
Zero_Sensor, as shown in Figure 35. This will clear
and inhibit alarms at the transmitter, and hold the
current loop output at 4mA (17.4mA for Oxygen
sensors).
Figure 34. Zero calibration
Figure 35. Zero_Sensor page
Open the regulator to flow Zero-gas to the sensor. After approximately four minutes, select Zero. The
“Cal” message will appear briefly at the bottom of the page and the reading will be forced to 0, 0.0, or
0.00. Since the reading is not blanked, it may show a negative sign, like “-0.0”, which is normal. The
procedure may be cancelled by selecting Undo. The Undo function is only possible while remaining on
the Zero_Sensor page. Leaving the page will disable the possibility of canceling the calibration.
Touch the Escape key twice to leave the Zero_Sensor page and return to the Main page. By default,
alarms will remain inhibited, and the current loop fixed for 15 more minutes (the default value).
►Zero_Sensor
Span_Sensor
View_Log
Setup
>Menu
PPM
H2S
►Zero Undo
>Zero_Sensor
1
2
D12 GAS TRANSMITTER