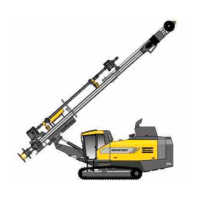
E11 19
Before mounting the auger brace, the required auger height should already have
been set on the basic auger!
- Mount the left/right guide plates(1) on the vehicle frame shackles with the
relevant assembly parts(2).
The guide plates(1) must be mounted on the front side of the shackles.
- Slide the support shackle(3) over the guide plate(1) and secure with a pin(4) and
split pin(5).
- Slide the lower support shackle(3) over the attaching point of the chute plate and
secure with a pin(6) and split pin(7).
The brace bracket (8) is located directly on the drive unit.
For larger working width, the second brace set is mounted on the front brace
bracket.
- Install the brace bracket (8) and secure with a retaining pin(11).
- Secure the retaining pin(11) with a split pin(12).
- Mount the slewing bracket (14) at the brace shaft (13) with retaining pin (15).
- Secure the retaining pins (15) with a split pin (16).
- Mount the braces (17) on the fulcrum bracket (8) with the assembly parts (18).
The braces must be mounted on the outer side of the fulcrum bracket (8)!
- Remove the spring cotter pin (19) and retaining pin (20), pull out the adjustment
rod (21) until the brace can be mounted on the slewing bracket (14) together with
the corresponding assembly parts (22).
- Secure the adjustment rod (21) in an appropriate bore with a retaining pin (20)
and spring cotter pin (19).
- Mount the vertical brace (23) in the same way.
- In this case, secure the vertical brace at the outer auger bearing retainer (24)
and the lower support bore (25).
At the support (3) mounting point, the brace must be secured at the rear side in
each case!
 Loading...