Issue 2 July 2005 39
Chapter 3: Installation
The C360 switch is ready to work after you complete the installation instructions described in
this chapter. After you have completed the procedures in this chapter, proceed to
Chapter 4:
Powering Up the Avaya C360
The following steps are described in this chapter:
● Preparing Needed Tools
● Site Preparation
● Rack Mounting (Optional)
● Wall Mounting (Optional)
● Stacking (optional)
● Making Connections to Network Equipment
● Installing SFP GBIC Transceivers
Preparing Needed Tools
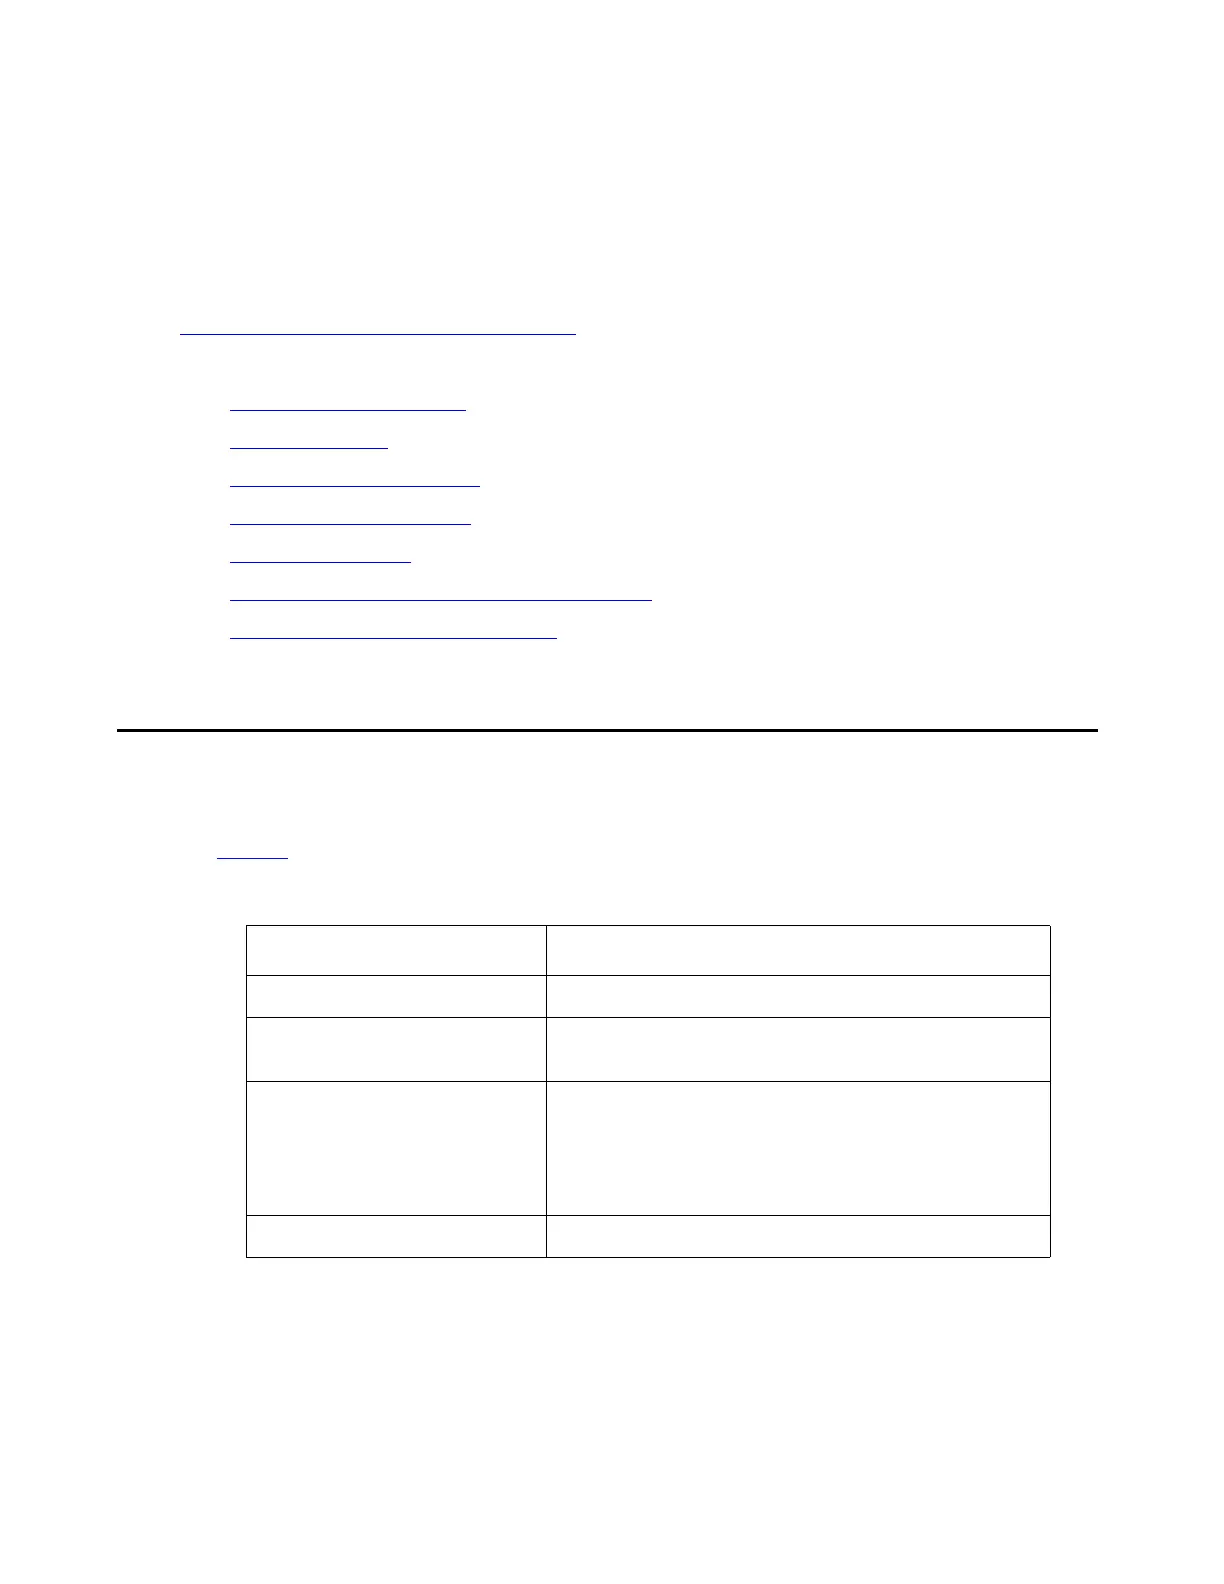
Prepare the tools you need to mount the Replace variable w/ short product name, according to
the Table 5
:
Table 5: Mounting Tools
If you need to mount on... Prepare these tools
Rack or wall Phillips head screwdriver
Flat wall screws to fasten Replace variable w/ short
product name to the wall
Uneven wall
● 16.3" x 18.3" (415 x 465 mm) plywood
board 0.8" (20 mm) thick
wood screws
● screws to fasten the Replace variable w/
short product name to the wall






 To Next Page