Right Angle Imager Installation
Required Tools and Materials
The following tools are required to complete the installation but are not included in the package:
l
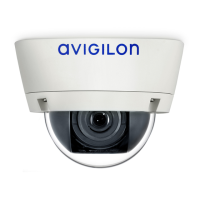
A modular camera main unit and an HD BNC cable. For more information, see Modular Camera
System Setup on page14.
l
Appropriate tool for cutting the entry hole in the mounting surface
l
No. 2 Phillips screwdriver — for attaching the imager or bracket to a mounting surface
Imager Package Contents
Ensure the right angle imager package contains the following:
l
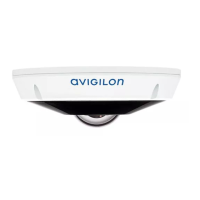
Avigilon H5A Modular camera right angle imager
l
Optional flat bracket — for installations that require additional protection or discretion.
l
1x double-sided mounting adhesive strip
l
2x mounting screws
Mounting Through the Mounting Surface
For a more discreet mounting installation, and to keep cables out of reach, you can mount the right angle
imager through a hole in a wall or other mounting surface. Only part of the lens will be visible on the recorded
side of the mounting surface.
Note: The right angle imager can be mounted in place with either the mounting screws or the
mounting adhesive strip. Both options will be described below.
Use one of the following two options to install the right angle imager to the mounting surface.
Installing with Mounting Screws
1. Drill a 20 mm (3/4") hole through the mounting surface. Use the adhesive strip as a guide for the hole.
If the mounting surface is more than 2 mm (0.08") thick, there may be occlusions on the video image. If
a smaller drill hole is preferred, we suggest having a countersink hole in the wall to bring the imager
closer to the outer mounting surface.
2. Drill two pilot holes into the mounting surface for the mounting screws. Use the adhesive strip as a
guide for the holes.
Right Angle Imager Installation 35

 Loading...