3. Connect the HD BNC cable.
Tip: If it suits your installation, you can install the optional flat bracket onto the right angle
imager after mounting it to the wall as shown in the image above. Gently push the bracket
onto the imager until the bracket mounting clips click into place.
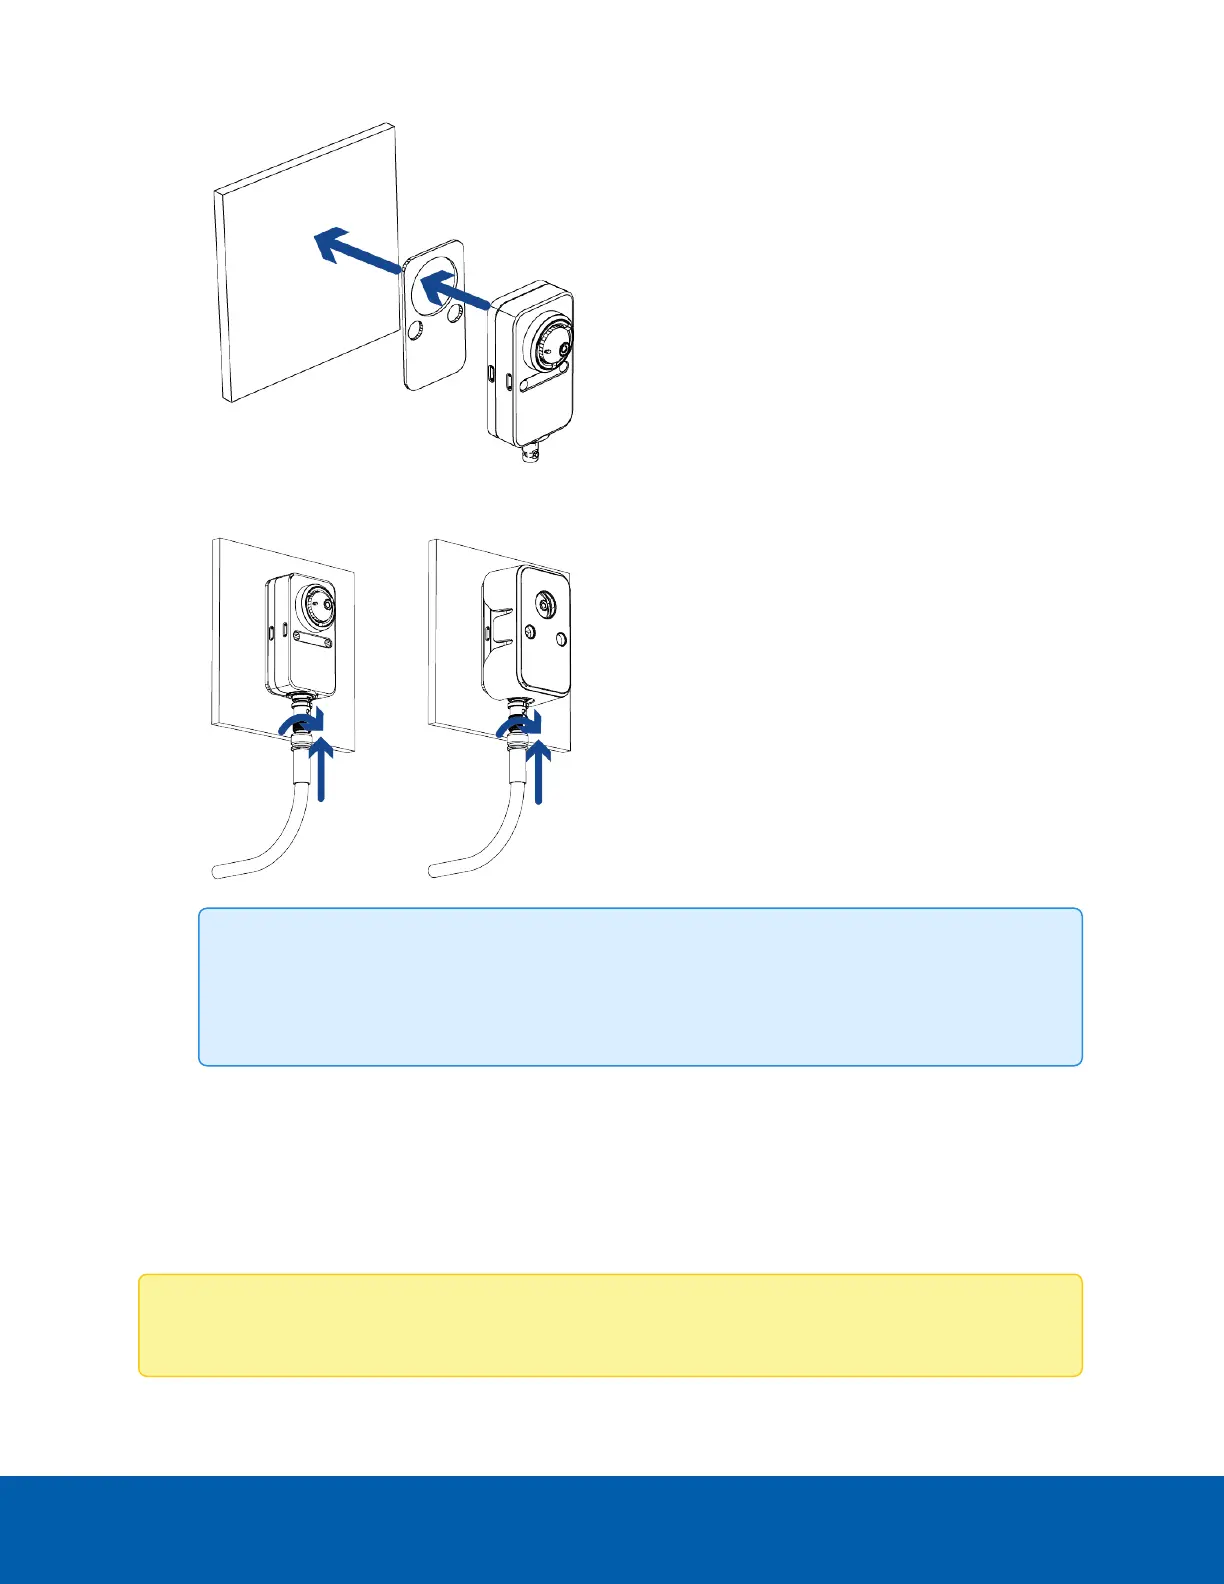
Mounting Through the Mounting Surface with the Bracket
For a more discreet mounting installation, and to keep cables out of reach, you can mount the right angle
imager through a hole in a wall or other mounting surface. Only part of the lens will be visible on the recorded
side of the mounting surface.
Note: The right angle imager can be mounted in place with either the mounting screws or the
Mounting Through the Mounting Surface with the Bracket 41

 Loading...