6. CSE-200 Configurator
3. Click in the input field next t o Hostnam e and e nter a host nam e for the Base Unit.
The default hos t name is ClickShare-<serial number Base Unit>.
4. To select the method, c lick on the drop down box next to Method and select the Automatic (DHCP) or Manual.
When Automatic (DHCP ) is selected, th e IP address, subnet mas k and default g ateway fie lds are grayed out but the currently
used settings are filled out.
5. Click Save changes to apply the s ettings.
Manual (fixed) IP address
1. Click on the drop down box nex t to Method and select Manual.
The IP address, subnet and gateway input fields ar e a ctivated.
2. Click in the input field of the IP address and fill out the 4 octets.
Note: An address contains 4 o ctets with a max imum value of 255.
This must NOT be 0.0.0.0 for static IP-A ddress assignment
3. Click in t he Subnet mask input fields and fill out the 4 octets as ap propriate for the local subnet.
4. Click in the Default Gateway input fields and fill out the 4 octets. Set the Default-Gateway to the IP-Address of the router (MUST
be on the local subnet!).
Note: This m ust NOT be 0.0.0.0.
If there is no router on the local subnet then just set this field to any IP- Address on the subnet.
5. Click Save changes to apply the s ettings.
Do not use IP address 192.168.2.x for a Subnet mask 255.255.255.0 and IP address 192.168.x.x f or a Subnet
mask 255.255.0.0
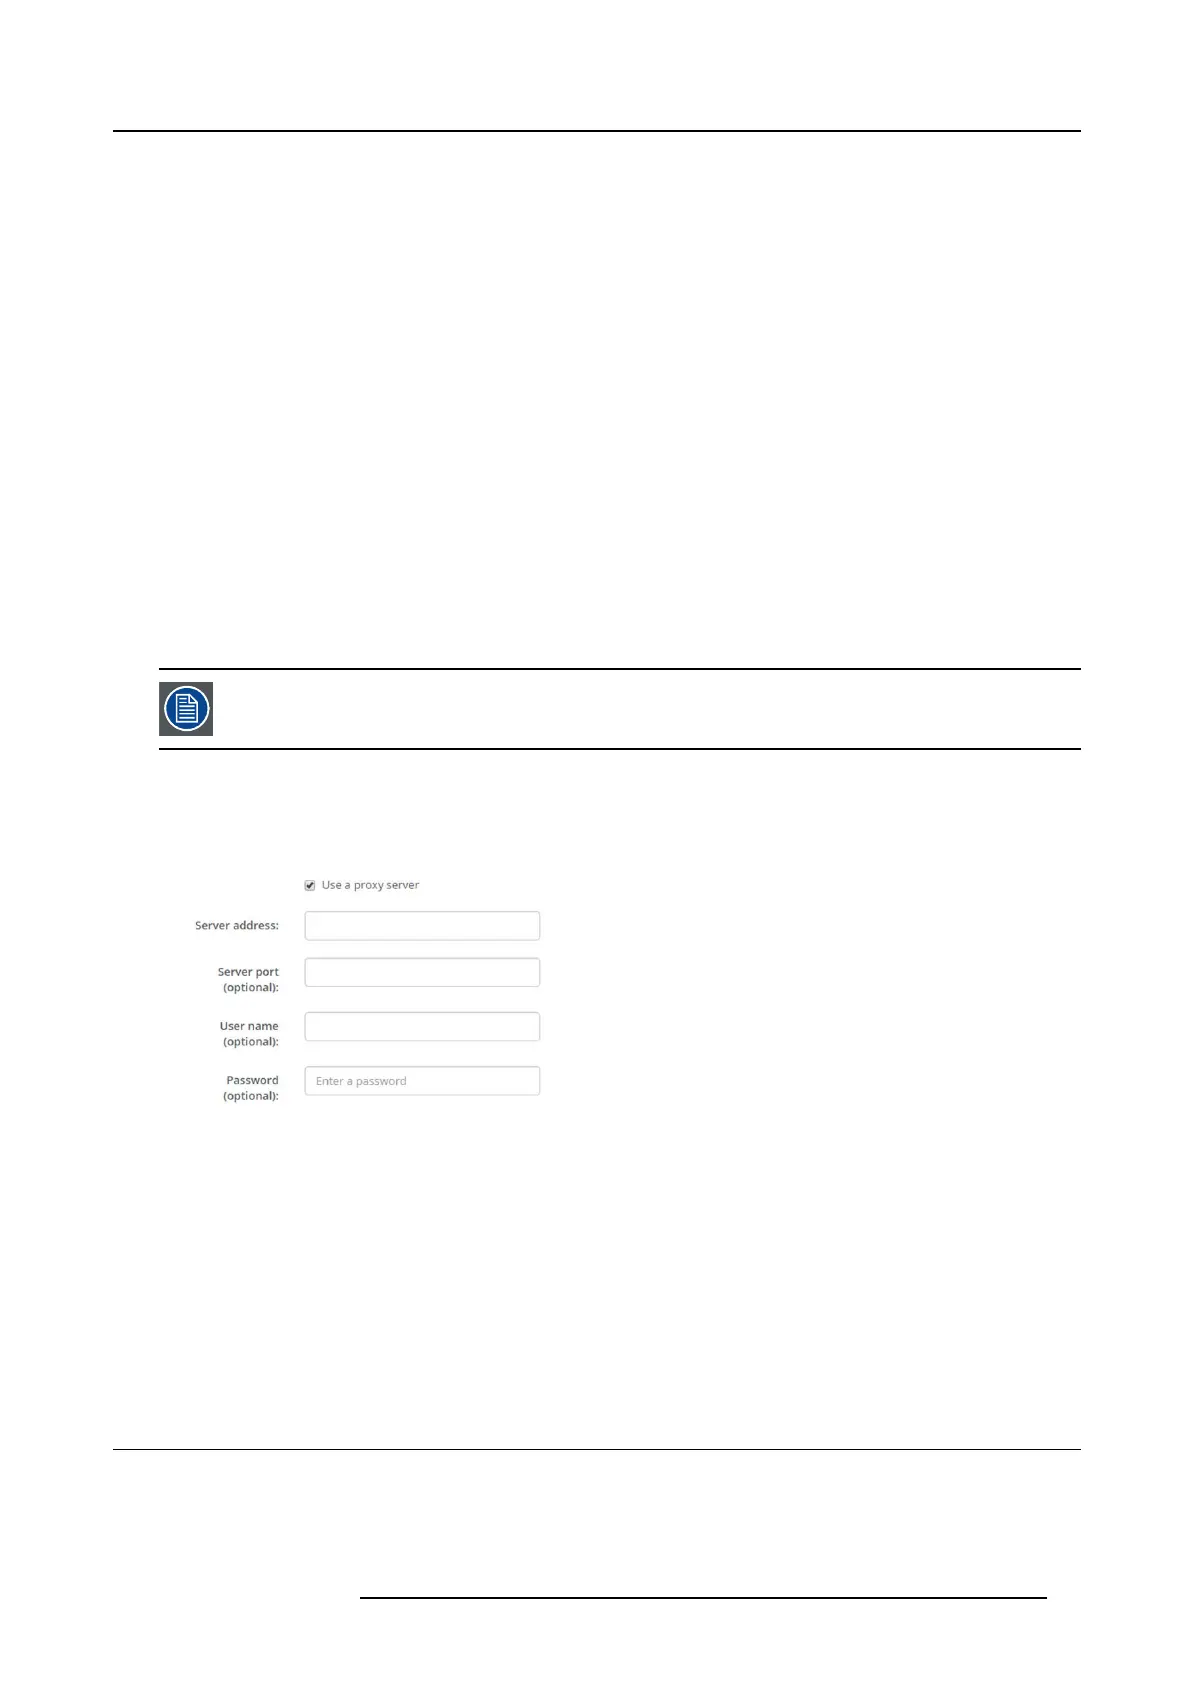
Use a proxy server
This s etting is important for the auto-update feature of t he Base Unit, which require internet access.
1. Check the check box nex t to Use a proxy server.
Image 6-16
Proxy settings
The proxy settings become available.
2. Enter the proxy server a ddress. E nter the IP address or hos tname.
Some proxy servers need a port number, user nam e and passw ord, for others is this optional.
3. Optionally, enter the used server port.
4. Optionally, enter the user name.
5. Optionally, enter the password.
6. Click Save changes to apply the s ettings.
6.11 Network integration, activation
Introduction
“ClickShare Network Integration” aims at de ploying ClickShare in larger organ izations without interfering with the existing wireless
network infrastructure. In a default stand-alone s etup, the ClickShare B ase Unit creates its o wn wireless access point (AP) w hich
R5900023 CSE-200 11/04/2016
39
 Loading...