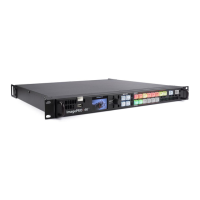
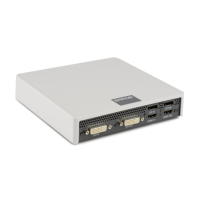
R5906167 /00 ImagePRO–4K Video Processor
18
Rack-mount installation
The ImagePRO–4K chassis is designed to be rack mounted and is supplied with front rackmount hardware.
The ImagePRO–4K chassis can also be used in a “tabletop” configuration, without rack mounting.
When rack mounting the ImagePRO–4K chassis, remember the following important points:
• The ImagePRO–4K chassis is 1RU in height.
• The maximum ambient operating temperature is 40°C (104°F).
• Leave at least one inch of space (front and rear) to ensure that the airflow through the fan and vent holes is
not restricted.
• When installing multiple units into a rack, distribute them evenly to prevent hazardous conditions that may
be created by uneven weight distribution.
• Connect the unit only to a properly rated supply circuit.
• Reliable grounding (earthing) of rack-mounted equipment should be maintained.
• Rack mount the unit from the front rack ears using four rack screws (not supplied). Threads may be metric
or otherwise, depending upon the rack type.
ImagePRO– 4K units are shipped with side rails included in the shipping case and not installed onto the
chassis. These side rails, when they are properly installed and adjusted, assist with the distribution of chassis
(and cable) weight within your rack. Use the following steps to properly adjust the side rails:
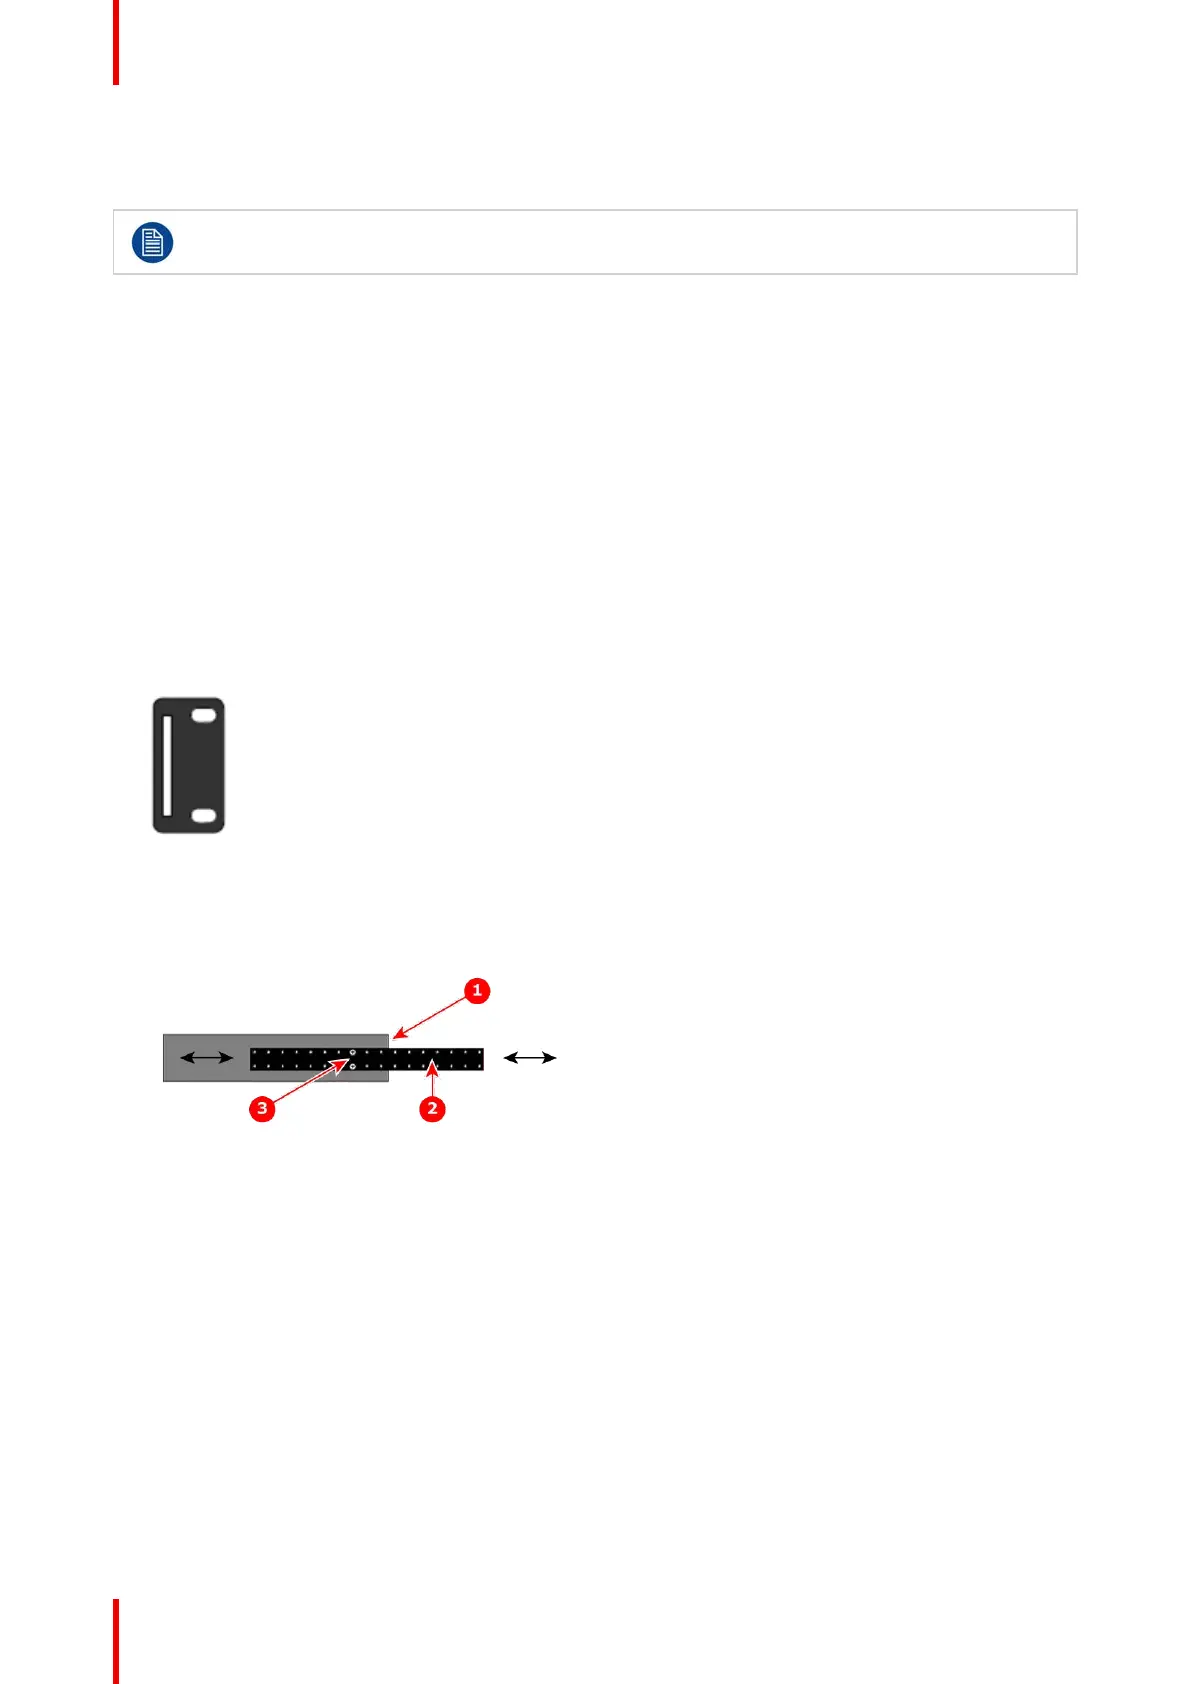
1. Measure and install the two supplied mounting brackets on your rear rack rails.
Image 3-2: Mounting bracket
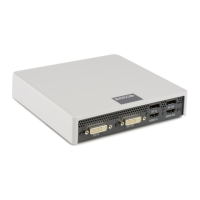
2. Measure the distance between the front and rear rack rails. Remove the mounting screws that secure each
side rail to the chassis, and then adjust the spacing of each side rail as necessary. The ImagePRO–4K
uses two mounting screws on each side rail.
Image 3-3: ImagePRO–4K chassis with side rail and mounting screws
1. Chassis rear
2. Side rail
3. Mounting screws
3. Re-install the mounting screws. When properly adjusted, the end of each side rail will protrude through the
slot in the rear mounting bracket, once the chassis is rack mounted.
4. Lift the chassis, and while supporting it, slide the side rails through the slots in the rear mounting brackets.
5. While continuing to support the chassis, install and tighten the two lower screws.
6. Finally, install and tighten the two uppers screws in the rack rail.
Cable and adapter information
The table below provides information regarding cables used with the ImagePRO–4K. When connecting to an
ImagePRO–4K, use high-quality shielded cables.
General