5. Select Tools [F7] > Rack reservation & removal. Identify the racks with status Reserved
and remove those racks from the ReadA. Set the racks aside.
6. Clean the section from which the racks have been removed by spraying the recommended
cleaner/disinfectant onto a microfiber wipe and wipe down the inside of the ReadA (top,
walls, and bottom).
7. Push the incubator door guard back to its original position and close the door.
8. If applicable, turn on the CO
2
supply.
9. Select Lock Door [F8].
10. Select Start [F2] to start the application and continue ReadA operation.
11. You may now clean the racks.
Clean racks
Once the racks have been removed from the ReadA, they are ready for cleaning. For proper
cleaning/disinfection, the racks should be both cleaned and wiped dry. There are several
equally effective cleaning methods that can be used. Select the method that works best in your
laboratory.
l
Use a dishwasher: Clean the racks in a laboratory dishwasher that includes cleaning and
rinsing cycles. If the racks are not completely dry when removed from the dishwasher, dry
with a clean paper towel or place on a cart to drain.
l
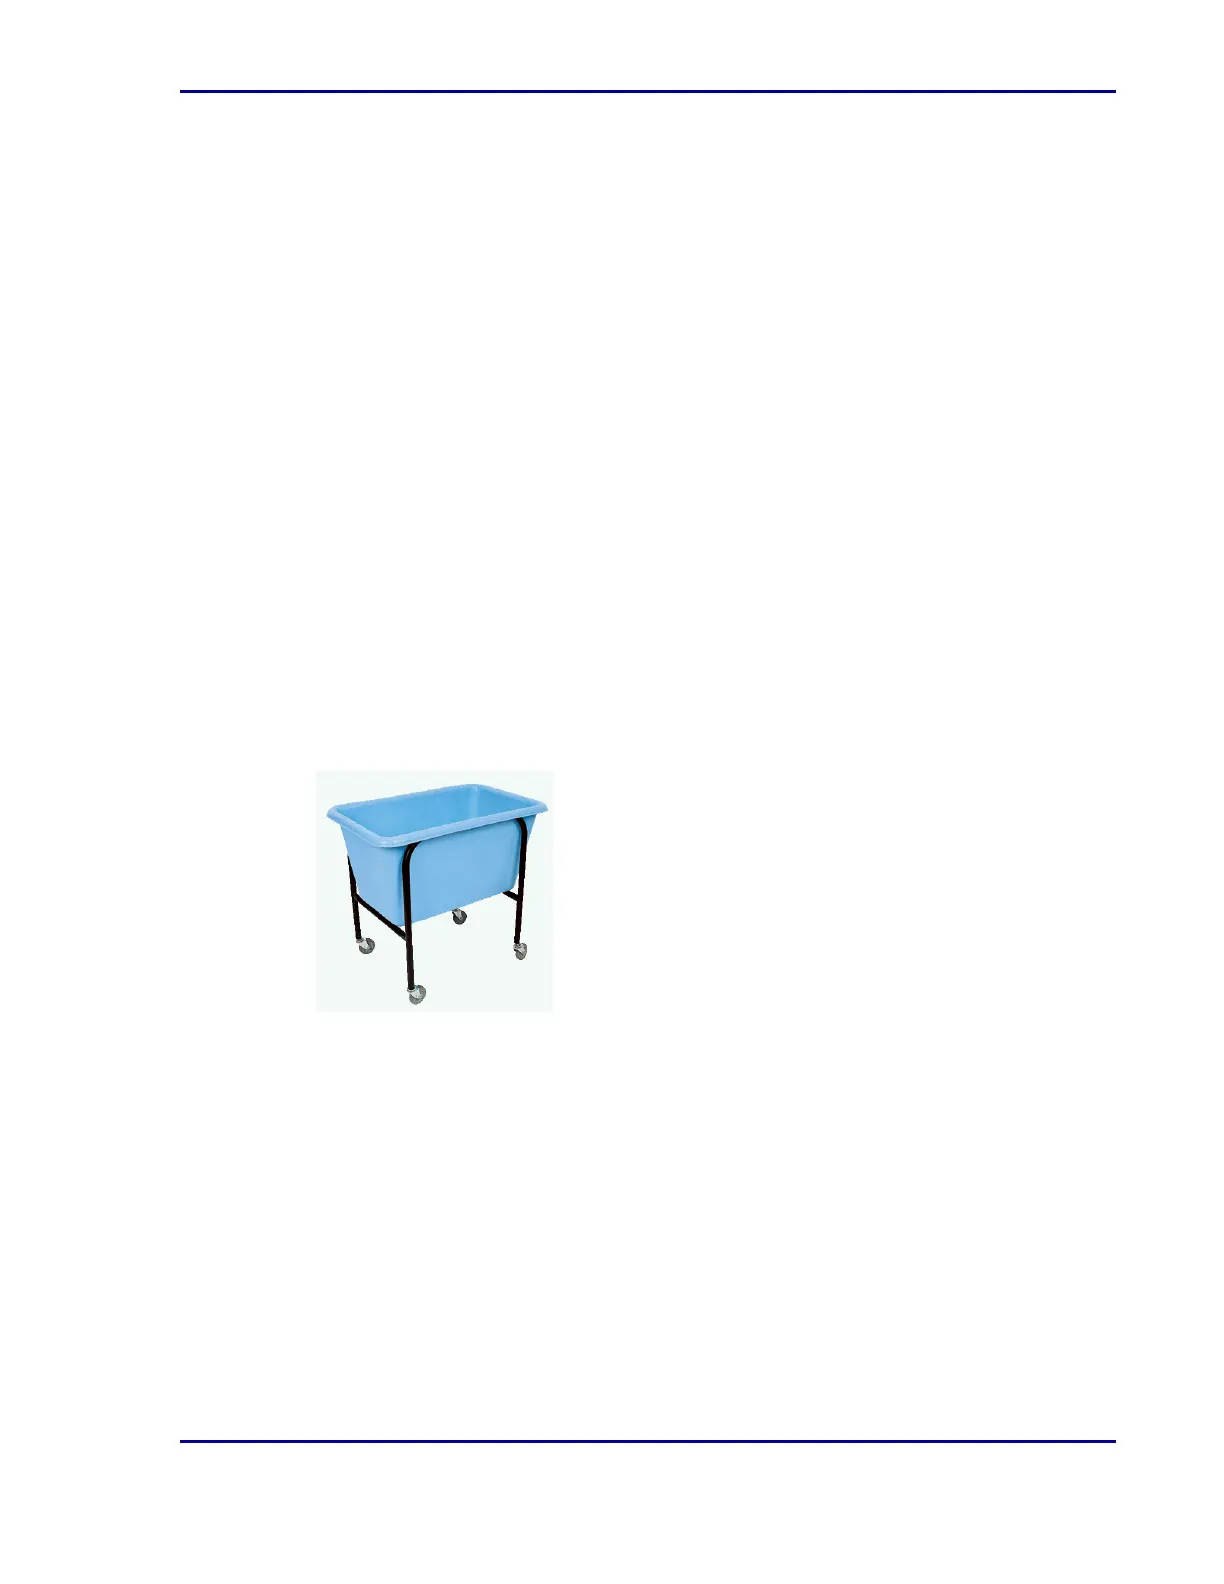
Use separate containers for washing and rinsing: Using a sink or large tub, wash the racks
in cleaner/disinfectant. Rinse with water in a separate container. Set aside to drain.
Thoroughly wipe dry, making sure to wipe all surfaces to remove any residual dirt or
particulate matter.
l
Use a container only for rinsing: Spray cleaner/disinfectant onto all surfaces of a rack. Rinse
with water in a large container. Set aside to drain. Thoroughly wipe dry, making sure to wipe
all surfaces to remove any residual dirt or particulate matter.
l
Autoclave the racks using qualified equipment.
Place cleaned racks back into the ReadA
1. Select Stop [F4].
2. Select Unlock door [F8] to unlock the incubator door.
3. If applicable, turn off the CO
2
supply.
4. Open the incubator door and place the door guard over the seals of the door.
39
5 - Cleaning and maintenance