To fill the humidification pan:
1. Empty and clean the humidification pan per 5.4.3.1Cleaning the humidification pan.
2. Place the pan and bottom plate back into the incubator and fill the pan with distilled or
demineralized water to the height of the fill mark on the pan.
3. An antimicrobial agent that is safe to use with cultures can also be added to the pan in
order to prevent microbial growth.
4. Close the ReadA door.
5. If applicable, turn on the CO
2
supply.
6. Select Lock Door [F8], then select Start [F2] to start the module.
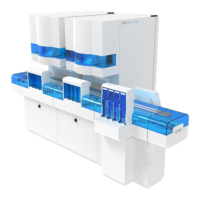
5.4.4 BDKiestra™ Optis™ camera
The Optis™ camera is located in the top front section of the ReadA module. At predefined
times, a plate is transported to the camera compartment where photographs of the plate are
taken using a high-resolution camera and a variety of lightning conditions. It is essential to
clean and calibrate the camera regularly to keep it in optimal operating condition.
5.4.4.1 Cleaning the BDKiestra™ Optis™ camera
1. Once logged into the ReadA application, select Stop [F4].
2. Select Unlock door [F8] to unlock the incubator door and the cover over the camera unit.
3. Move any plates remaining in the Stackers onto the plate cart using the Push functionality
in the Track GUI, following these steps:
l
Select the desired Stacker element from the Status view.
l
Select the desired Stacker.
l
Select Push.
WARNING
DO NOT REMOVE PLATES DIRECTLY FROM THE STACKER. WAIT
UNTIL THE STACK HAS BEEN PUSHED ONTO THE PLATE CART.
4. Unlock the wheels on the plate cart and gently pull it away from the Track module. Lift the
side panel of the cart closest to the Stacker element to an upright and closed position in
order to confine the plates to the cart for transportation.
5. Slowly roll the plate cart away from the module and off to the side.
6. Open the cover over the camera unit.
43
5 - Cleaning and maintenance