5. Removal and Replacement of Major Components and Modules
5-70
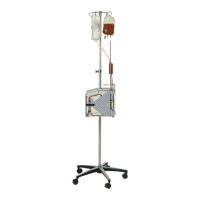
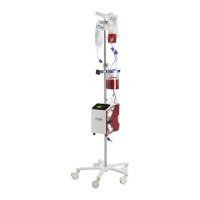
Y. VALVE MOTOR/PINCHER (Reference Drawing: 403-00107)
Removal
1. Refer to Step A Removal, 1 – 7, to remove the instrument cover.
2. Unplug cable, JP14, connecting to Daughter PCB.
3. Remove 1X set screw from Valve Pincher.
4. Remove Valve Pincher.
5. Remove 3 flat head Phillips screws attaching Valve Motor to
Support Housing.
6. Remove Valve Motor.
Installation
1. Reattach Valve Motor to Support Housing with 3X flat head
Phillips screws.
2. Slide Valve Pincher over Valve Motor Shaft and secure with 1X
set screw.
3. Reattach connector to Daughter PCB.
4. Refer to Step A Installation, 1 – 5, to reinstall the instrument cover.
Note: Older version valves have a spacer that is not needed
with a new version valve.