Sewing preparation
40
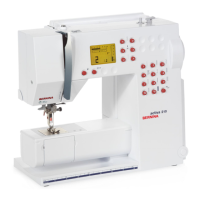
Adjusting the needle position left/right
There is a total of 11 needle positions. The needle position is indicated by the needle position number in the
display.
> To position the needle position to the left, push the button «Needle position Left»(1).
> To position the needle position to the right, push the button«Needle position Right»(2).
Needle stop up/down (permanent)
> To set the needle stop position permanently, tap «Needle Stop Up/Down».
– The machine stops with needle position down as soon as the foot control is released or the button
«Start/Stop» has been pushed.
> Tap «Needle Stop Up/Down» again.
– The machine stops with needle position up as soon as the foot control is released or the button
«Start/Stop» has been pushed.
Changing the stitch plate
The stitch plate is marked with vertical, horizontal and diagonal lines in millimeters (mm) and inches (inch).
These markings are helpful for sewing or precise top-stitching.
Prerequisite:
• The feed dog is lowered.
• The machine is switched off and disconnected from the power supply.
• The needle and presser foot are removed.