SECTION 3 OPERATING THE BIS VISTA MONITORING SYSTEM
______________________________________________________________________
3-25
3.5.13 Print (Snapshot)
Snapshot and Review data may be printed from the BIS VISTA monitor. To print Review
data, see section 3.6 “Reviewing Stored Trend Data.” To print Snapshot data, use the Print
menu selection. To access Print:
1. Press [MENU].
2. Press [Next].
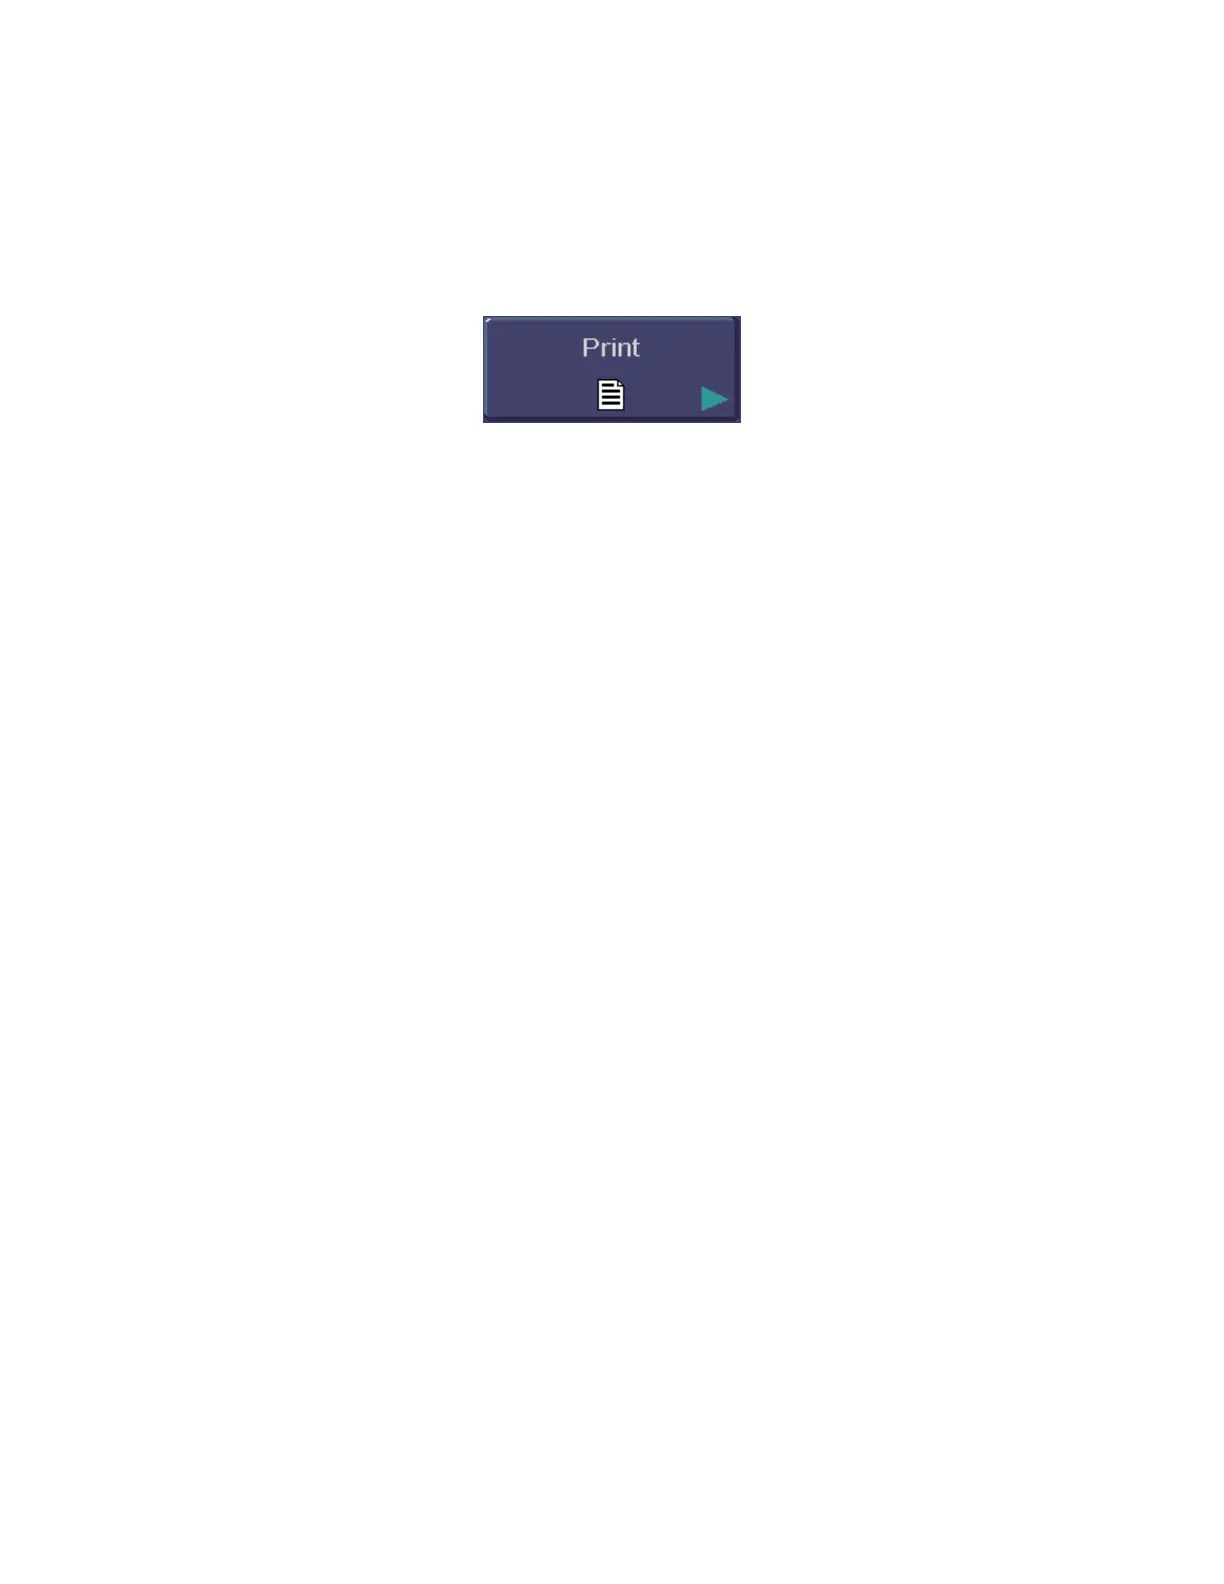
Figure 25 - “Print” Touch Key
This Print option allows the user to create a PDF file of the most recent Snapshot data and
send it to a removable drive on the USB-A port. The removable drive can then be used to
transfer the data to a personal computer for viewing or printing.
To “Print” Snapshot (send a printable file to a removable drive):
1. Attach the removable drive to the USB-A port.
2. Press [MENU], then [Next] to get to the second menu.
3. Press [Print], then press [Snapshot].
4. A Print icon appears below the BIS number while the data transfer is in process. (See
Section 3.3.7.3 “Print Icon.”)
5. When the message “PDF creation completed” appears (or the Print icon disappears
from the screen), the drive may be removed from the back of the monitor.
Each PDF file contains up to 4 pages; each page contains 30 seconds of data. The file name
begins with “EEG” and is followed by: the case ID number, the date of the earliest stored
data for the case, and the page range. For example, the file name
EEG_AH5F_20070118_pgs1-4.pdf is a file containing 4 pages of snapshot data from case #
AH5F, and the earliest data available for that case is from January 18, 2007.
Files for a particular case are stored in a folder. The folder name starts with ‘EEG’ followed
by the case ID number and the two-digit day and month, four-digit year, and two-digit hour,
minute and second that the printing was started. For example, the folder EEG_AH5F –
18012007112722 includes all of the files relating to case ID #AH5F, and the data for that
case was printed on January 18, 2007 at 11:27:22.
 Loading...