CHAPTER 4 IMAGE FORMATION SYSTEM
COPYRIGHT
©
1999 CANON INC. CANON PC800s/900s REV.0 AUG. 1999 PRINTED IN JAPAN (IMPRIME AU JAPON)
4-18
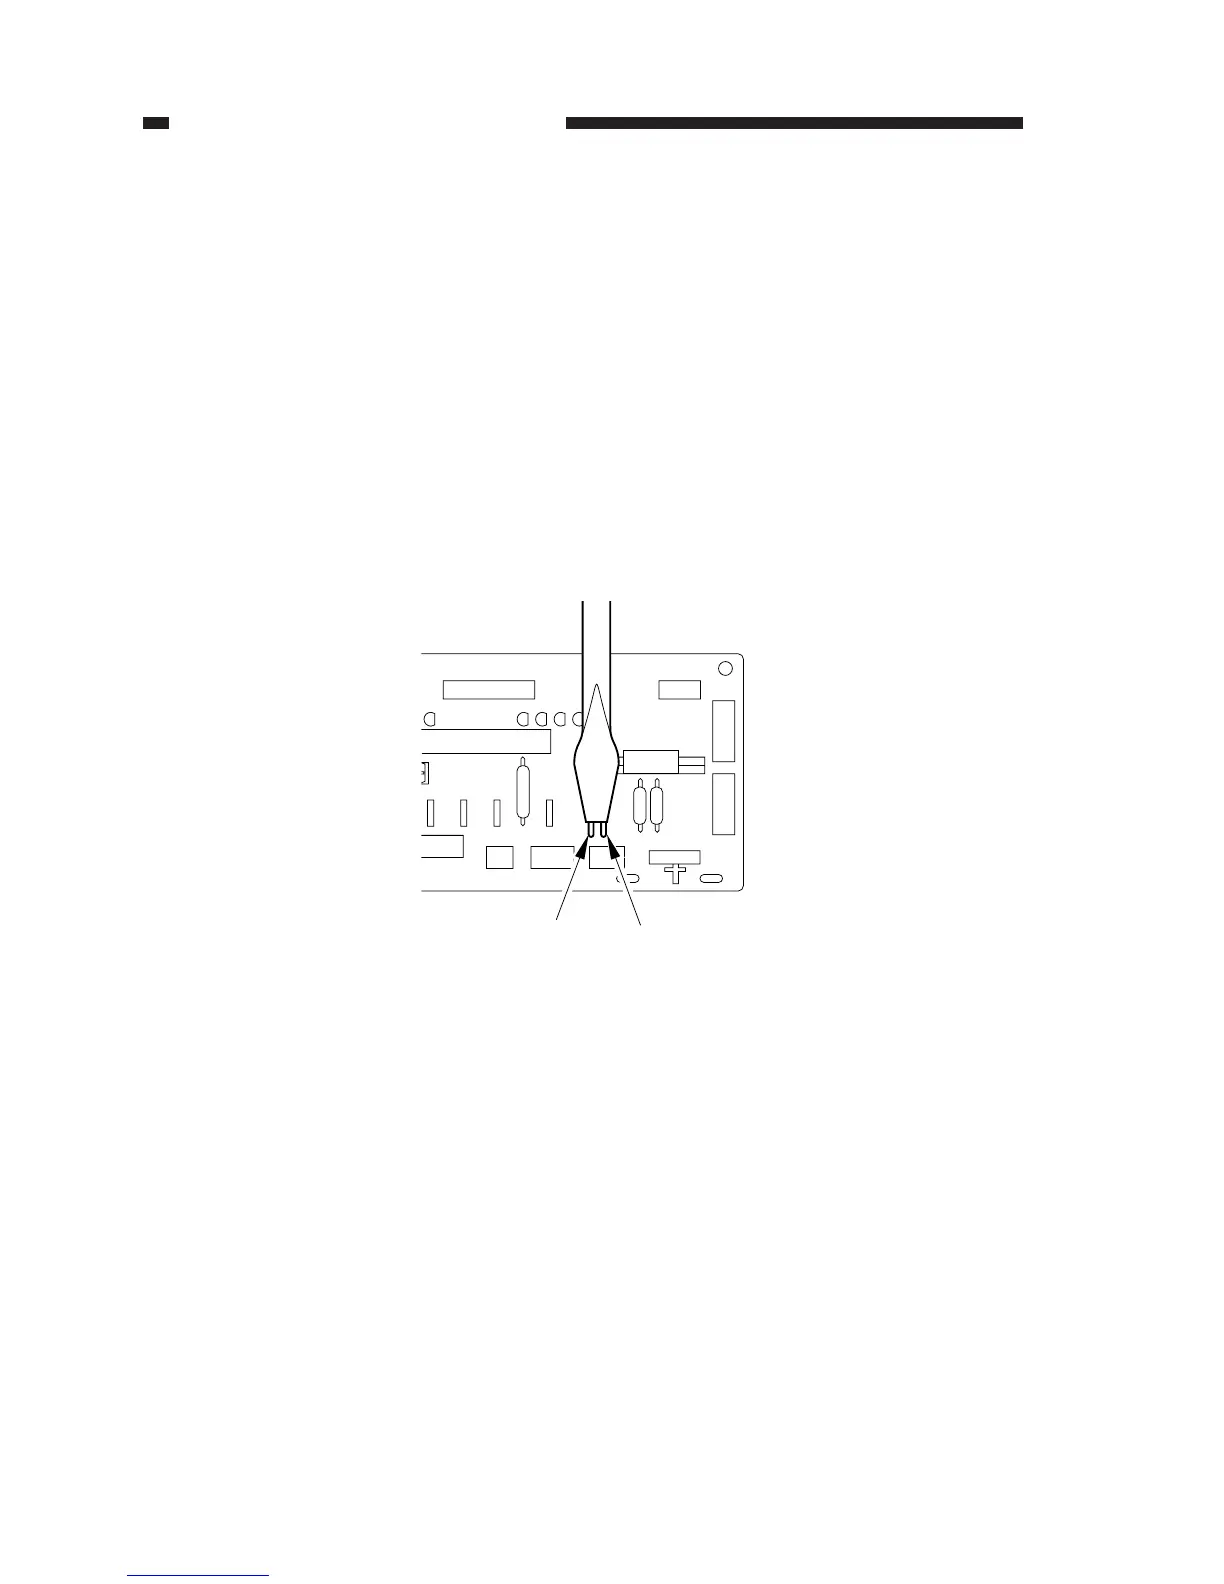
Figure 4-116
J104
J103
3. AE Adjustment (VR102, VR103)
If you have replaced the scanning lamp or the AE sensor PCB, make adjustments as follows:
Operating Procedure
Before Starting the Work
• Obtain a newspaper showing more or less even print. (Do not use one with many photos or
large headings.)
• Obtain five sheets of white sheets of paper.
• Check to make sure that the intensity of the scanning lamp has been adjusted when you have
replaced the scanning lamp.
• Set the density correction switch (SW101) to the middle setting. If the machine is not
equipped with a density correction switch, set the density adjusting lever to the middle set-
ting.
1) Short JP103 and JP104 on the DC controller PCB with a screwdriver or the like.
 Loading...