Addressing the Carrier® ChillerVu™
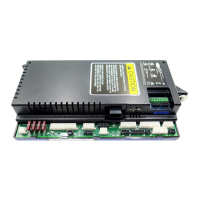
Carrier® ChillerVu™
(OPN-PSM-MPCXPE) Carrier Proprietary and Confidential CARRIER CORPORATION ©2017
Installation and Start-up Guide 11 All rights reserved
To obtain an IP address using DHCP
1 Turn the Carrier® ChillerVu™'s power off.
2 Check the communications wiring for shorts and grounds.
3 Set the
DIP switch to
(
).
4 Set
DIP switch to
.
5 Connect Port E1, which is the only port that speaks BACnet over IP.
6 Turn the Carrier® ChillerVu™'s power on. The DHCP server assigns an IP address to the Carrier® ChillerVu™.
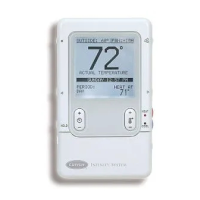
7 Set a unique Device Instance number using a touchscreen device, Hyperterminal, or PuTTY.
8 Turn the controller's power off, then on again.
To assign a custom IP address
1 Obtain the IP address, subnet mask, and default gateway address for the controller from the facility network
administrator.
2 Turn off the controller's power
3 Set the Carrier® ChillerVu™'s
DIP switch to
.
4 Set the
DIP switch
to
.
5 Turn on the controller's power.
6 Use PuTTY (page 53) or Hyperterminal to set the custom IP address, Subnet mask, and default Gateway.
7 When finished, turn off the controller's power and set the Carrier® ChillerVu™'s
DIP switch
to
to restore normal functionality to the
port.
8 Connect Port E1, which is the only port that communicates BACnet over IP.
○ 328 feet (100 meters)
○ Use one of the following CAT5 or higher Ethernet cables:
A cross-over cable to connect the Carrier® ChillerVu™ directly to the third-party device
A straight-through cable to connect the Carrier® ChillerVu™ to a hub or switch, and a second
straight-through cable to connect the hub or switch to the third-party device
Use the same polarity throughout the network segment.
9 Turn on the controller's power.