Adding the Carrier® ChillerVu™ into the i-Vu® or Field Assistant system
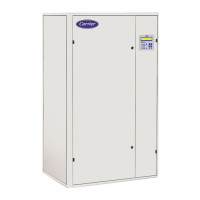
Carrier® ChillerVu™
(OPN-PSM-MPCXPE) Carrier Proprietary and Confidential CARRIER CORPORATION ©2017
Installation and Start-up Guide 37 All rights reserved
Configuring third party protocols in the i-Vu® interface
After you download the driver and control program(s) to the Carrier® ChillerVu™, you must configure the protocol
properties in the i-Vu® interface.
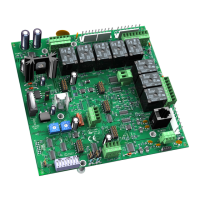
1 Verify the
DIP switch (5)
is
and the controller's power has been cycled.
2 In the i-Vu® navigation tree, right-click the Carrier® ChillerVu™ and select
from the drop-
down menu.
3 Under
, expand
then select
.
4 Under
, check
under
.
5 Select
for
,
6 Enter your
rate.
7 Under
, select the correct option for
.
8 Accept all other default settings.
9 Click
.
You can configure the Carrier® ChillerVu™ for either Modbus RTU or Modbus IP, not both at the same time.
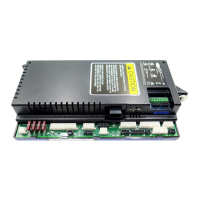
1 Verify the
DIP switch (5)
is
and the controller's power has been cycled.
2 Turn the controller off and then on again.
3 In the i-Vu® navigation tree, right-click the Carrier® ChillerVu™ and select
from the drop-
down menu.
4 Under
, expand
>
.
5 Select
for
.
6 Under
Modbus Protocol Configuration
:
○ If your Carrier® ChillerVu™ is a client:
1. Select
for
.
2. Click
.
3. In the navigation tree, under
>
, go to
and follow the
directions at the bottom of the page to fill in the
.
○ If your Carrier® ChillerVu™ is a server, select
for
.
7 Accept all other default settings.
8 Click
.
You can configure the Carrier® ChillerVu™ for either Modbus RTU or Modbus IP, not both at the same time.
LonWorks network using the LonWorks Option Card
1 Verify the
DIP switch (5)
is
and the controller's power has been cycled.
2 Turn the controller off and then on again.
3 In the i-Vu® navigation tree, right-click the Carrier® ChillerVu™ and select
from the drop-
down menu.