62
10.4 For GLP/GMP/ISO Compliance
10.4.1 Calibration Report Setting
Setting the calibration report provides an automatic calibration record output every time span
calibration or calibration test is performed. An optional electronic printer (see 14.1) can save
reports by printing them. Combination with Clock-CAL function (see 10.3.3) provides fully-
automatic and periodical calibration and reports.
• As WindowsDirect function can transfer numerical values only, the descriptions appearing
in this calibration report can not be received properly through WindowsDirect.
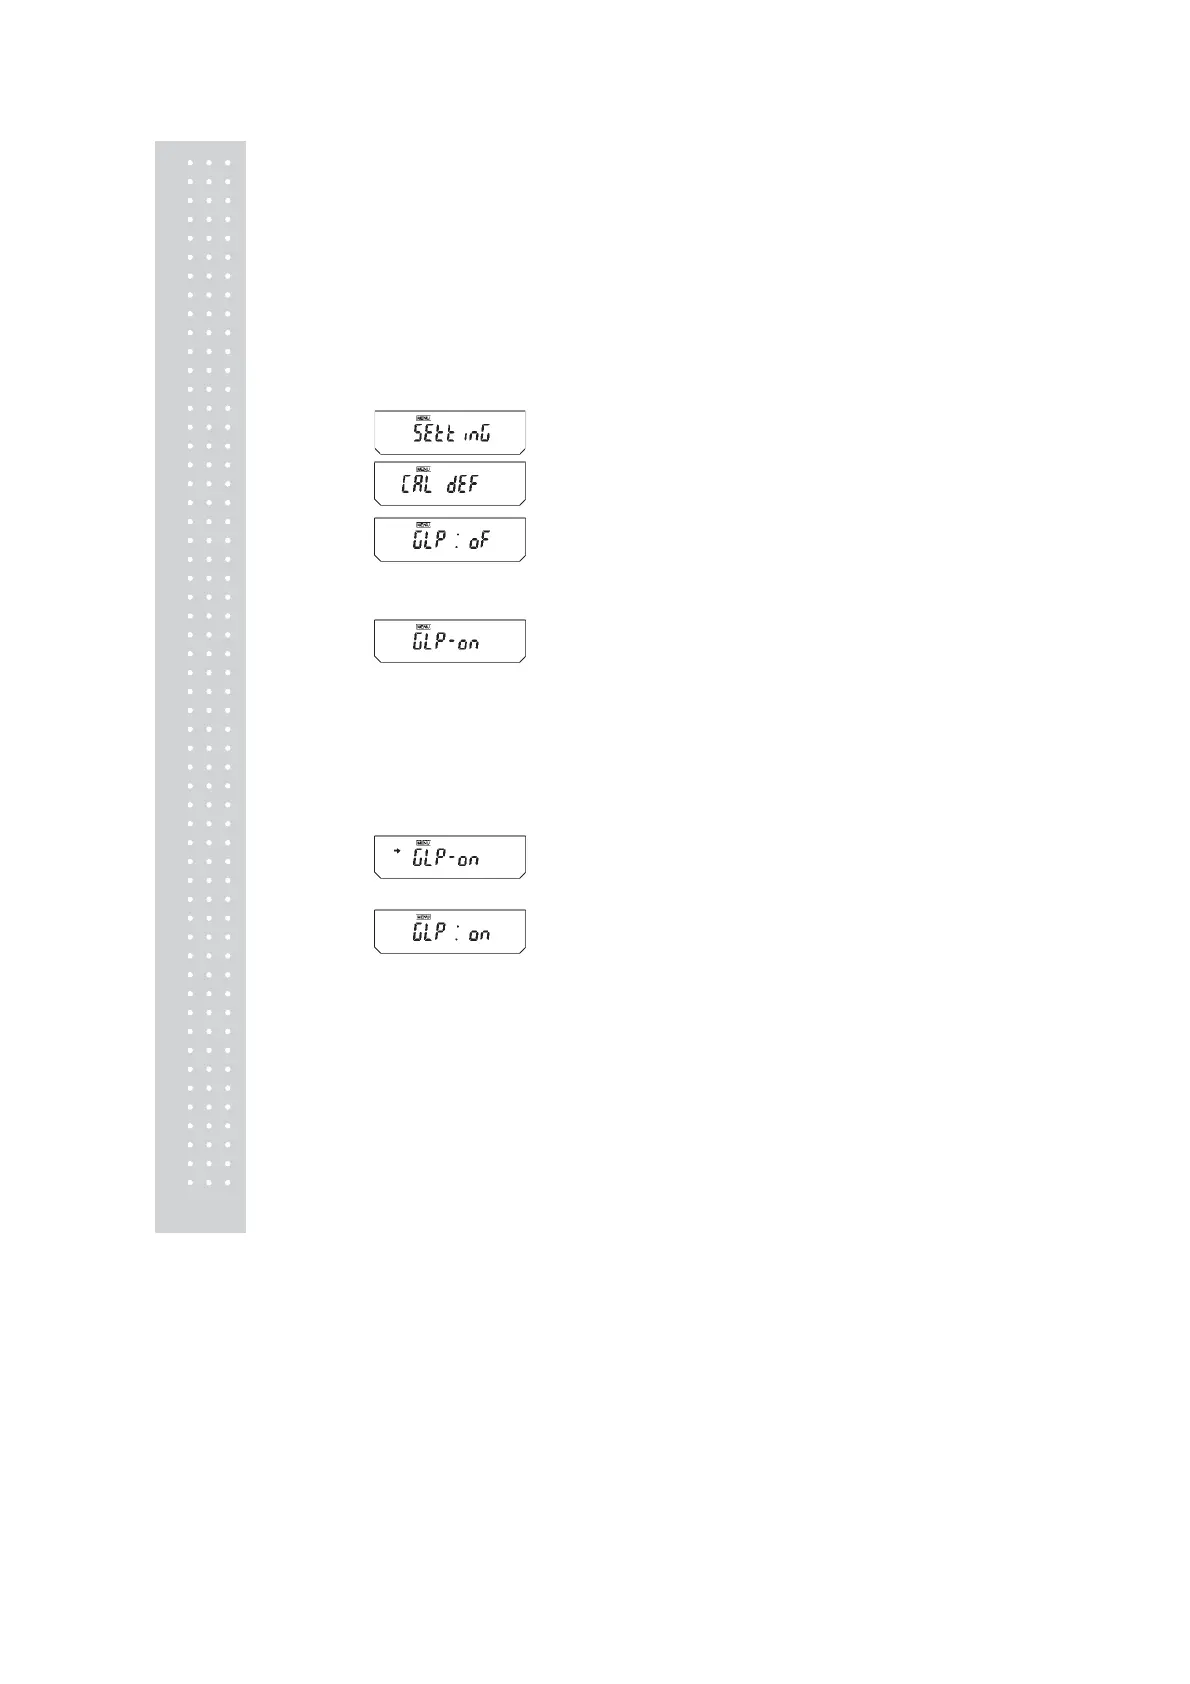
1 From mass display, press the [CAL] key
repeatedly until “SEttinG” appears. Press the
[O/T] key. “CAL dEF” appears.
2 Press the [CAL] key repeatedly until
“GLP: **” appears. The ** positions show
the current setting, “on” when set and “oF”
when unset.
3 To change the setting press the [O/T] key
when “GLP: **” is showing. The display
will show “GLPon”. (The “:” becomes “-”)
4 From this point, every time the [CAL] key is
pressed, the display will switch between
“GLP- oF” and “GLP-on”. Here, when the
current setting is displayed, the stability
mark (¨) appears.
5 To change the setting, press the [O/T] key
when the desired setting appears, or
6 Press the [POWER] key to return to
“GLP: **” without changing the setting.
7 Press the [POWER] key again to return to
the mass display.
(When ON)
(Example)
(When OFF)
(Example)
(Example)
(When OFF)
(When set to ON)
(Example)
Setting
check
During
setting
During
setting
Setting
check
 Loading...