5 Configuration
36 / 80 GB October 2013
1
Tap the <Settings> tab.
2
Tap the <Control...> button.
3
Tap the <arrow keys> until the button <Dryer
Pre-Run Time> is visible.
4
Tap button <Dryer Pre-Run Time>.
– The input menu for the dryer pre-run time
appears.
5 Tap the <Number buttons> to enter the re-
quired dryer pre-run time.
Data entry can be cancelled by tapping the but-
ton <Cancel>. The previously active input value
is used.
6
Tap the <OK> button.
✓ The dryer pre-run time is programmed.
–
The menu "Control" appears.
– The set time is now displayed on the button
<Dryer Pre-Run Time.
Programming the programmable output to
start the external dryer
1
Tap the <Settings> tab.
2
Tap tab <Programmable Inputs and Outputs>.
3
Tap button <Output x> for the output to which
the external dryer is connected.
4
Tap button <Operating>.
The <Cancel> button can be used to cancel the
allocation of the output. The previously active
setting is used.
5
Tap the <OK> button.
✓ The programmable output for starting the exter-
nal dryer is programmed.
Operating behaviour of dryer and compressor
The external dryer is switched on if the compres-
sor is operating.
The external dryer is switched off if the compres-
sor is not operating.
Press the start button < I >.
The relay output closes.
– The dryer connected to the relay output is
switched on and running.
– Starting of the compressor is delayed by the
set dryer pre-run time.
The compressor starts after the dryer pre-run
time has elapsed.
Operation; compressor and dryer running.
Press stop button< O >.
– The compressor is stopped.
The relay output opens.
– The dryer connected to the relay output is
switched off.
5.5.5 Configuring RS484
communication
RS485 communication
The controller has a serial RS485 interface (des-
ignation "RS485:1"). A second RS485 interface is
optionally available (designation "RS485:3"). The
RS485 interfaces use the Modbus RTU protocol.
The RS485 interface can be used to communicate
with external sequencers or for monitoring pur-
poses.
Configuring the RS485 interface
1
Tap the <Settings> tab.
2
Tap the <Communication...> button.
–
The menu "Communication" appears.
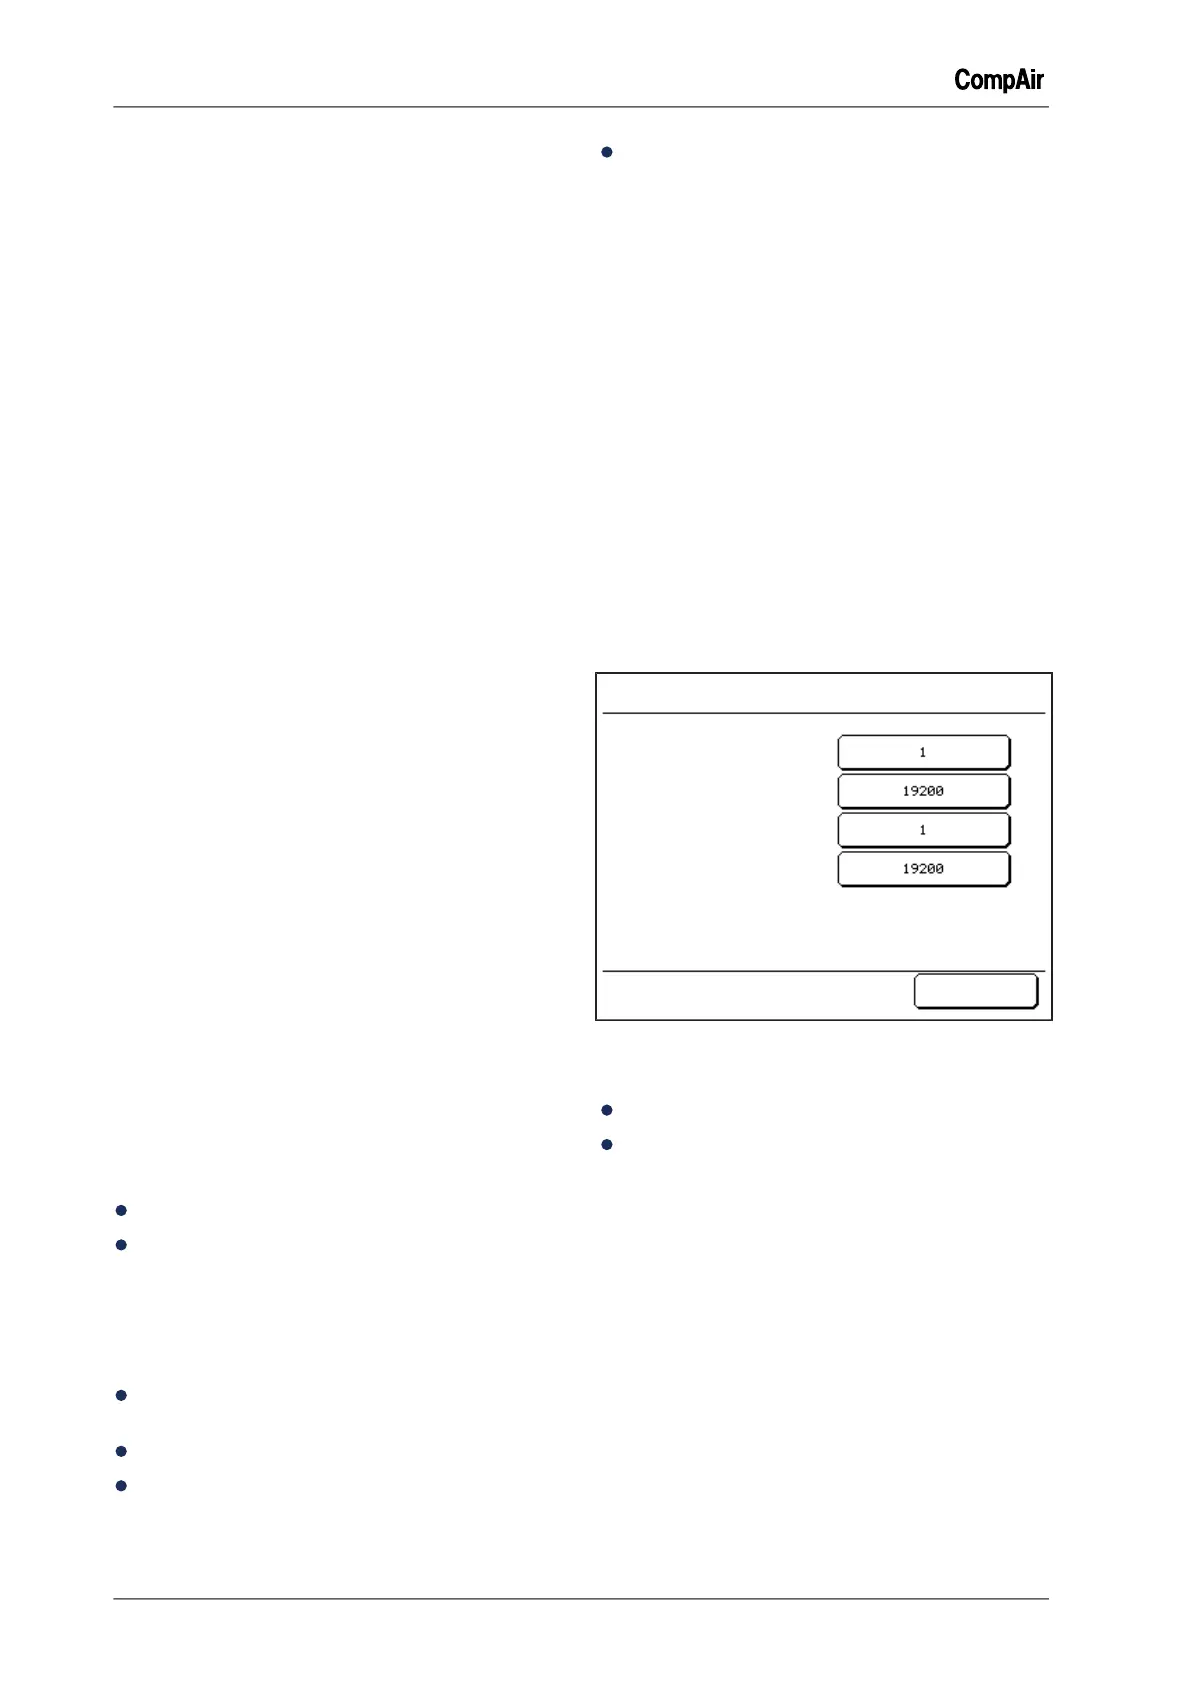
RS485:1 Address
RS485:1 Baudrate
RS485:3 Address
RS485:3 Baudrate
Select a Setting
Communication
OK
Fig. 5-33: Menu "Communication"
The following menu options are available.
Set address
Set baudrate
Set address
1
Tap button <Address>.
– The input menu for setting the address ap-
pears.
2 Tap the <Number buttons> to enter the inter-
face address.
Address entry can be cancelled by tapping the
button <Cancel>. The previously active setting
is used.
3
Tap the <OK> button.
✓ The address is set.
–
The menu "Communication" appears.

 Loading...