3 - Maintenance instructions 15
3 MAINTENANCE INSTRUCTIONS
3.1 Removing the front casing
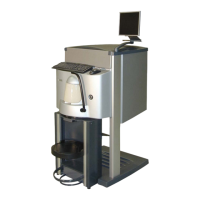
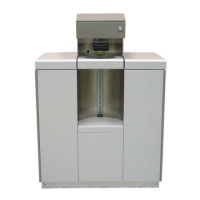
The COROB
TM
D300’s dispensing module is protected with a front casing. You can remove this
casing only for service.
Tools required:
• 4mm Allen key
Procedure:
1. Turn the monitor stand (optional) aside away from the top
of the machine.
2. Open the cover which is over the colorant canisters: press
down the front edge of the cover and push backwards.
3. Remove the keyboard and mouse from the top of the front
casing.
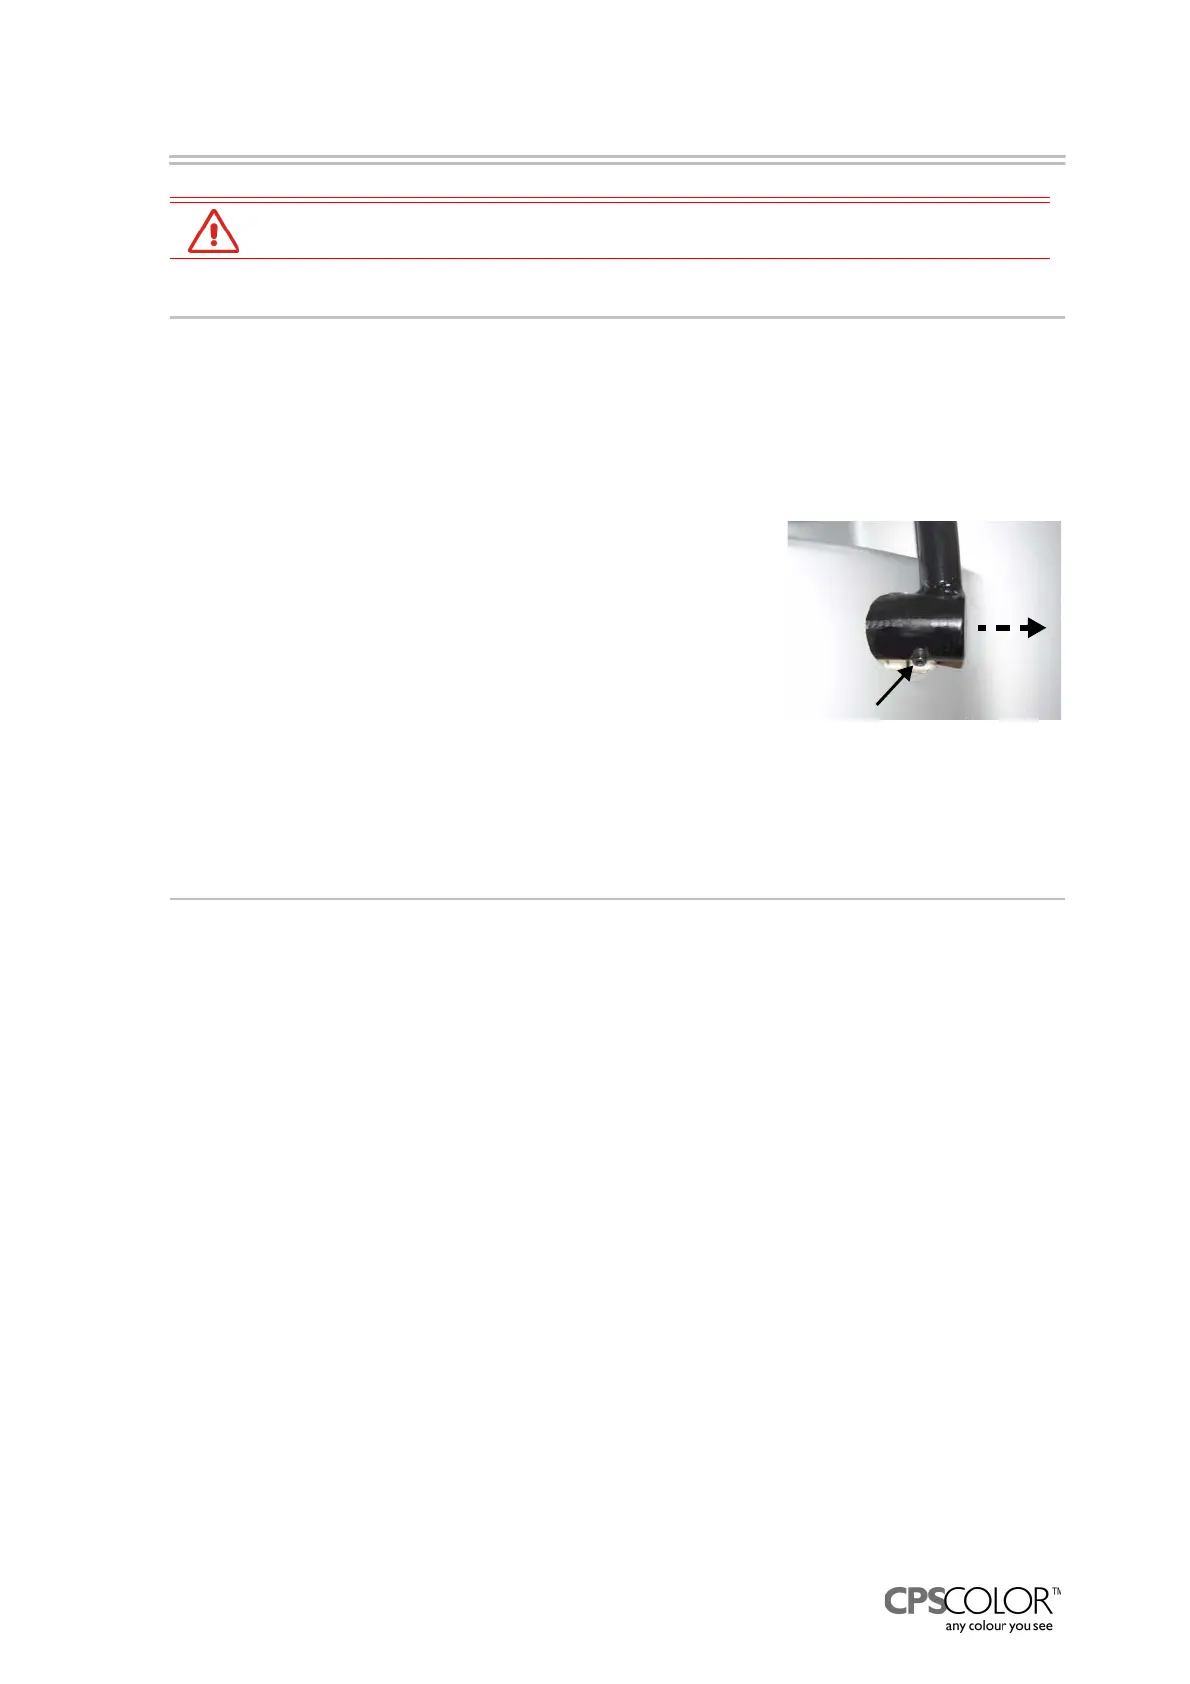
4. Loosen the locking nut that fastens the puncher handle
(optional) to the crank and remove the handle, see figure
25.
5. Remove the water reservoir.
6. Open the two screws which are behind the reservoir.
7. Remove the front casing by pulling it away from the machine.
3.2 Removing the can table during service
If you have to tilt the dispensing module forward for maintenance or you have to access parts
under the machine such as the pumps, stirring motors, canisters or hoses, the can table in front of
the machine has to be removed.
Tools required:
• 8mm Allen key
• 8 and 10mm set wrench
Procedure:
1. Unplug the mains from the outlet.
2. Remove the front casing according to instructions given above.
3. Remove the humidifier cap, so it will not get broke while moving the can table.
4. If the COROB
TM
D300 has punching, remove the striking rod behind the puncher as follows:
- Put the puncher handle back in place and press the handle down.
- Open the locking nut of striking rod, see figure 26.
- Screw the rod from out of place.
WARNING! Punching blade may cause personal injury.
5. Detach the cable from the cable interface, see figure 27.
WARNING! Before service, repairs and cleaning, unplug the mains from the outlet.
Figure 25: The puncher
handle is attached to the
crank with one locking nut.