61
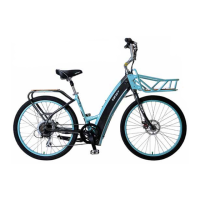
Lookfortheletters“R”forright,and“L”forleft,stampedoneachpedal
spindle.Startthreadingeachpedalbyhandtoavoidstrippingthethreads.
Tightenwitha15mmnarrowopenendedwrench.Notethattheright
hand pedal attaches to the chainwheel side crank arm with a right-hand
(clockwise) thread. The left pedal attaches to the other crank arm and has
aleft-hand(counter-clockwise)thread.Itisveryimportantthatyoucheck
the crank set for correct adjustment and tightness before riding your
bicycle.Newcranksmaybecomeloosewithinitialuse,refertopages
99-101forpropercranksetadjustmentandmaintenance.Oncethepedals
have been installed, remove the dust caps from the center of each crank
arm.Tightenthespindlenutssecurely(approx.350in.lbs.)witha14mm
socketwrenchoran8mmAllenwrench,dependingonstyle,thenreplace
the dust caps.
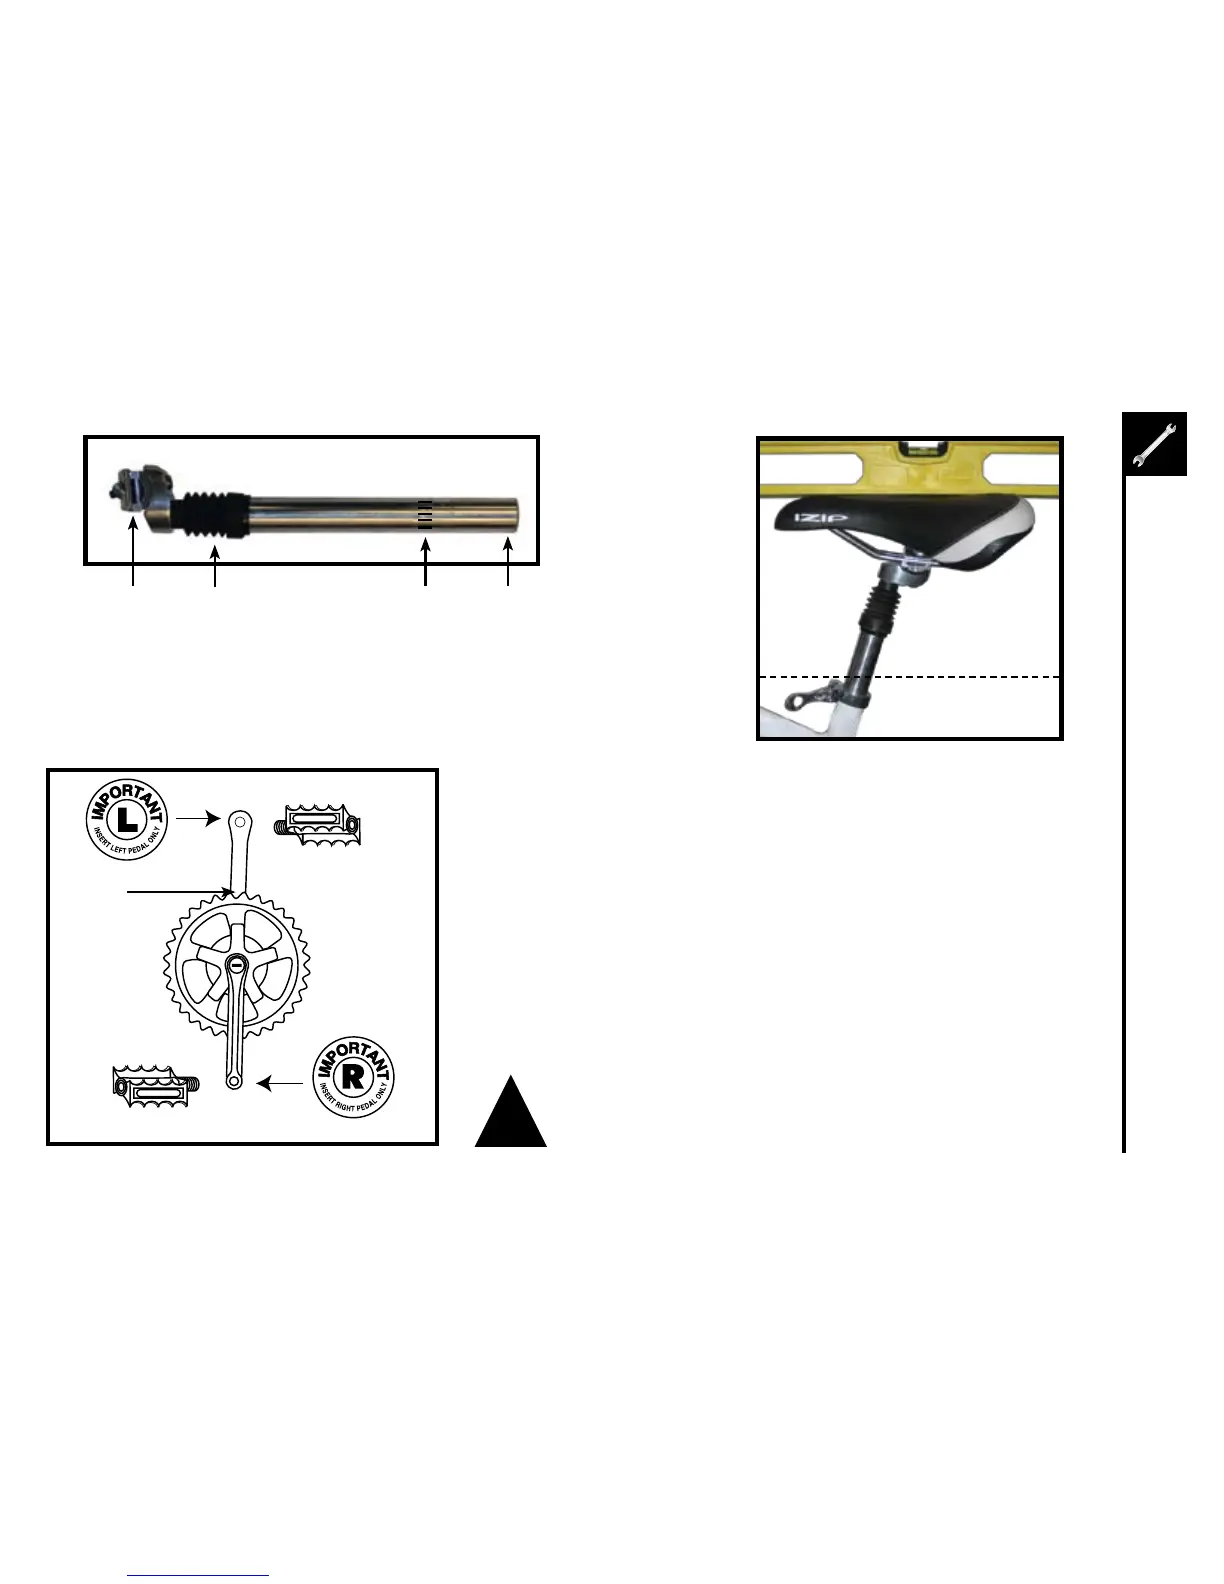
Dust
Cap
!
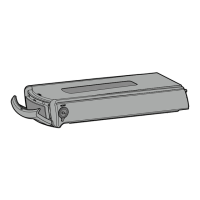
Attach
SeatHere
Boot Minimum
Insertion
Mark
Preloadadjusting
screw on underside
Seatislevelwithground
and centered in clamp