Setup
18 QuickScan™ I QD24XX/QBT24XX/QM24XX
Setting the Interface
Scan the programming bar code from this section which selects the appropriate interface type
matching the system the reader will be connected to. Next, proceed to the corresponding sec-
tion in this manual (also listed in Table 1 on page 18) to configure any desired settings and fea-
tures associated with that interface.
Unlike some programming features and options, interface selections require
that you scan only one programming bar code label. DO NOT scan an ENTER/
EXIT bar code prior to scanning an interface selection bar code.
Some interfaces require the scanner to start in
the disabled state when pow-
ered up. If additional scanner configuration is desired while in this state, pull
the trigger and hold it for fi
ve seconds. The scanner will change to a state that
allows programming with bar codes.
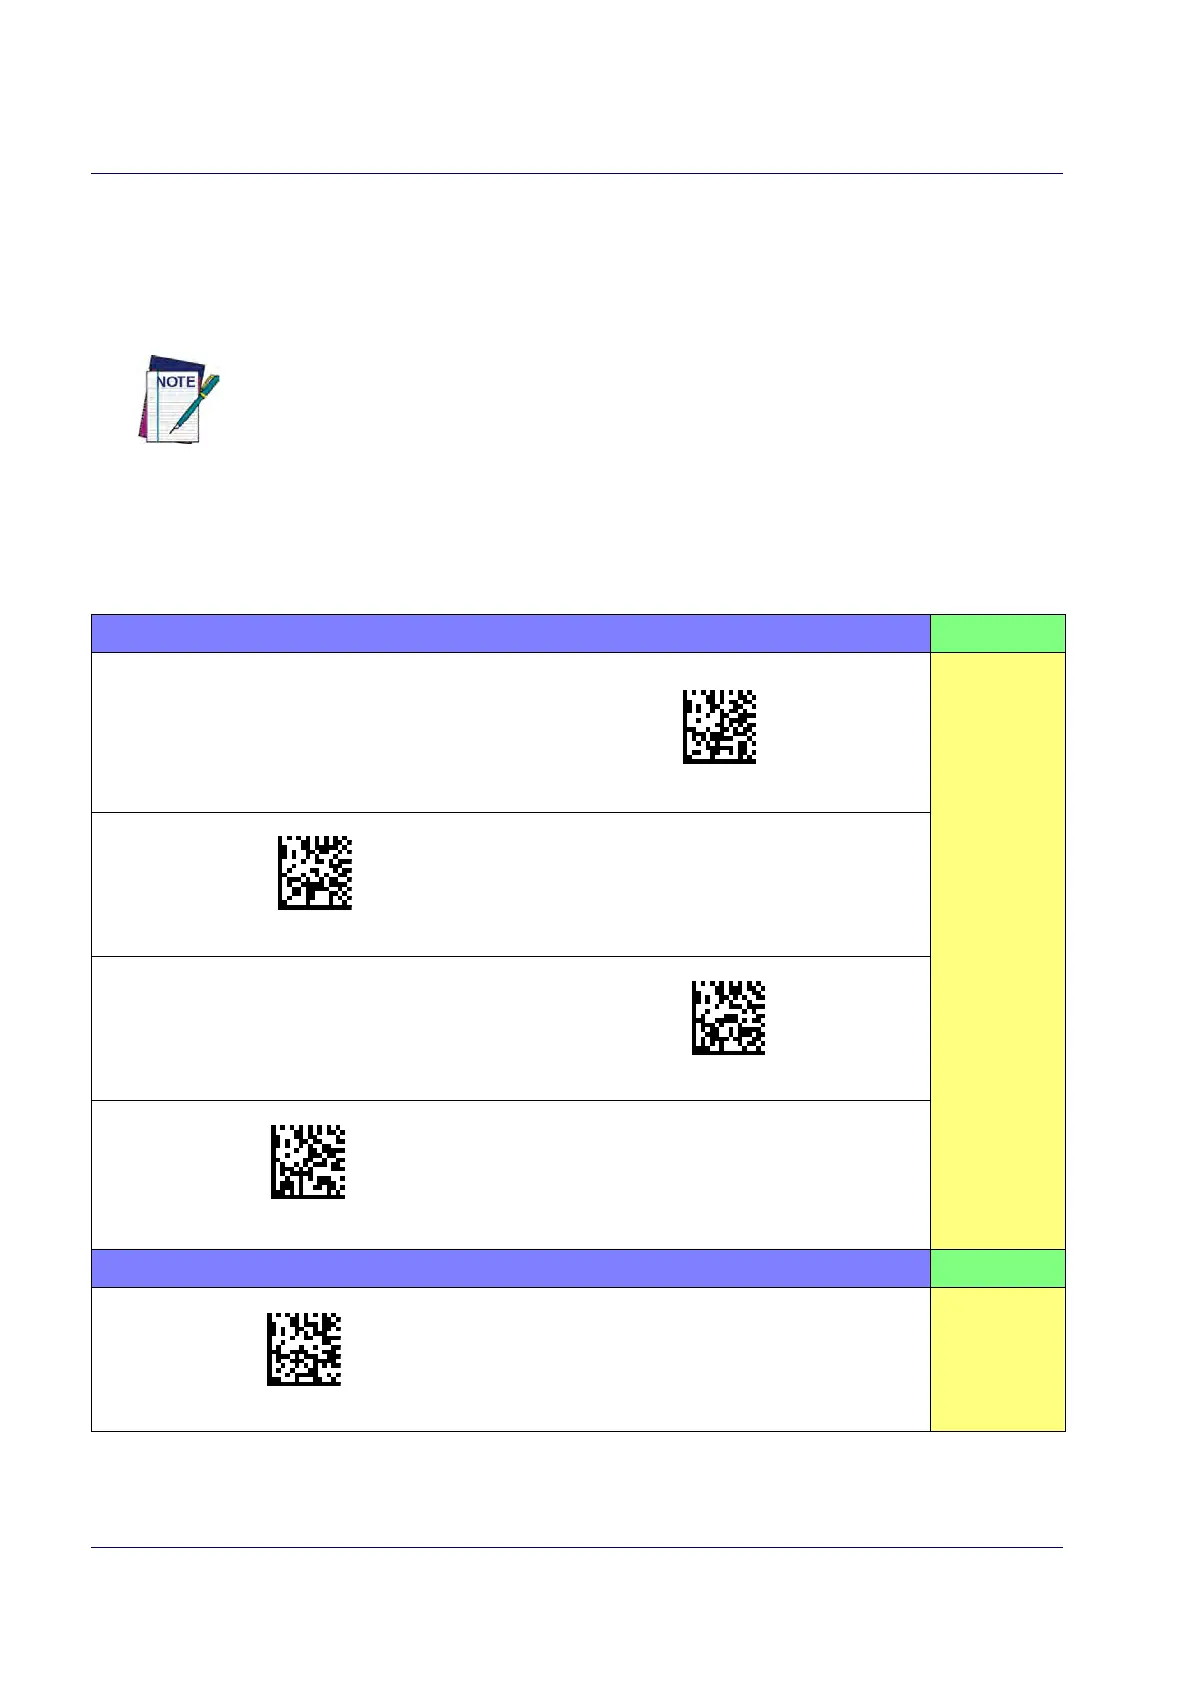
Table 1. Available Interfaces
RS-232 FEATURES
RS-232 standard interface
Select RS232-STD
Set RS-232
Interface
Features
starting on
page 27
Select RS232-WN
RS-232 Wincor-Nixdorf
RS-232 for use with OPOS/UPOS/JavaPOS
Select RS-232 OPOS
Select USB-COM-STD
a
a. Download the correct USB Com driver from www.datalogic.com
USB Com to simulate RS-232 standard interface
USB-OEM FEATURES
Select USB-OEM
USB-OEM
(can be used for OPOS/UPOS/JavaPOS)
Set USB-OEM
Interface
Features
starting on
page 49
 Loading...