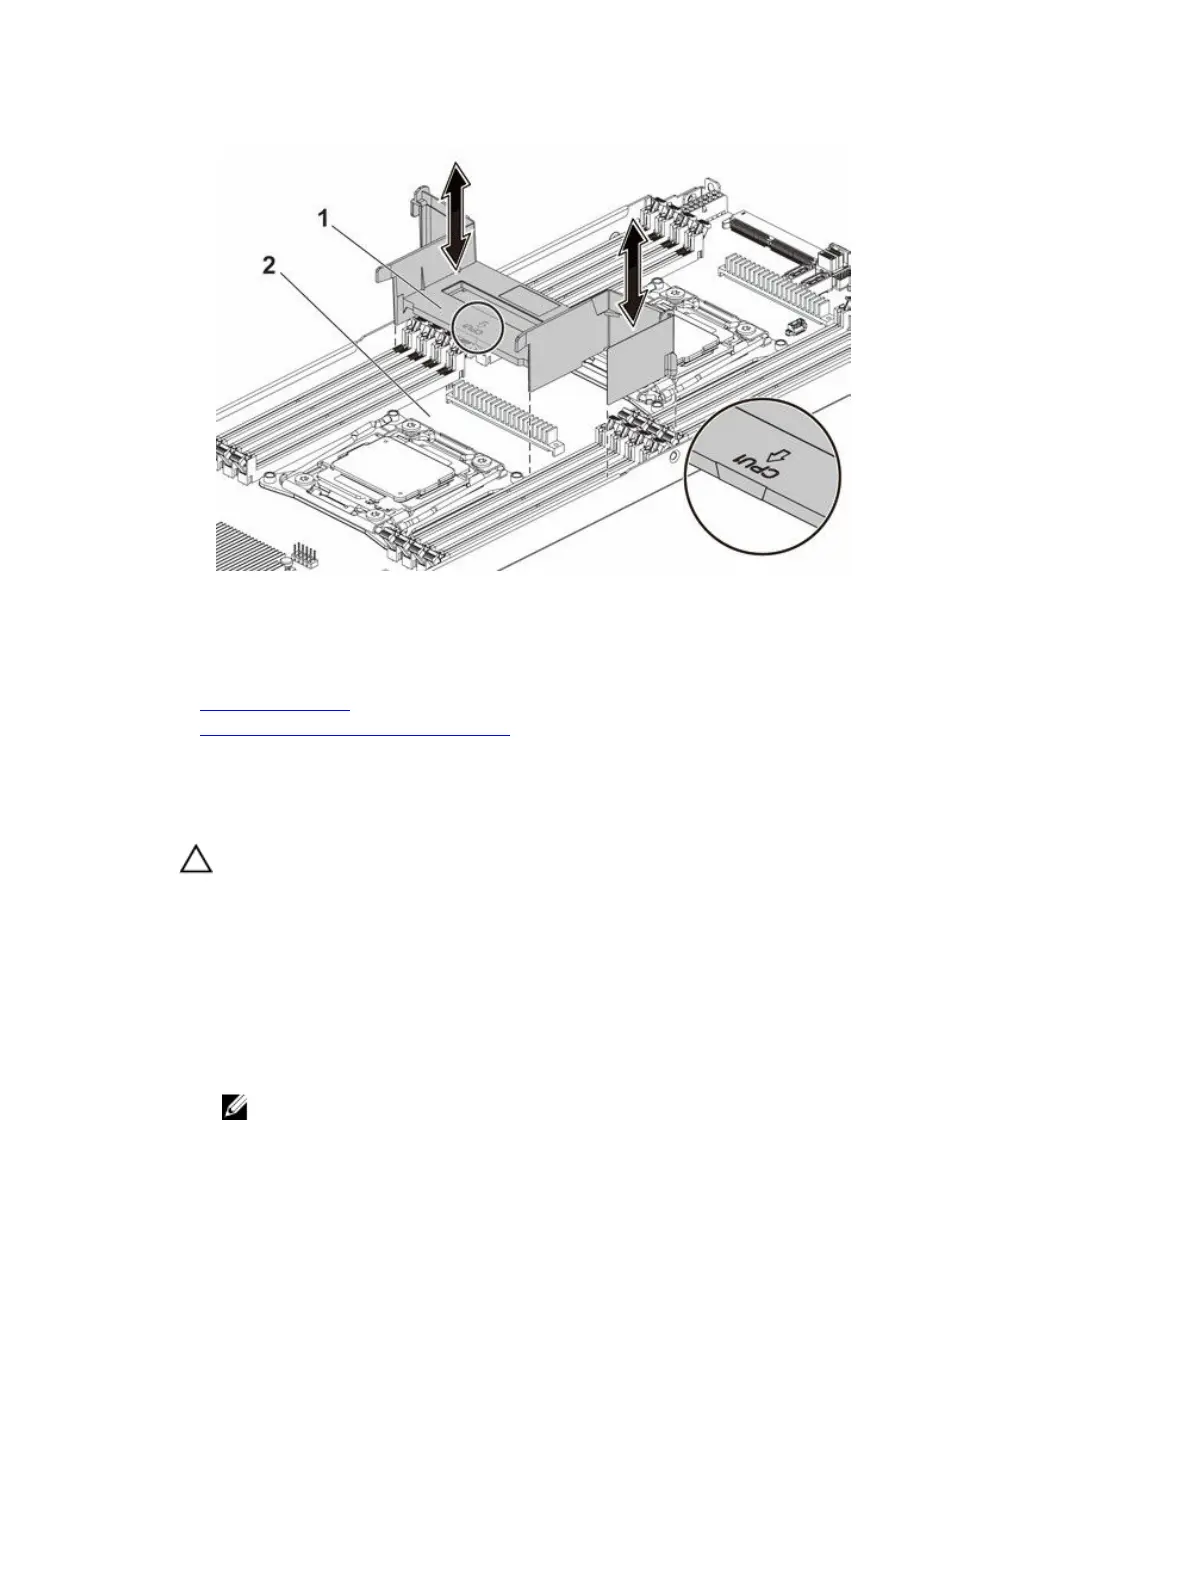
Figure 39. Removing the cooling shroud
1. cooling shroud 2. system board assembly
Related Links
Safety instructions
Removing the system board assembly
Installing the cooling shroud
Prerequisites
CAUTION: Many repairs may only be done by a certified service technician. You should only
perform troubleshooting and simple repairs as authorized in your product documentation, or as
directed by the online or telephone service and support team. Damage due to servicing that is
not authorized by Dell is not covered by your warranty. Read and follow the safety instructions
that are shipped with your product.
Follow the safety guidelines listed in the Safety instructions section.
Steps
Replace the cooling shroud into the system board assembly. Make sure that the four latches are
properly engaged with the heat sink bases and the latches click in place.
NOTE: When installing the cooling shroud, make sure the arrow of the mark on the cooling
shroud points to processor 1, and keep the flat surface of the cooling shroud horizontal.
90