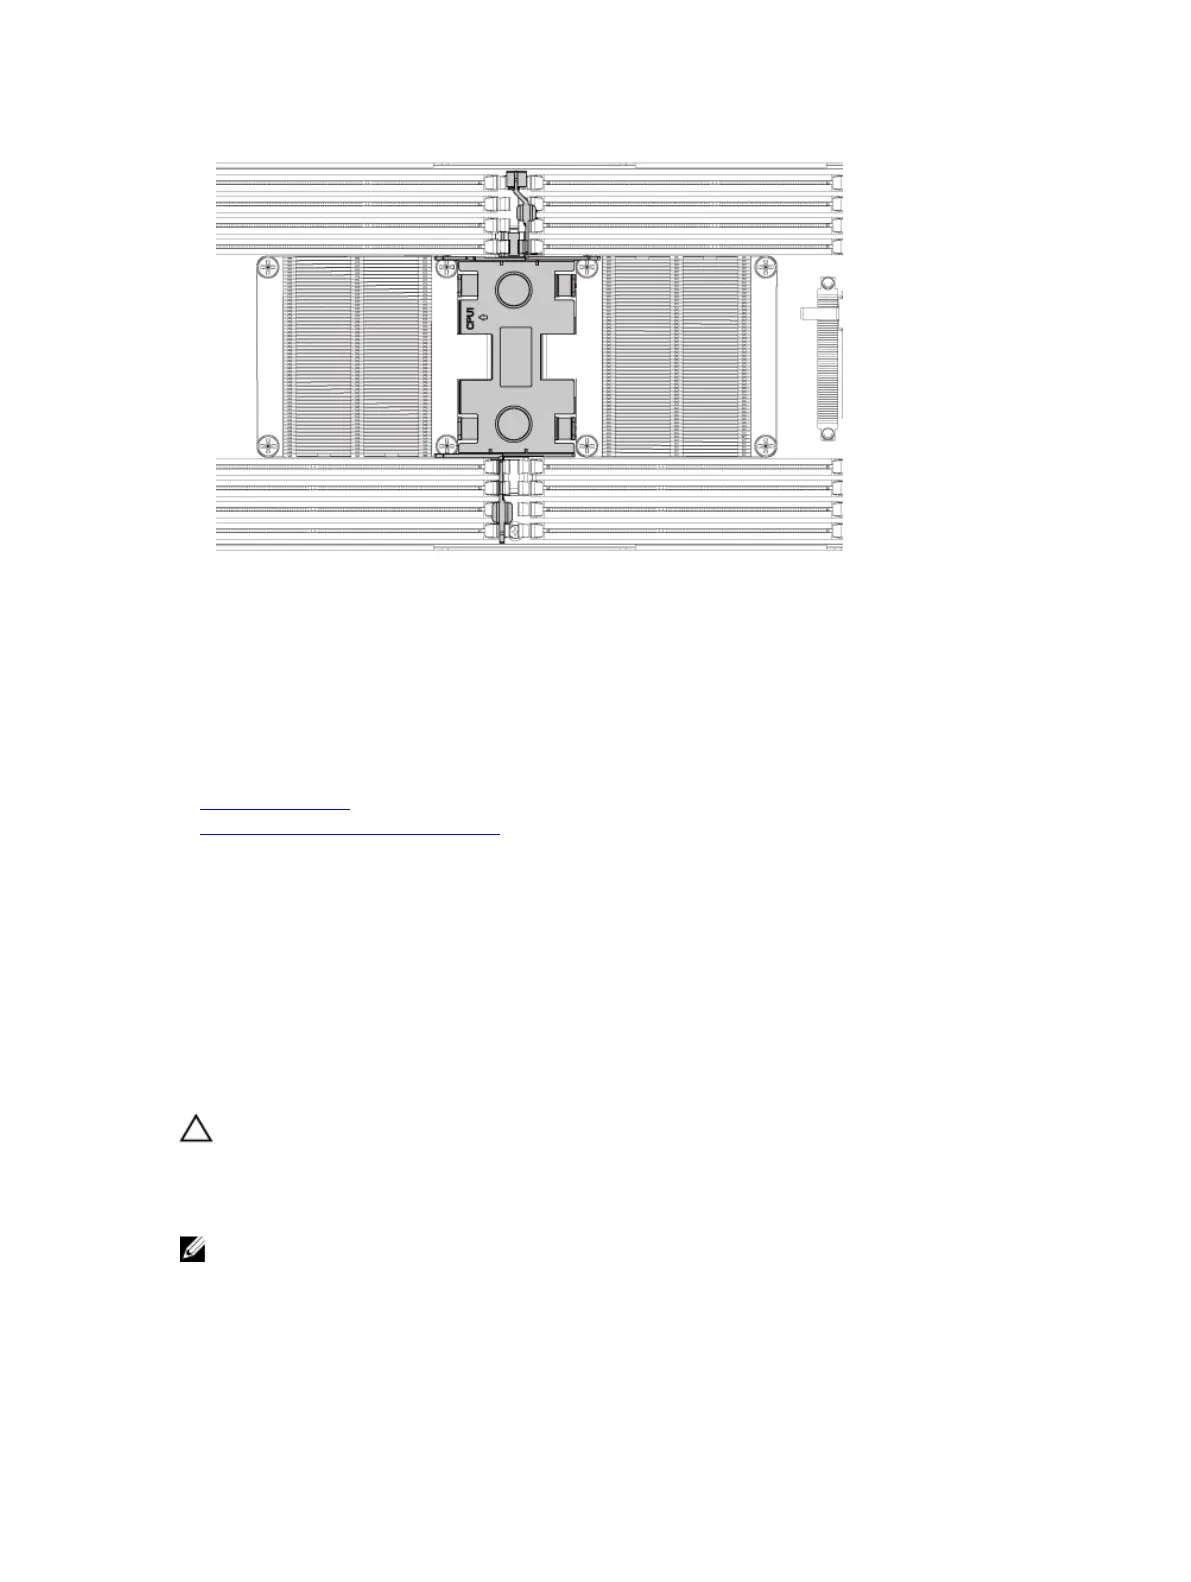
Figure 40. The top view of the installed cooling shroud
Next steps
1. Install the system board assembly.
2. Reconnect the peripherals and connect the system to the electrical outlet.
3. Turn on the system, including any attached peripherals.
Related Links
Safety instructions
Installing the system board assembly
Heat sinks
The heat sink transfers heat away form the processor as the processor is unable to dissipate sufficient
heat to moderate this temperature. The heat sink is designed to maximize its surface area in contact with
the cooling medium surrounding it, such as the air. Thermal grease improve the heat sink's performance
by filling air gaps between the heat sink and the heat spreader on the processor.
Removing the heat sink
Prerequisites
CAUTION: Many repairs may only be done by a certified service technician. You should only
perform troubleshooting and simple repairs as authorized in your product documentation, or as
directed by the online or telephone service and support team. Damage due to servicing that is
not authorized by Dell is not covered by your warranty. Read and follow the safety instructions
that are shipped with your product.
NOTE: Place the foolproof pins of two processor heat sinks facing inside.
1. Follow the safety guidelines listed in the Safety instructions section.
2. Turn off the system, including any attached peripherals.
3. Disconnect the system from the electrical outlet and disconnect the peripherals.
91