OPERATOR'S MANUAL
SETUP/ 23
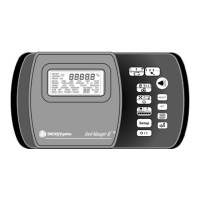
Dj SEED MANAGER® SE PLANTER MONITOR
BENCHMARK Series® 11001-1218-200112 Rev A
To perform the Distance Calibration:
STEP 1
Carefully measure a 400 foot (122 meter)
course, plainly marking the start and finish
points.
STEP 2
With the tractor moving between 2 and 5
MPH (3.2 and 8 Km/h), press the START
STOP RESET switch when the tractor is
exactly even with the start marker. The
display showing the Distance Calibration
constant zeroes, then counts the ground
speed pulses.
STEP 3
When the tractor is even with the finish
marker, press the START STOP RESET
switch.
STEP 4
To ensure best accuracy, perform this
procedure at least three (3) times. Record
the count each time, then enter the average
as the Distance Calibration constant, using
the SELECT and SET switches.
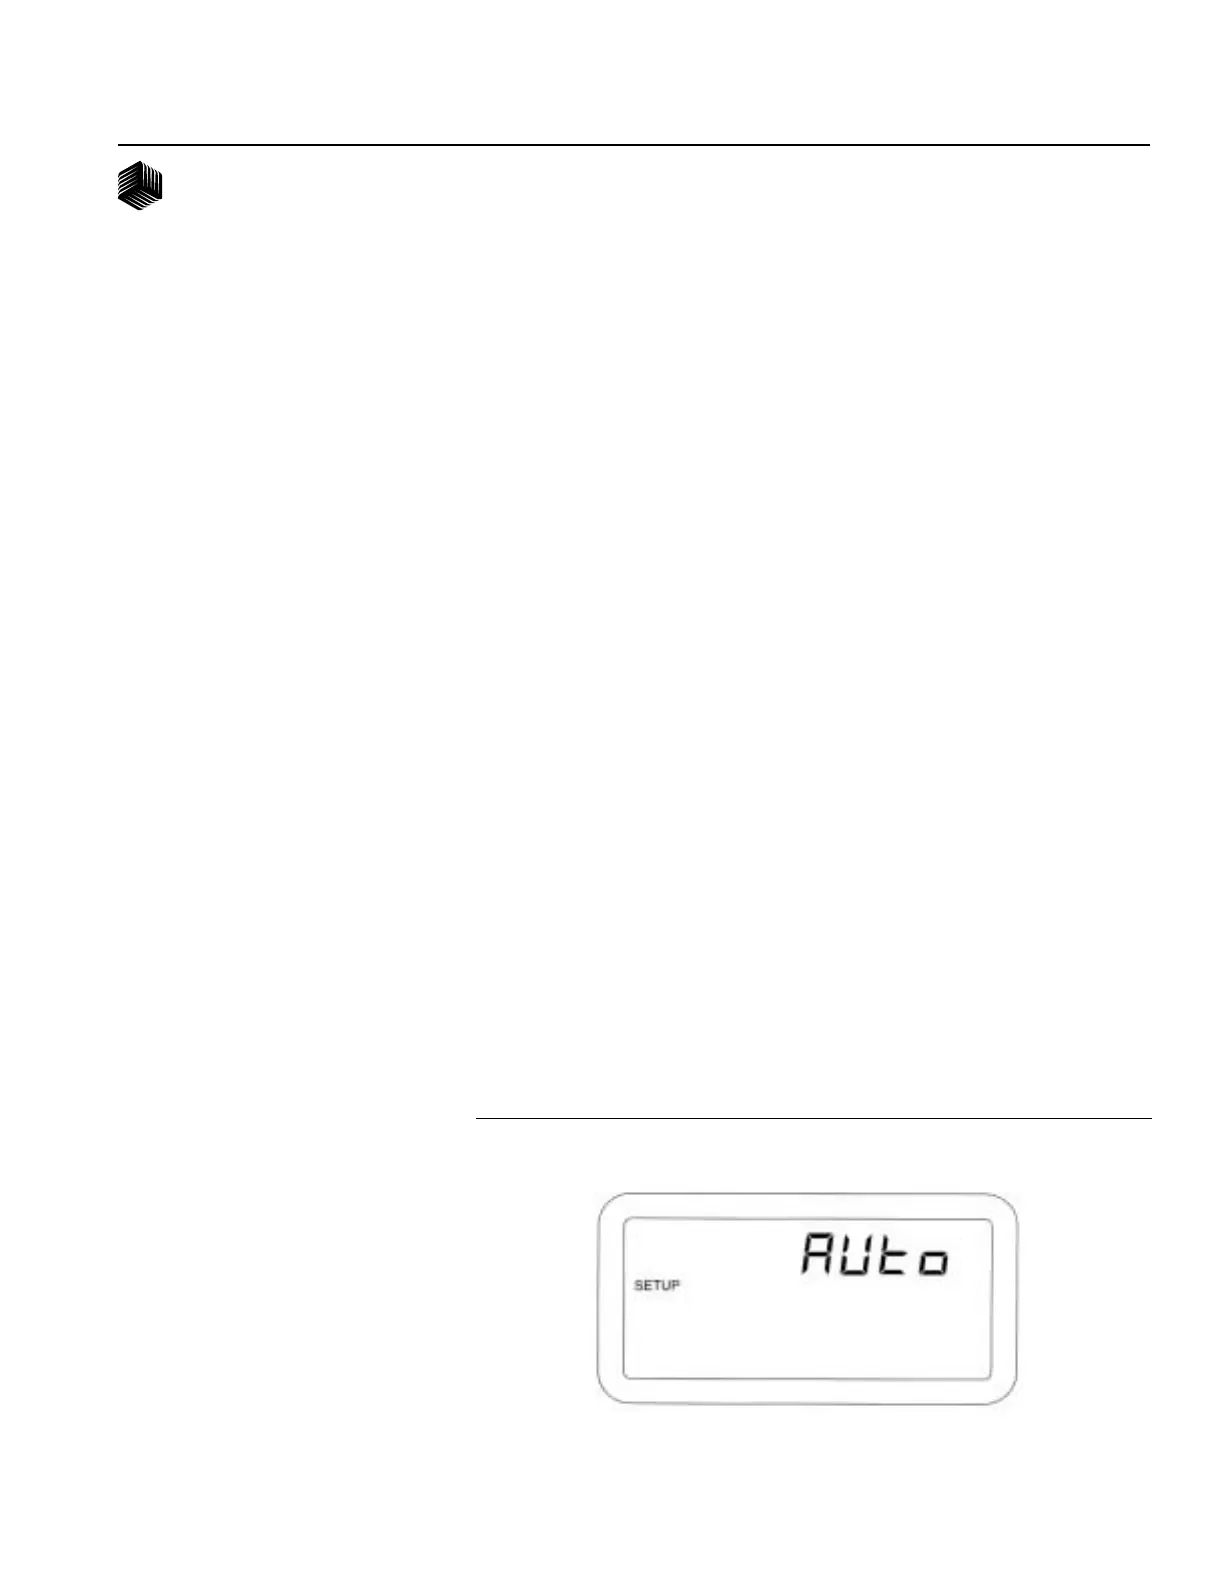
7. Automatic Configuration
To begin the Automatic Configuration,
press the START STOP RESET switch.
The TEST message flashes while the
Automatic Configuration is running.
Configuration is complete when the TEST
message disappears. The Automatic
Configuration will automatically detect how
many Seed Modules are connected to the
system, how many Seed Sensors are
connected to each Module, how many
Hopper Sensors are connected in the
system, and how many Pressure Sensors
are connected in the system. Note: Fan
Speed Sensors and Shaft Speed Sensors
are not automatically configured and will
need to be setup manually by the user.
When Automatic Configuration is run, the
number of seed modules, number of seed
sensors, number of hopper sensors, and
number of pressure sensors is configured
to be whatever the results of Automatic
Configuration detects in the system. Verify
the detected configuration by reviewing the
setup constants for the number of seed
modules, number of seed sensors,
number of hopper sensors, and number
of pressure sensors before beginning
operation of the implement. Figure 14
shows the Automatic Configuration
screen.
Figure 14
Automatic Configuration Display
 Loading...