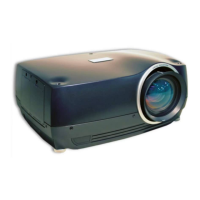
Operating The Projector
Switching the projector on
• Connect the power cable between the mains supply and the projector. Switch on at the switch next to the power connector.
• Wait until the self-test has completed and the Power indicator on the projector control panel shows amber. The lamp will be off and the
projector will be in STANDBY mode.
• Press on the control panel or POWER ON on the remote control.
The Power indicator on the control panel will ash green for a few seconds whilst the lamp comes up to full brightness. When the
projector is ready for use, the Power indicator will show steady green.
Selecting an input signal or test pattern
Input signal
• Connect an image source to the projector. The signal should be automatically detected by the projector, and should be displayed within a
two or three seconds.
• If more than one signal is connected, then select the image you want to display:
Press SOURCE on the control panel to cycle through the inputs,
or press INPUT on the remote control, then use the LEFT and RIGHT arrow buttons to cycle through the inputs.
Test pattern
To display a test pattern, do either of the following:
• Press TEST PATTERN on the remote control, then use the LEFT and RIGHT arrow buttons to cycle through the patterns,
• Use the OSD (On-screen Display):
1. Open the Main menu, highlight Test Pattern and press ENTER to open the list of available test paterns.
2. Use the UP and DOWN arrow buttons to highlight the test pattern you wish to display and press ENTER.
Notes
Before switching on the projector
for the rst time, make sure
the electric circuit is grounded.
Poor grounding may damage the
projector.
Always allow the lamp to cool for
5 minutes before:
- disconnecting the power
- moving the projector
For full details of how to connect an
image source to the projector, see
the Connection Guide.
For full details of how to use the
controls and the menu system, see
the Operating Guide.
 Loading...


