Using The Projector
Main menu
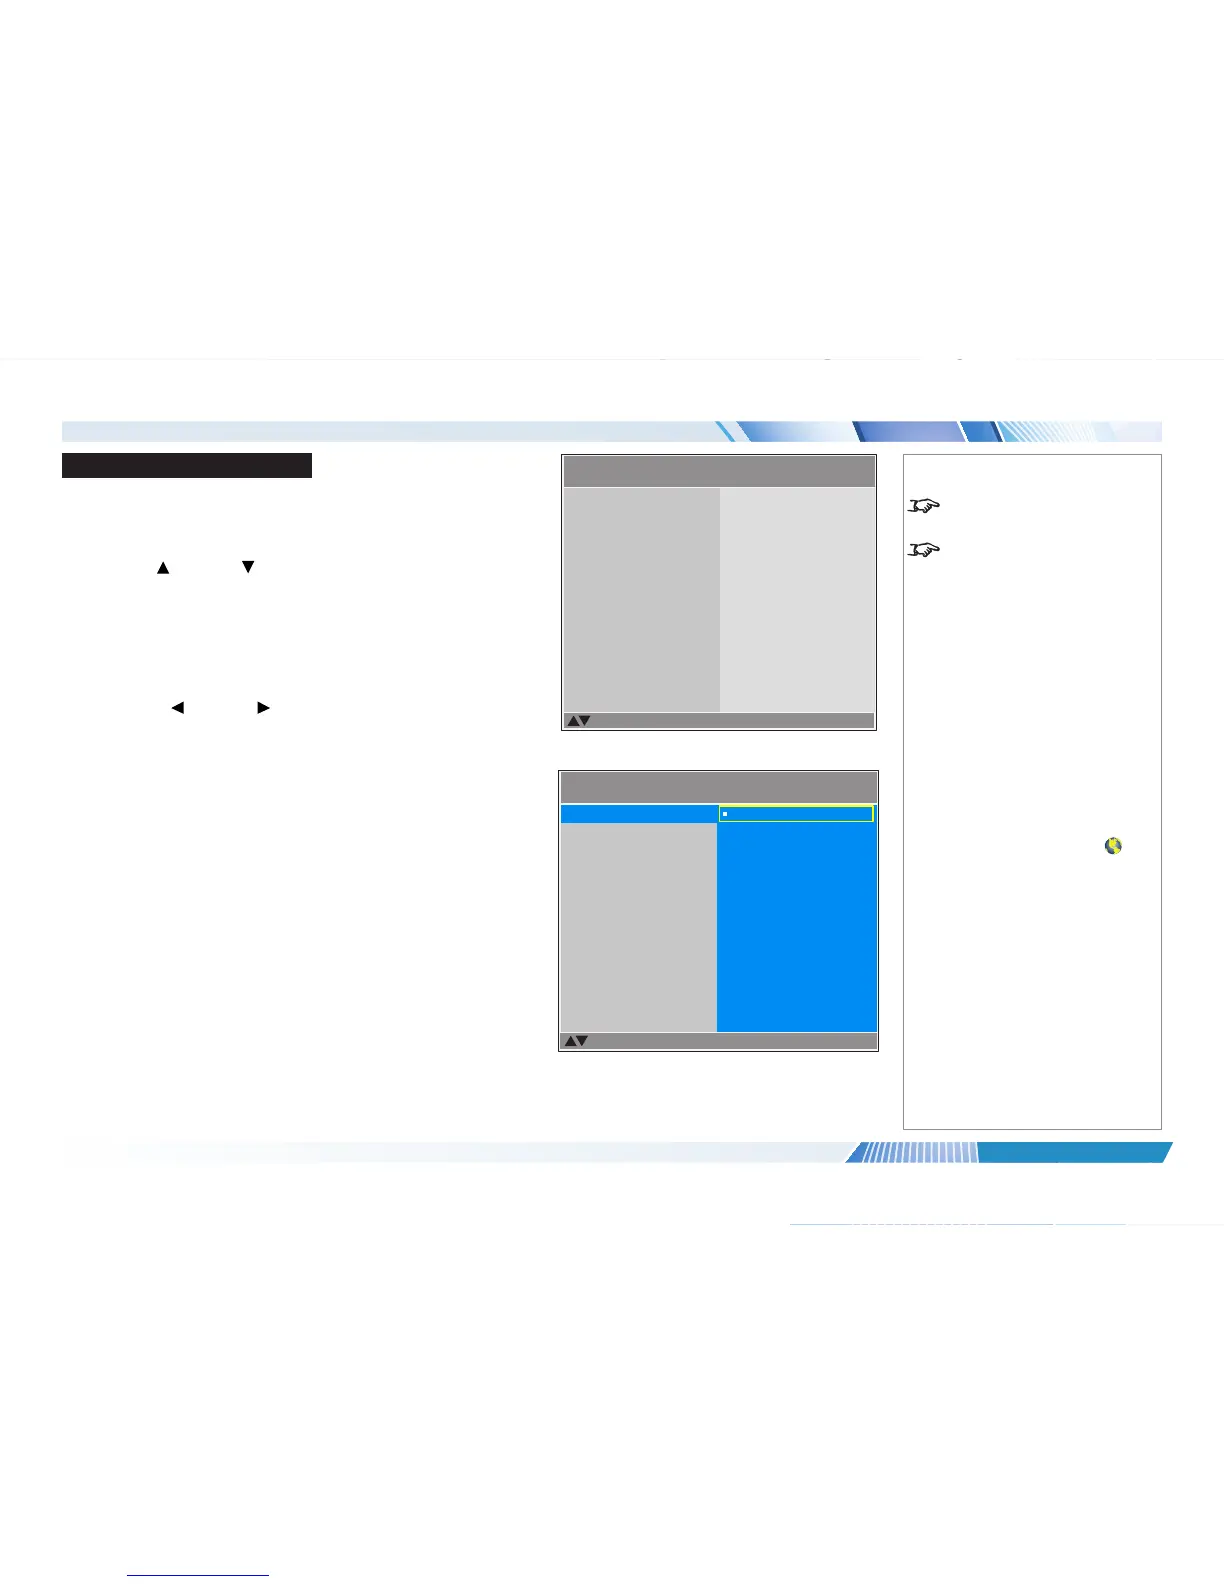
• Input
Press ENTER to open the list of available inputs.
Use the UP and DOWN arrow buttons to select an input from the list, then
press ENTER to conrm your choice.
Press MENU to return to the main menu.
• Test Pattern
Choose from:
...Off, White, Black, Red, Green, Blue, Crosshatch, Burst, H Ramp, Color
Bar, Checkerboard...
Use the LEFT and RIGHT arrow buttons to switch between values.
• Lens, Image, Color, Geometry, 3D, Lamps, Setup and Information
Press ENTER to open these menus and access various settings.
Notes
If no input is connected, the Image
menu will be unavailable.
Some settings are associated with
the current input and the value of
the Image Mode setting (Bright,
Presentation or Video). The
projector automatically stores values
of such settings to reuse when an
Input / Image Mode combination
is selected again. For example, if
you increase the Contrast value
while on the DVI-D input with Image
Mode set to Bright, the next time
you use the DVI-D input with Image
Mode set to Bright, the projector
will automatically set the same
Contrast value.
Settings NOT associated with an
Input / Image Mode combination
are called global settings and are
indicated with a globe icon
in the
Menu Map further in this guide.
E-Vision 6800 WUXGA 3D
Select Item
[Enter] Submenu
[Menu] Exit
Test Pattern
Lens
Color
Geometry
3D
Input
Off
8
8

 Loading...


