Figure 34 Power supply connector
1. +48V DC Supply 2. 0V Supply
3. Chassis
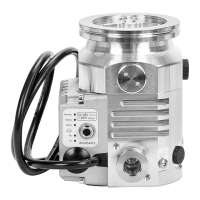
5.5 Connect the parallel control and monitoring
Connections for parallel control and monitoring must be made using a suitable mating
half that is not supplied.
1. Connect the customer control equipment to the control input pins of the customer
logic interface mating half. Refer to Table: Logic interface connector pins, which
identifies the logic interface connector pins.
The control inputs are Start and Standby speed. To activate either of these control
inputs, connect the control input pin to the 0 V control reference. To start the
pump, connect pin 3 (Start / Stop) to pin 2 (0 V Reference). To stop the pump, break
the connection between pin 3 and pin 2. To put the pump into standby, connect
both pin 4 (Standby) and pin 3 (Start / Stop) to pin 2 (0 V reference).
Note:
Serial enable is also a control input but is not required in a system operating purely
under parallel control. Make sure that there is no connection to serial enable (pin
5).
Note:
The RS485/CAN/RS232 slide switch must be in the (default) RS232 position to use
the standby or fail parallel interface signals, refer to Connect the serial interface to
the customer control equipment on page 74.
2. To monitor analogue output, connect the customer control equipment to the pump
analogue output (pin 9) and to pin 2 of the customer logic interface mating half.
When the pump is shipped, the analogue output is configured to monitor pump
rotational speed. To monitor other parameters, re-configure the nEXT pump using
commands over the Serial Interface. Refer to Connection for serial control and
monitoring on page 73 for further details.
3. To monitor the normal status output, connect the customer control equipment to
the normal status output (pin 15) and to pin 2 of the customer logic interface
mating half.
The output can be used to control other devices in the pumping system. The output
can drive a low power relay of up to 24 V d.c. coil rating (up to 20 mA).