chains ( to their suggested lengths, keeping in mind the correct pig-tail lengths.
The two outside cable runs connect to the rack, while the two inside cable runs
connect to the shelf. Once the cables are installed, close the lids, making sure
they are snapped shut.
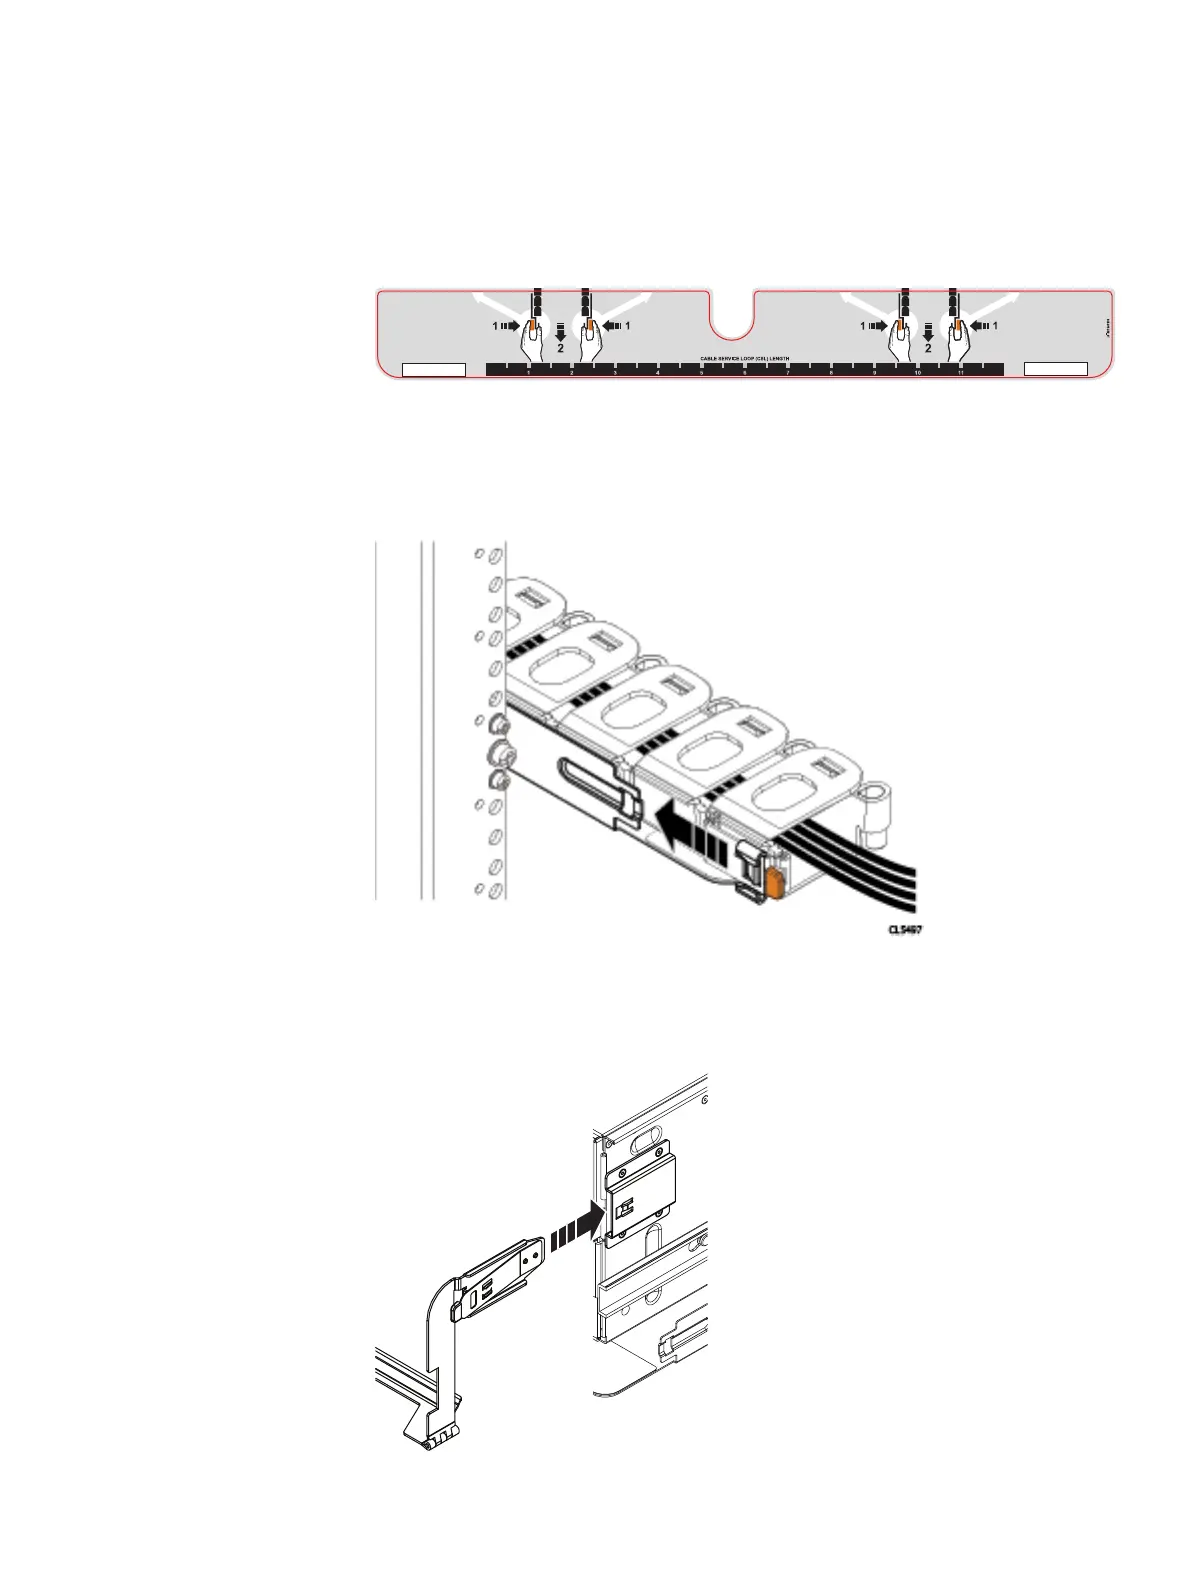
Figure 161 1-Inch graduation label
6. Align the lids of the Cable Chains so the lids are facing up and the hinges are all
facing each other. Arrange the two cable chains so that they form a "U" shape.
Figure 162 Attaching cable chains to tray
7. Attach the Cable Chains to the tray, by attaching the clips onto the tabs on the
rear of the tray.
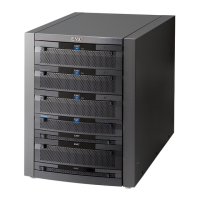
Figure 163
Installing the chassis bracket into the shelf
Removing and Replacing FRUs
1U cable management tray installation (underneath) 175