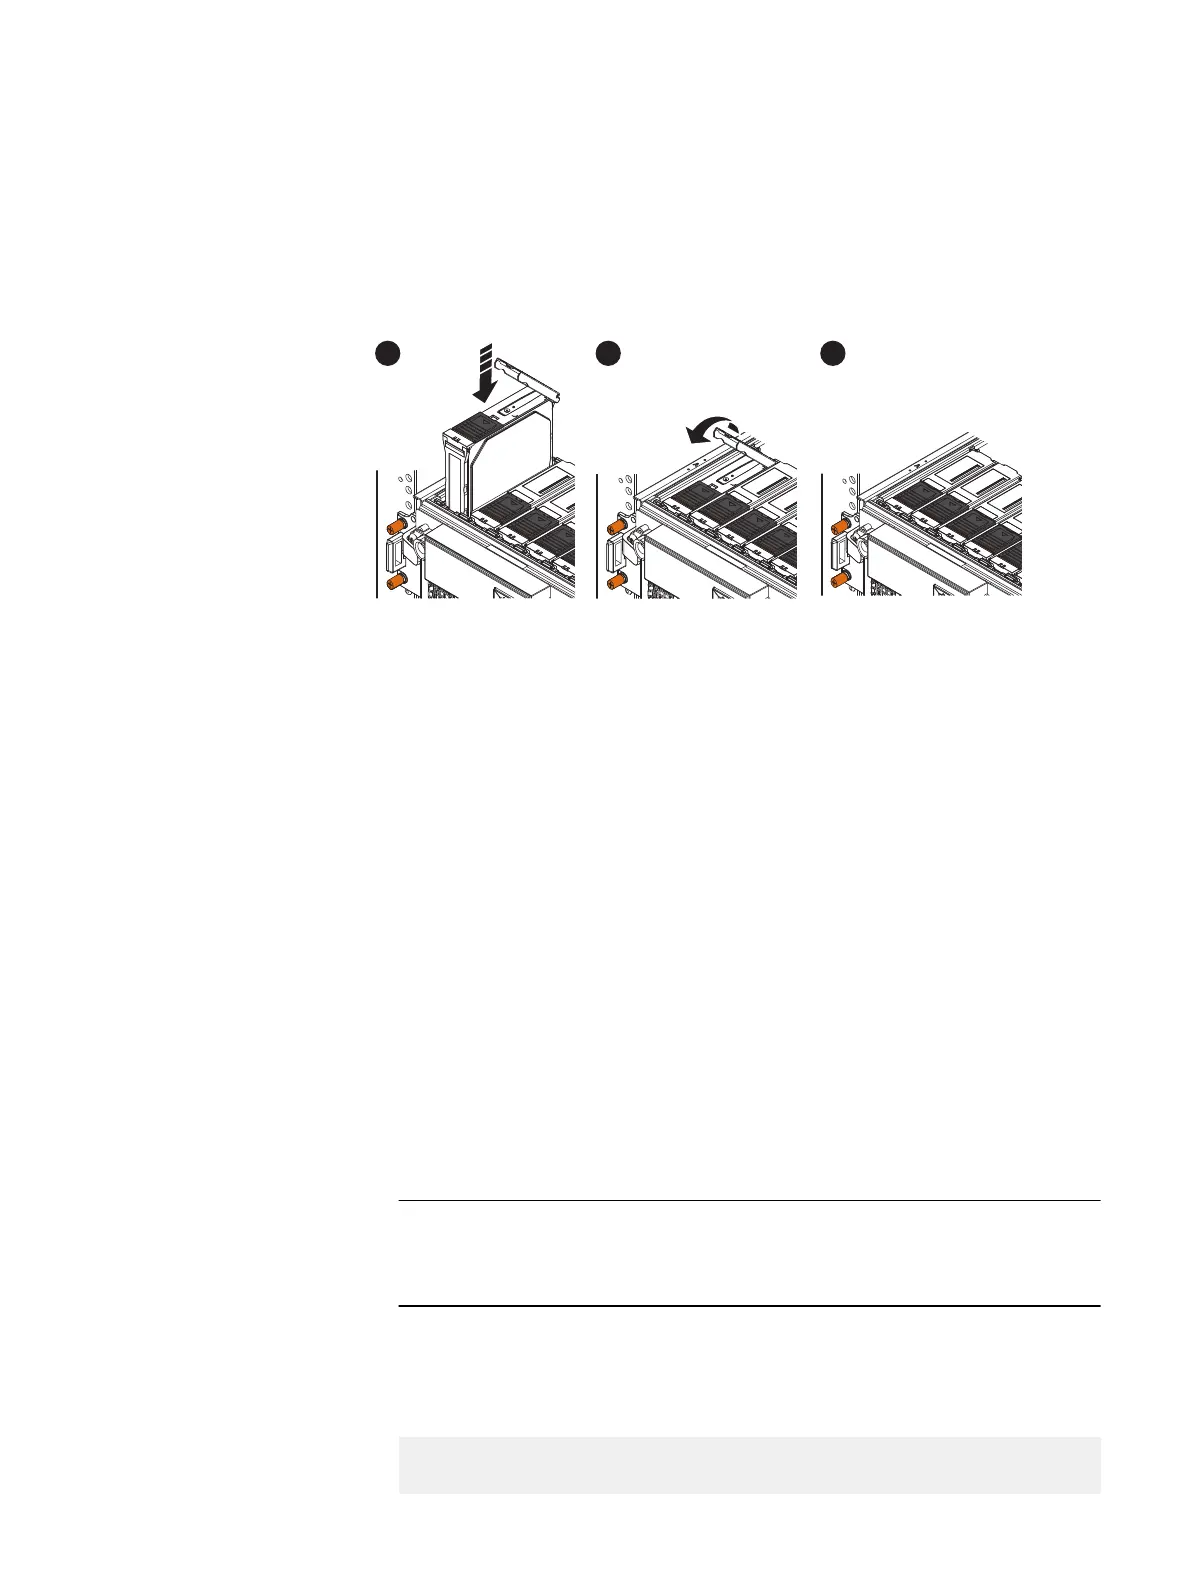
The latch begins to rotate downward when its tabs meet the shelf.
4. Push on the latch tab to engage the latch (2).
5. When the latch is engaged, push firmly on the module to verify that the disk is
properly seated (3).
The disk's Active light flashes to reflect the disk's spin-up sequence.
Figure 169 Installing a disk
6. Repeat steps 1-5 to add the remaining 14 disks.
Close the shelf chassis
After installing all 15 new disks, close the DS60 chassis.
Procedure
1. Using the orange shelf latch handles, push the shelf slowly into the cabinet. Be
aware of SAS and Power cabling as the shelf is reseated.
2. Screw the shoulder-screws in until they are seated.
3. Screw the attaching screws to the NEMA channel.
Verify and configure the new storage
Verify the Data Domain system recognizes that new disks were added, and configure
the system to use the new disks.
Procedure
1. Rescan all the disks attached to the system.
This command does not generate any output. The amount of time it takes to
complete depends on how many disks are attached.
2. Verify all the new disks display as Unknown Disks.
Run the following command:
disk show state
# disk show state
Enclosure Disk
Row(disk-id) 1 2 3 4 5 6 7 8 9 10 11 12 13 14 15
Adding Disks
182 EMC Data Domain DS60 Expansion Shelf Installation and FRU Replacement Hardware Guide